How to change background color in Photoshop

  1. Use Selection Tool to select the object.

2. Hold Ctrl +Q to open Quick Mask to fix missing the part of object.

3. Since we want to change the background color, inverse the section (shift+Ctrl+I).

4. Click on Create a new fill or adjustment layer icon and select Solid Color.

5. Select the color you want to change.

6. To match the background light and shadow, select Multiply in

7. More one again, you can fix the selection by using Brush tool. For example the hair.

8. Highlight the selected mask. Select Brush tool with Black for background and white for foreground. This is after.

9. To change to different color, double click on the color pane.

Please view this step by step video:

How to use Pen Tool to select an object in Photoshop

In Photoshop, Pen Tool is most accurate selection tool. Here is how to use it.

  1. Choose Pen Tool and create a path.

2. After completing the circle path, right click and choose Mask Selection.

3. If you want top brush outside edge, inverse the selection first. Select he Brush Tool with Black background. Start to brush the outside edge.

4. Complete it.

How to use Edit in Quick Mask Mode in Photoshop to select objects

  1. Use Select Tool to select a object.

2. Click Edit in Quick Mask Mode icon or press Q

3. The background becomes red.

4. Select Brush Tool (Shift+B). I can brush the object with the white Foreground or erase the background with Black Background.

5. Leave the Quick Mask Mode by pressing or by clicking on the same icon which we used to activate Quick Mask Mode.

6. Go to Select>Select and Mask to refine edge. Save as Layer Mask.

7. This is the result.

8. To check the result, add a new layer by click on Create a New Layer icon. Move the new layer below.

9. Go to Edit>Fill. Select 50% Gray.

10. With 50 Gray background, you can see more details of selection.

11. Now, you can use Select and Mask to refine the edge.

Understand Photoshop Layer Mask

  1. Add Mask to selected object.

Use Selection tool to select object. In this example, we use Object tool plus Quick Selection tool.

After the selection, click Add a Mask icon.

Now, you have selected object with transparency background.

Alternately, if you still in Selection Tool
, you can click on Select and Mask
(go to Select>Select and Mask) .


Adjust the selection and then Layer Mask.

You can use Shaft + click to show or hind the background.

2. Add another text layer behind the image.

Click Crete a new layer in the bottom. Select Text Tool (T). Type some words.. The words are in the front the image.

To move the text behind the image, hold

move to Text Layer.

the some words doesn’t show until we highlight selected object and hod, control + i.

But if you move the text out of the object, we miss some part of words.

Now, if you unlink Text layer and selected layer,

You can see the all words.

You can double click on the Text layer to change the text. Or click Move tool to move the words.

3. If you want to display the image behind text, use select tool to select the area.

Make sure the selected image is highlighted

Use Brush tool with Black background, brush the word Live. The background show up.

4. To add one more layer between original layer and select/Text layer, host Control key click on Create a new layer.

Make sure the black background is selected, and Hold Alt key click Backspace. You have the black background.

If you have text layer highlight without link, you can move the text.

If you have selected object highlight with link, you can move the object.

If you hold Control + T, you can large or small the object.

How to use Alpha channel to select a object in Photoshop

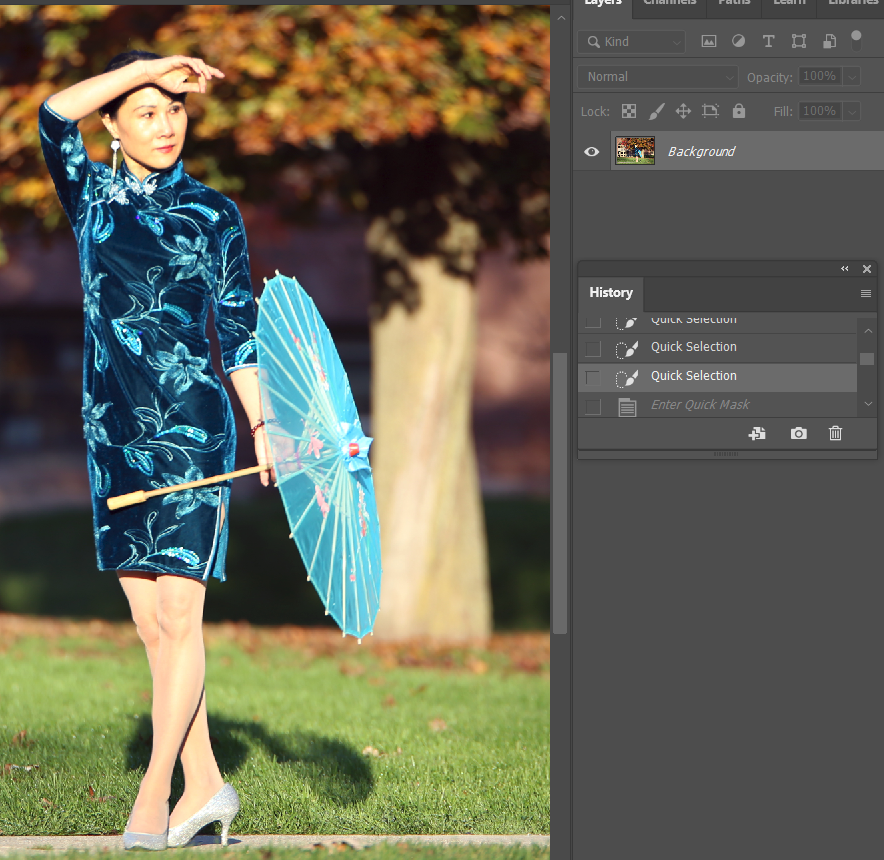
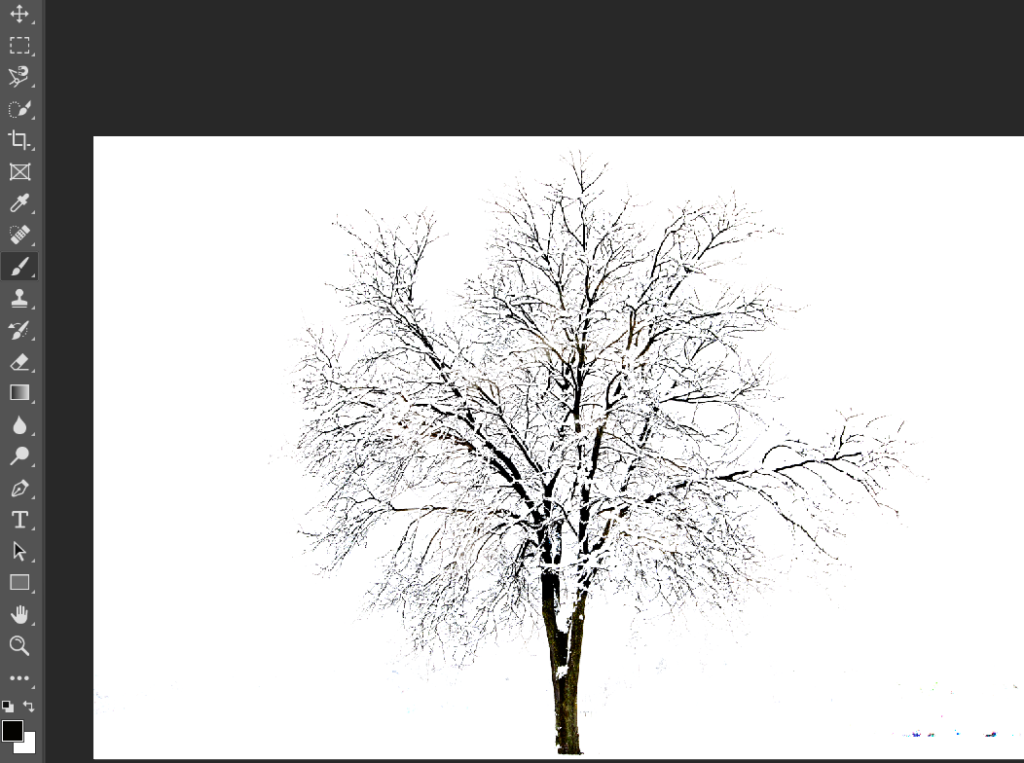
To select complexity object, you may need to use Alpha channel. Alpha Channel is a component that determines the transparency settings for certain colors or selections. In addition to your red, green, and blue channels, you can create a separate alpha channel to control the opacity of an object, or isolate it from the rest of your image. Photoshop’s Alpha Channels allow you to split your image up into red, green, and blue colors. Each channel you view appears black and white. The darker areas have less of the color in question, and the brighter areas have more. Here is how.

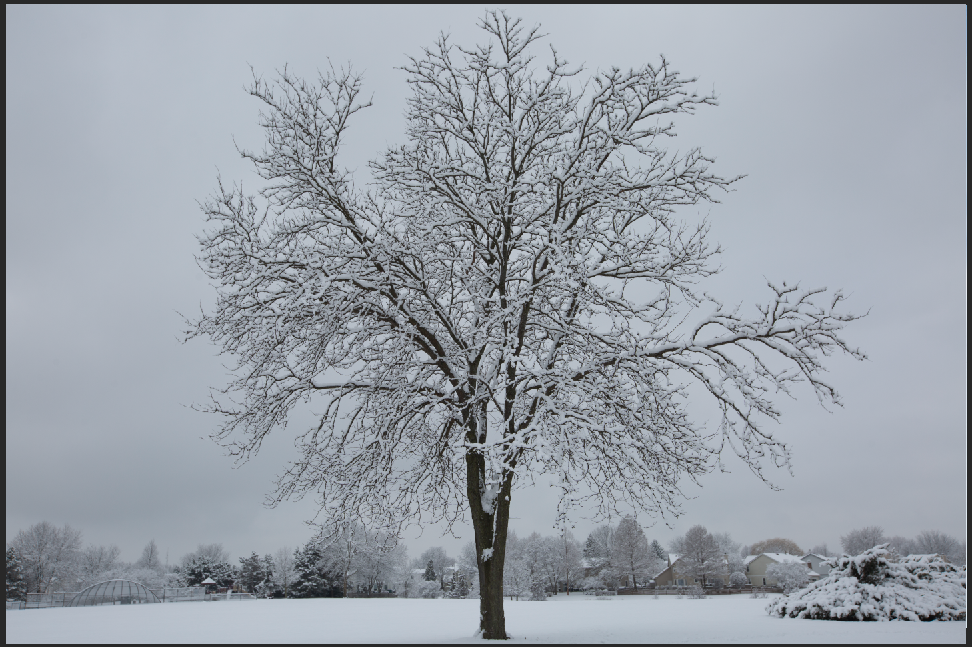
  1. Open an image wit Photoshop.

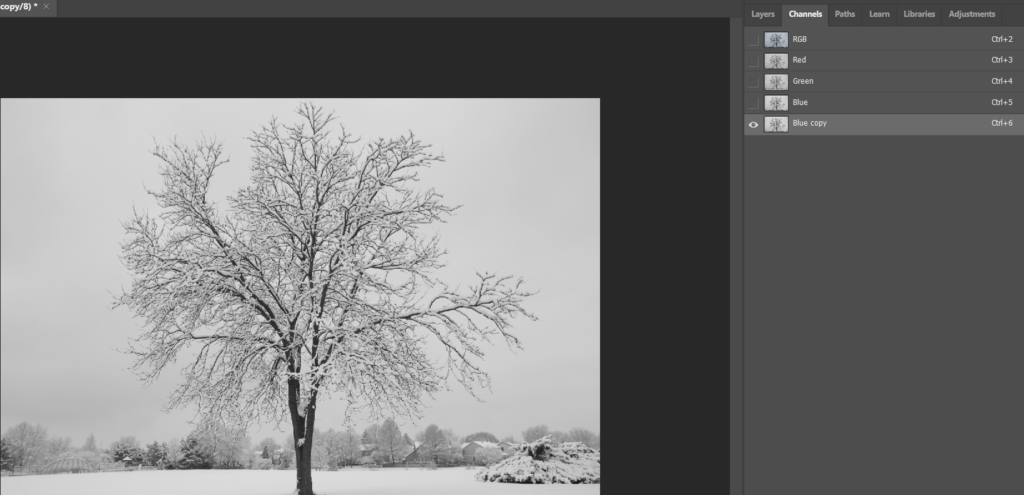
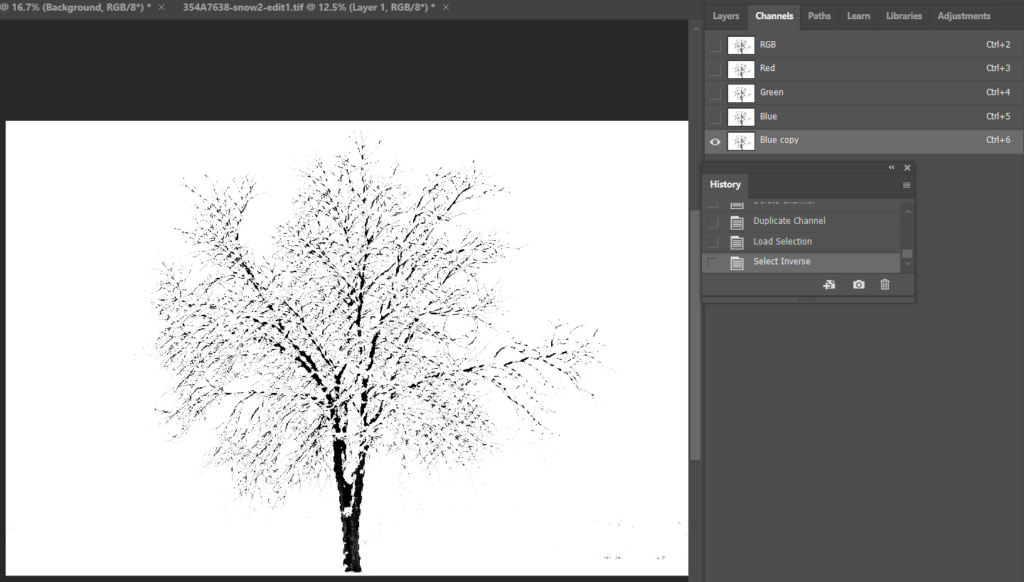
2. Click Channel. Select the most contract Channel, Blue in our case. Then create a alpha channel.

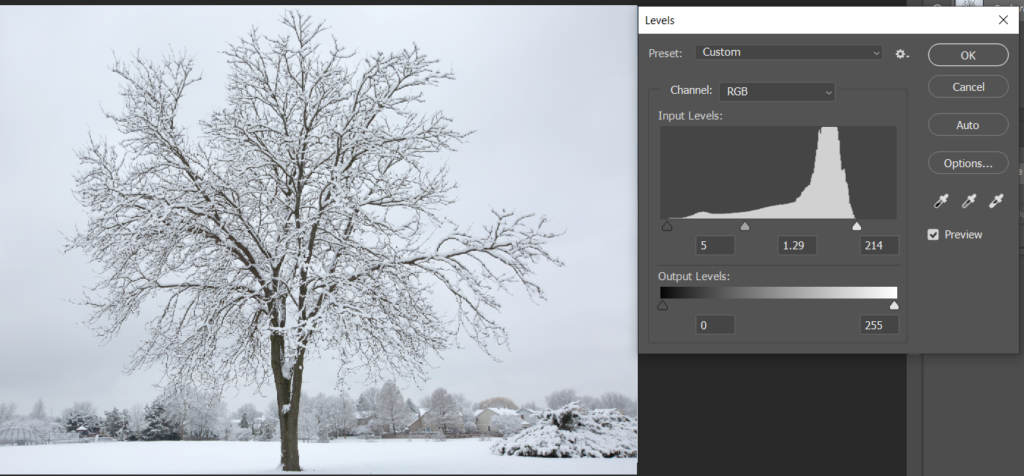
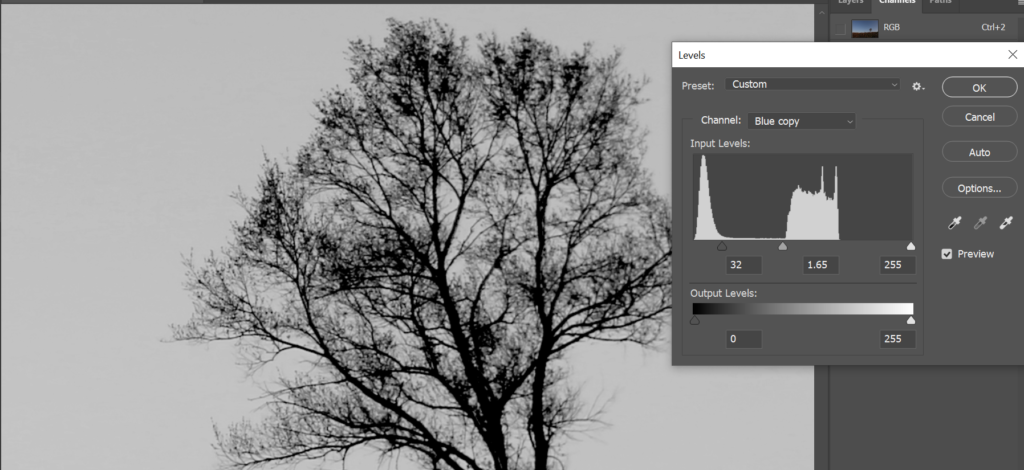
3. Make the image with the most contrast by using levels.

4. Open Levels from Images>Adjustment. Make the white is more white and black are more black.

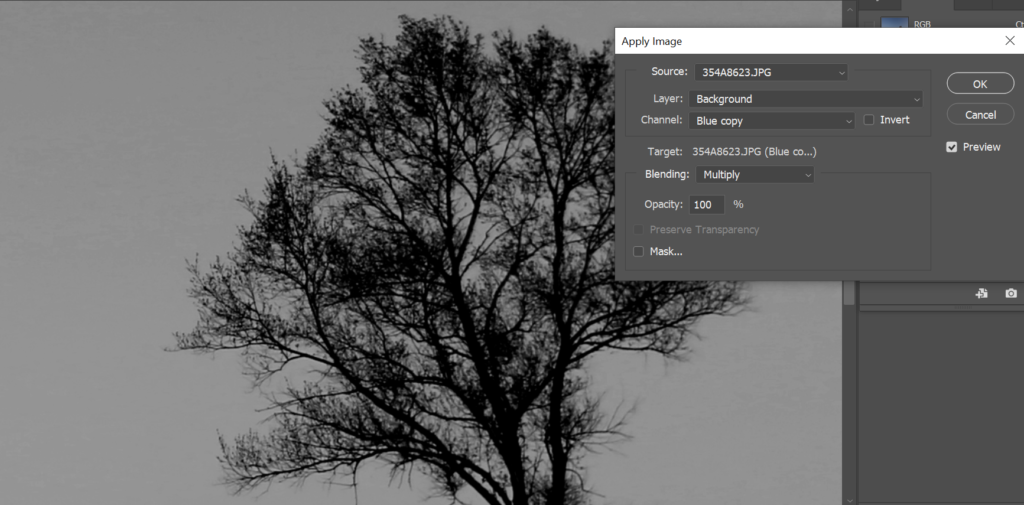
5. Open Apply Image from Images. Make sure the Channel is Blue copy. Change the Blending to Multiply.

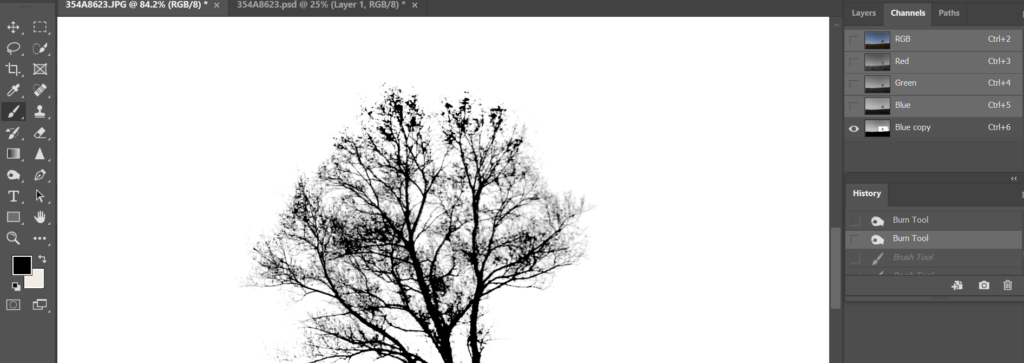
6. Use Dodge Tool to light the white area.

7. Use Burn Tool to dark the black area.

8. Select the brush tool with “overlay” blend mode.

9. Set foreground color white, to paint white.

10. Set foreground black white, to paint black.

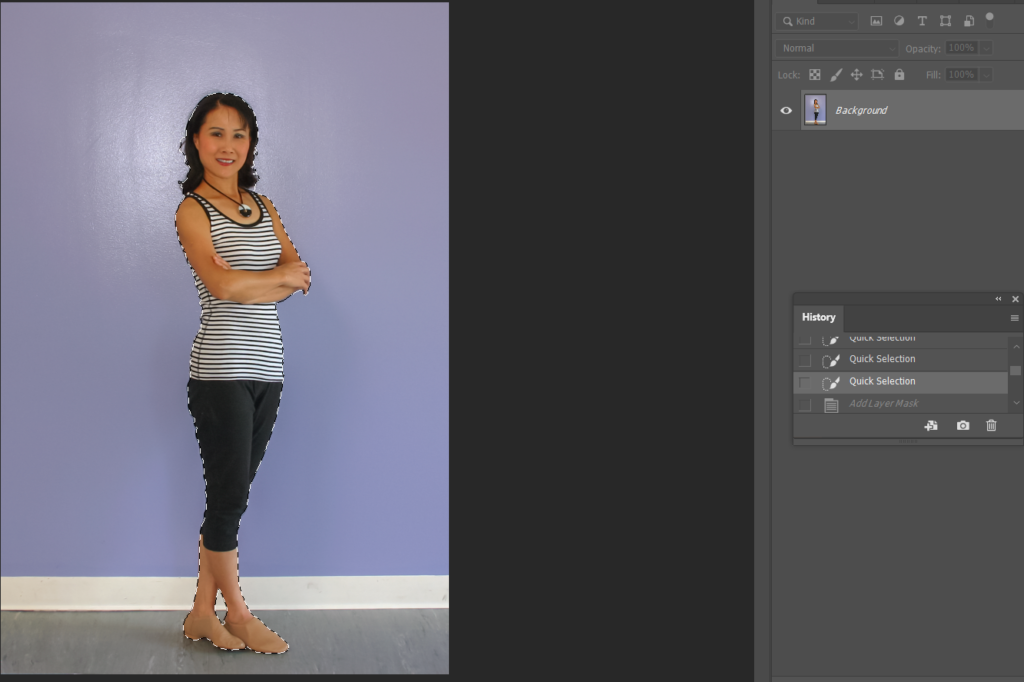
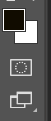
11. Hold Ctrl key click on Blue Copy to select all white.

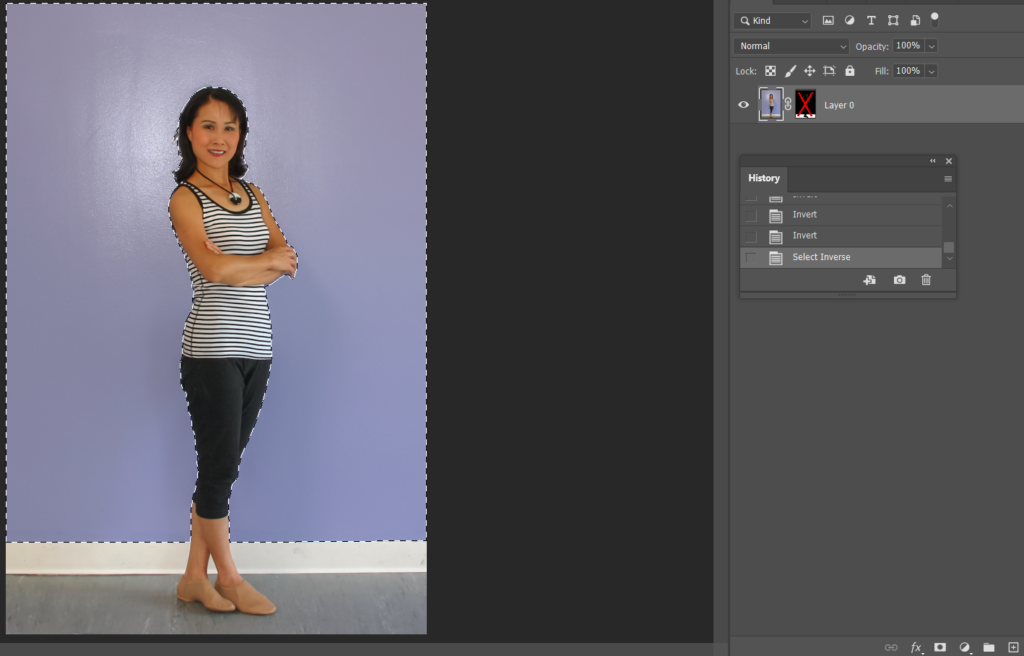
12. Go to Select>Inverse to select the tree.

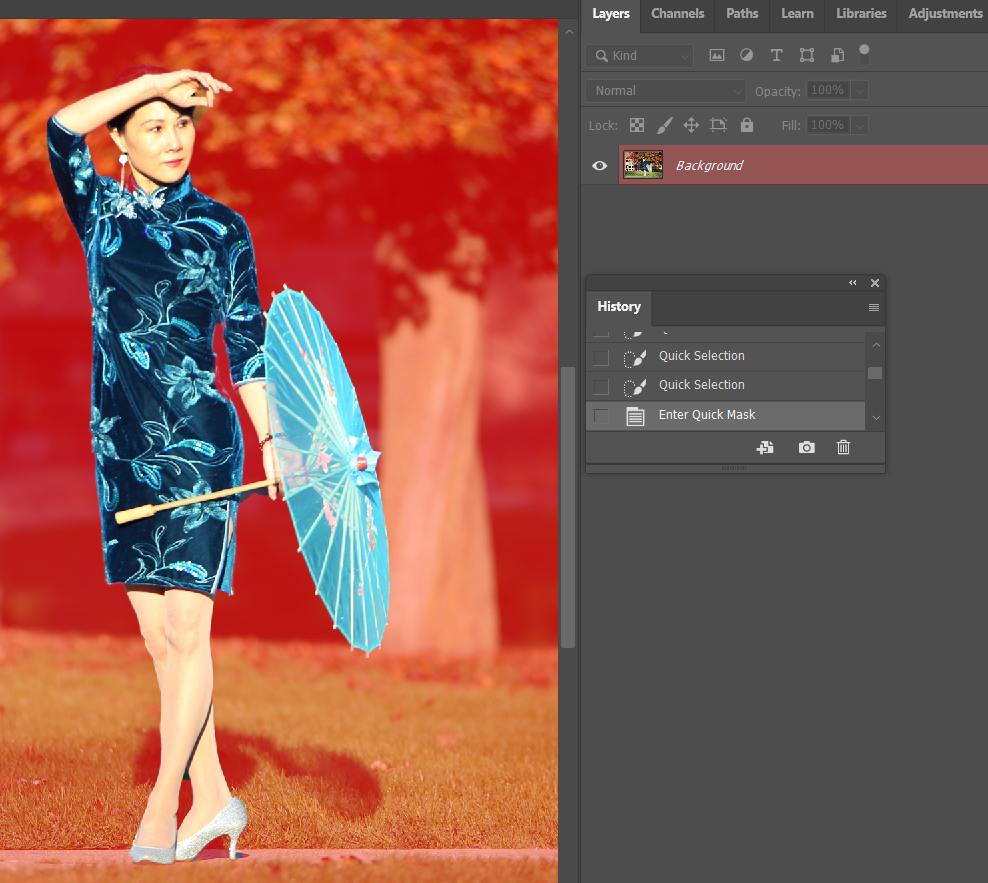
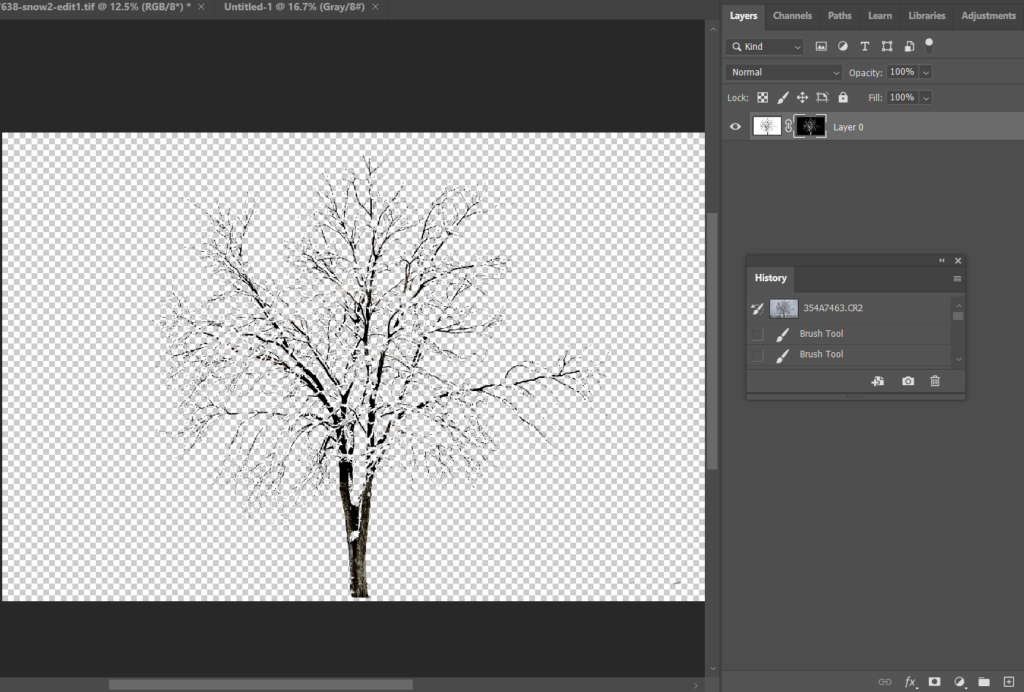
13. Click Layer and then Add Vector Mask .

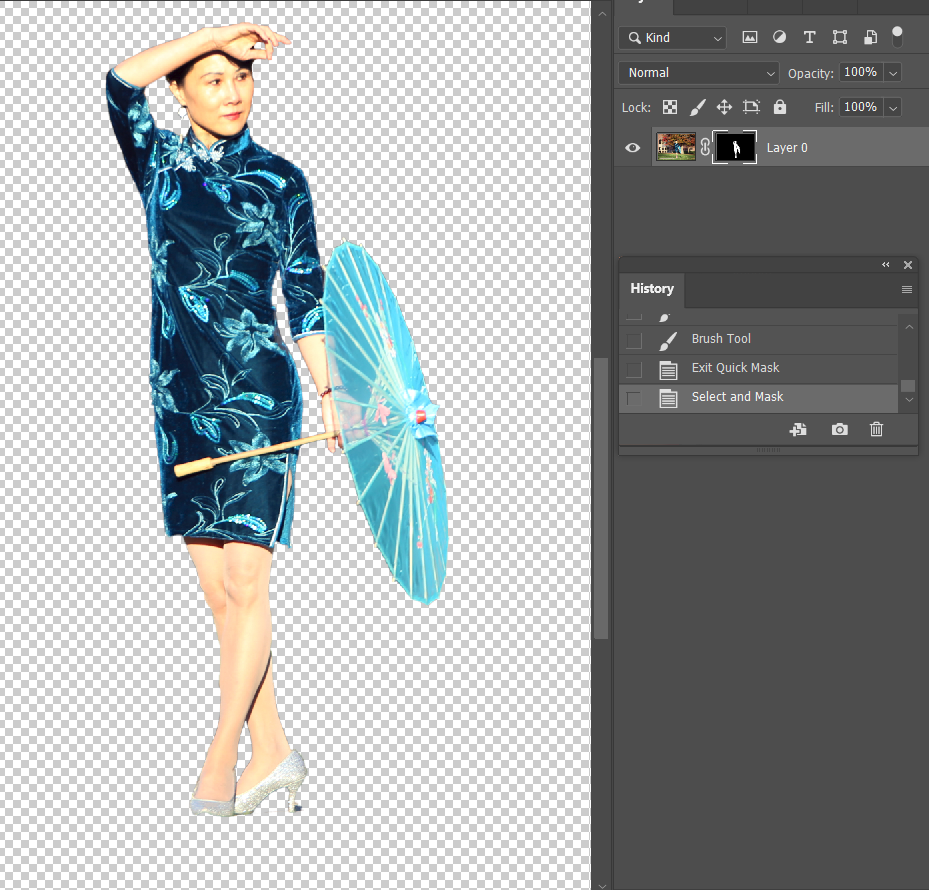
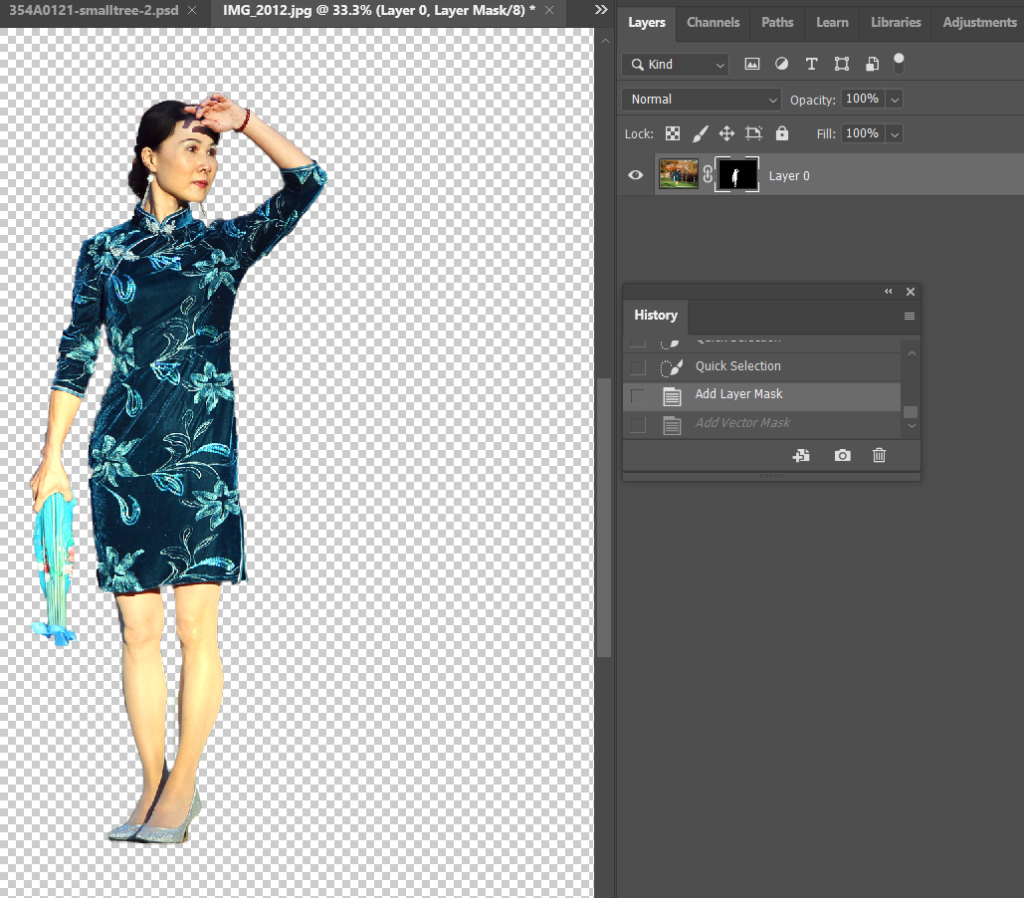
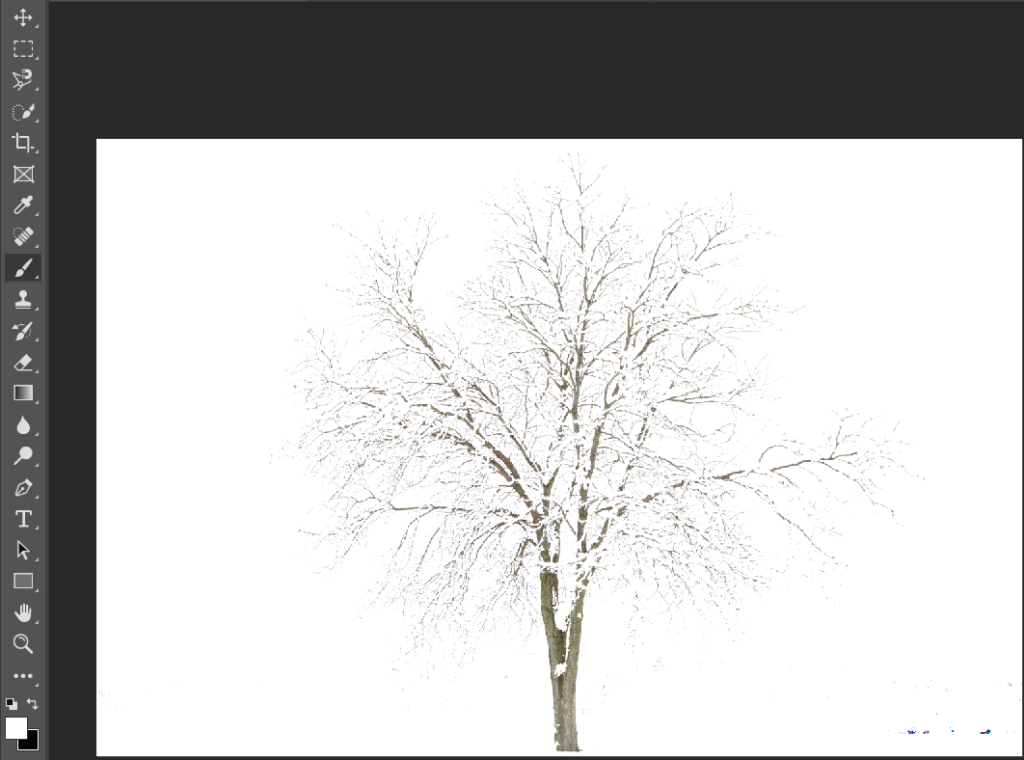
14. To see how good the selection, move into another image.

Please view the step by step video:

Correct, contract and exposure color using Photoshop Selective Color Tool

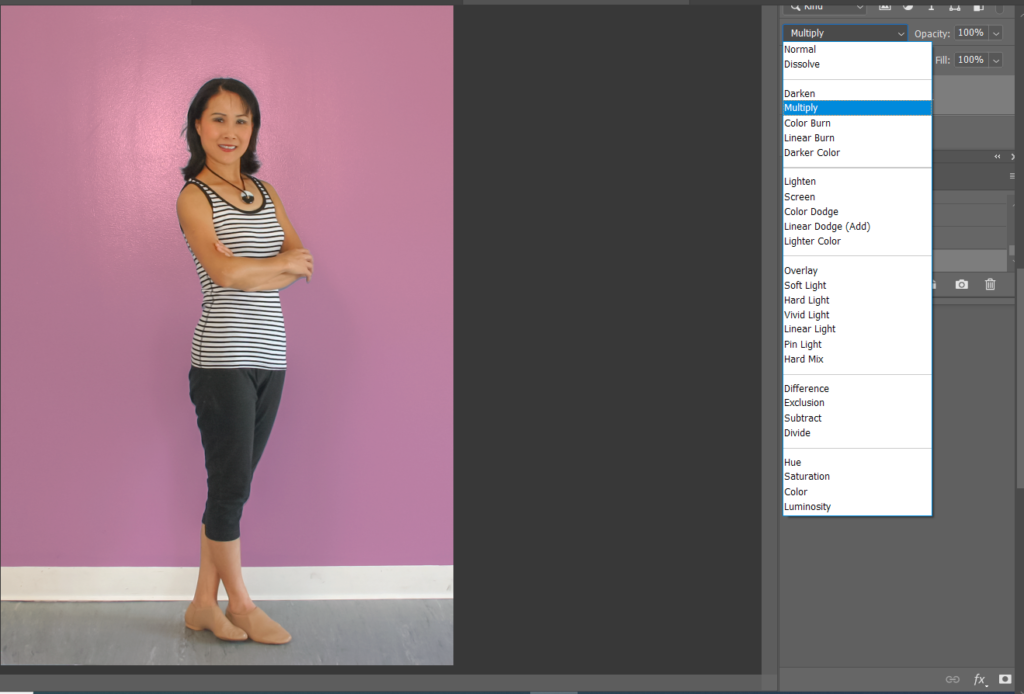
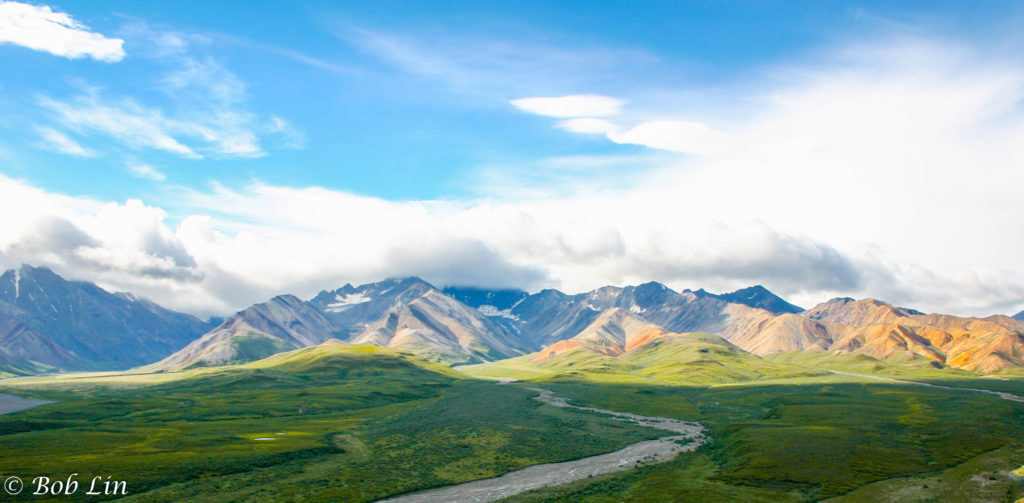
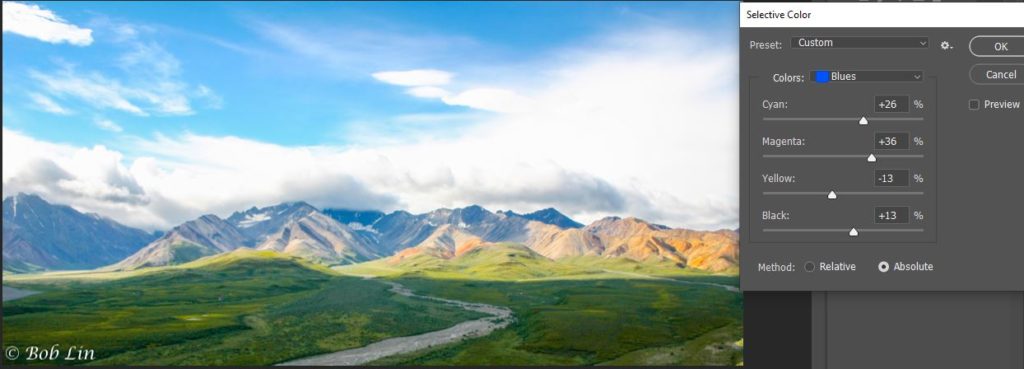
With Photoshop Selective Color Tool, we can correct, contract and exposure color. This is before.
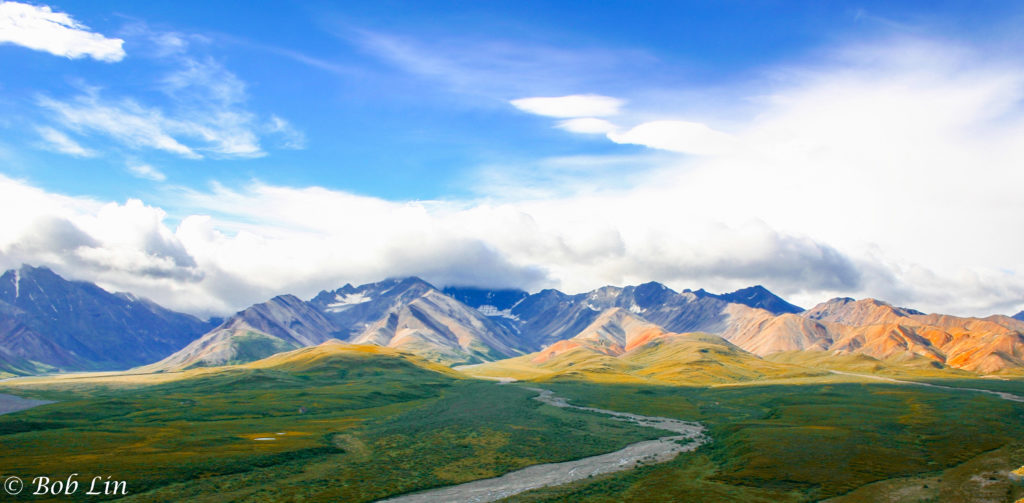
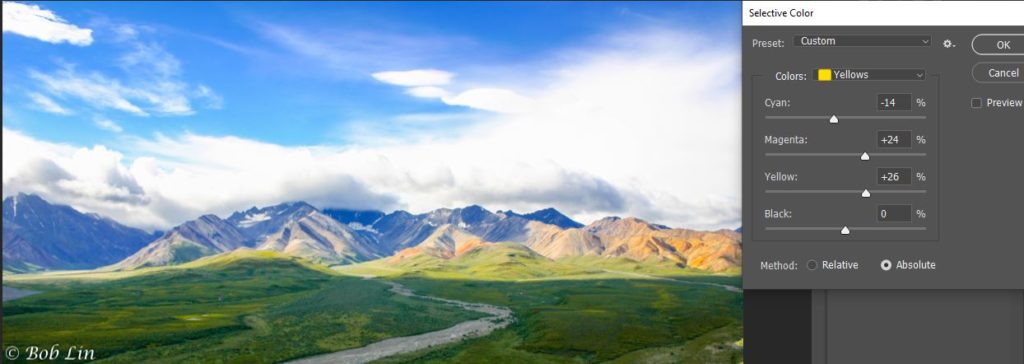
This is after.

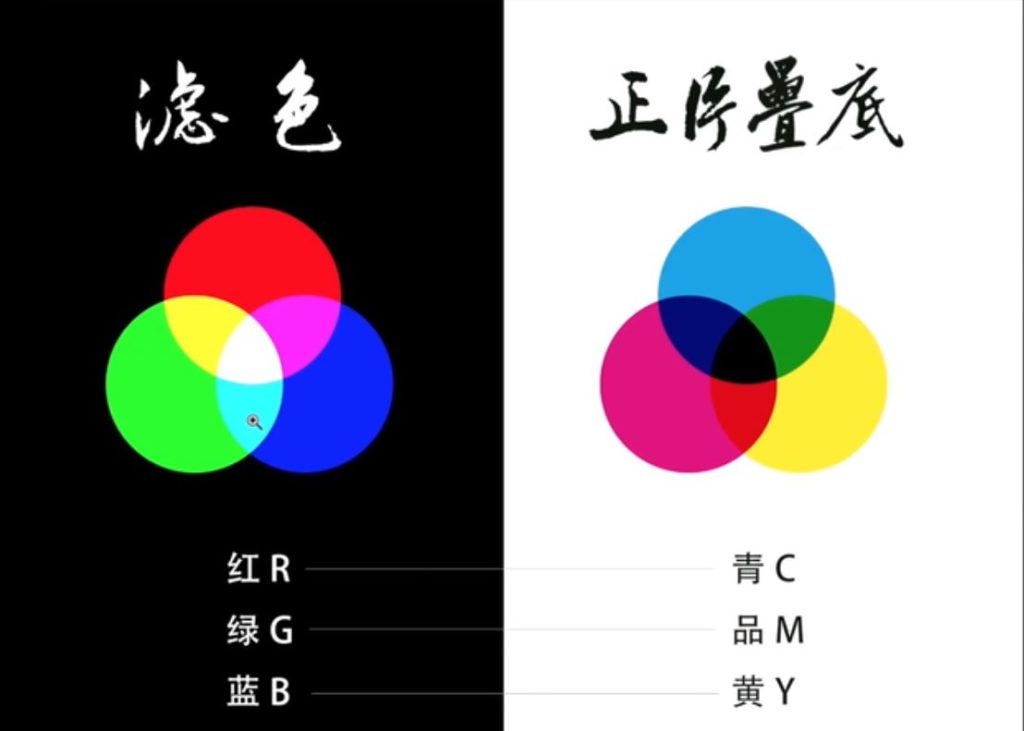
Reference color pane.

  1. Open the image in Photoshop.
  2. Open Selective Color from Images>Adjustments.

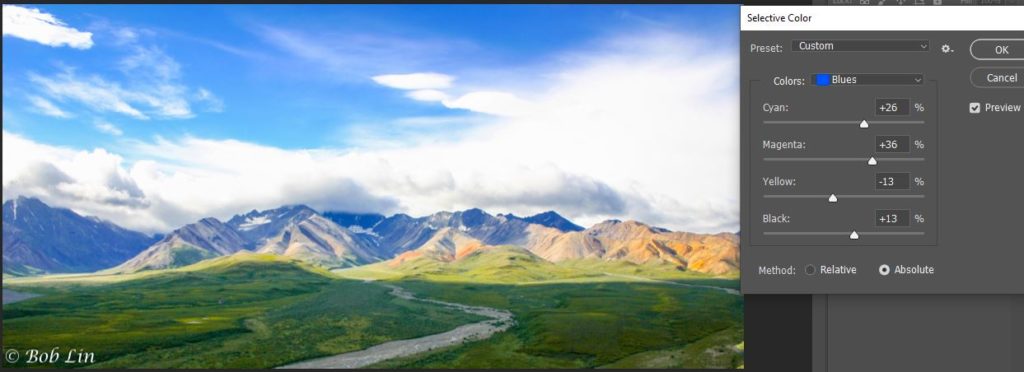
3. To correct sky blue color, we select Blues in Colors. Based on Referenced color, blue mixes Cyan and Magenta so that we add more Cyan and Magenta (move the slid to tight). Yellow is opposite of blue so that we reduce the yellow. To make it clear, we may move black to the right and check the Absolute.

4. Click Preview to compare.

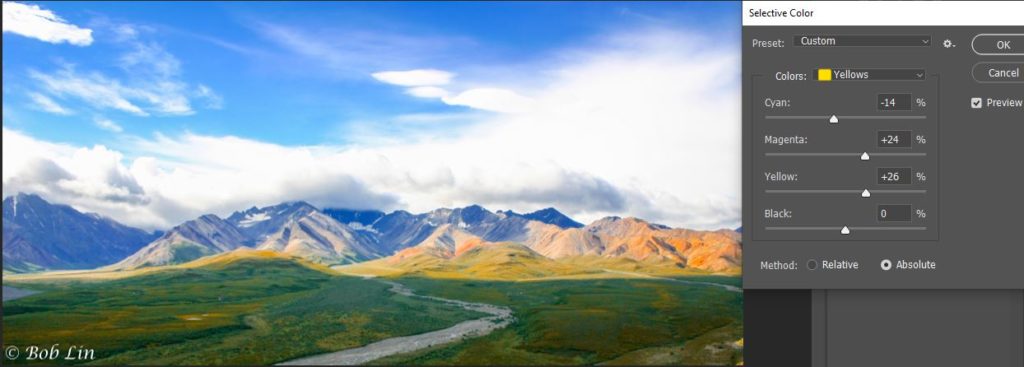
5. To add more yellow, select Yellow from the Colors. Reduce Cyan. Add Magenta and Yellow. Move the Black slid to the right and check Absolute in necessary.

6. Click Preview to compare.

Nik Collection plug-ins do not appear in Lightroom after installing

  1. Make sure your Lightroom version is compatible with Lightroom version.

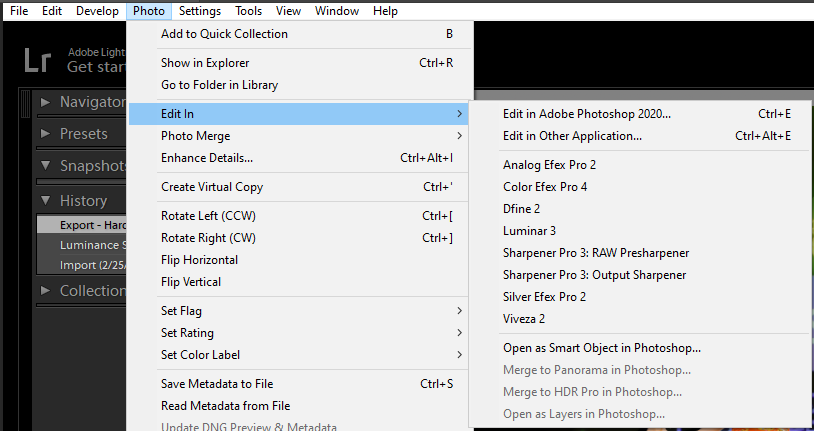
2. Nik Collection may not be installed correctly in Lightroom. This seems to occur because the “Store Presets with Catalog” option in Lightroom’s Preferences is checked. This option is in Edit > Preferences > Presets OR Lightroom > Preferences > Presets. Un-checking this box will make all of the plug-ins appear in the Photo > Edit In menu.

3. Install Nik Collection manually. Please refer to this page:

How to install Nik Collection on Lightroom manually

How to install Nik Collection on Lightroom manually

In a case you have a problem to install Nik Collection on Lightroom, you may want to install it manually. Here is how.

  1. Close Photoshop and Lightroom.
  2. Run Nik Collection. Note: make sure this is new installation.
  3. Open Lightroom again and look to see if the Nik Collection product is now installed under Photo > Edit In>. If not, continue next step.

4. While Lightroom is still open, click Edit> Preferences OR Lightroom > Preferences.

5. Click on the “External Editing” tab at the top of preferences.

6. Right click on the “Choose” button and locate the Nik Collection application file for your product. Typically it can be found at either, C:\Program Files\DxO\Nik Collection\Viveza 2\Viveza 2.exe, OR Macintosh HD |Applications | Nik Collection | Viveza 2 | Viveza 2. For other products, replace Viveza 2 with the appropriate product.

7. Once located, select the program or application file as indicated above and click “Choose”.

8. Set the file format to “TIFF”, Color Space to sRGB (or the one of your choice), Bit Depth to 16-bit, Resolution to 240, and Compress to None.

9. Under Preset click, the drop-down selector and choose, “Save Current Settings as New Preset” from the list.

10. Type in the name of the plug-in such as”Viveza 2″ and click Create.