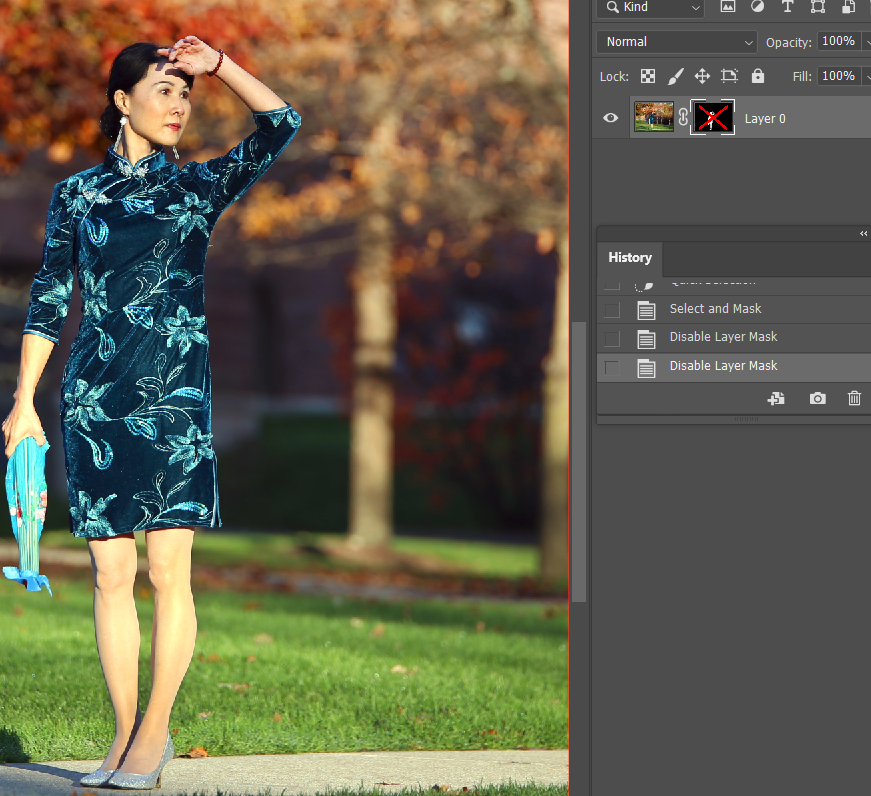
- Add Mask to selected object.
Use Selection tool to select object. In this example, we use Object tool plus Quick Selection tool.
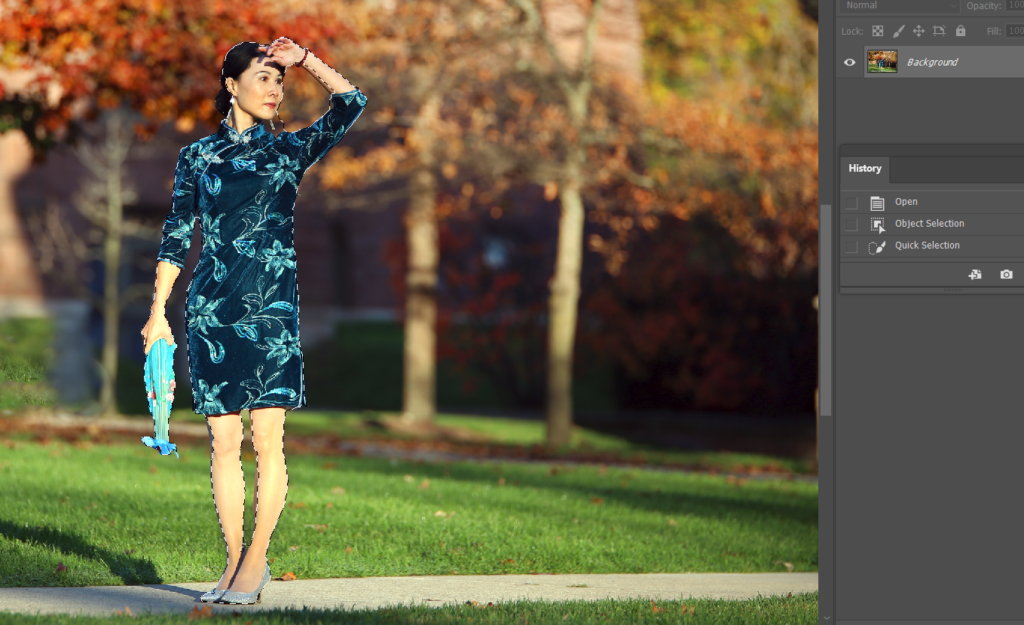
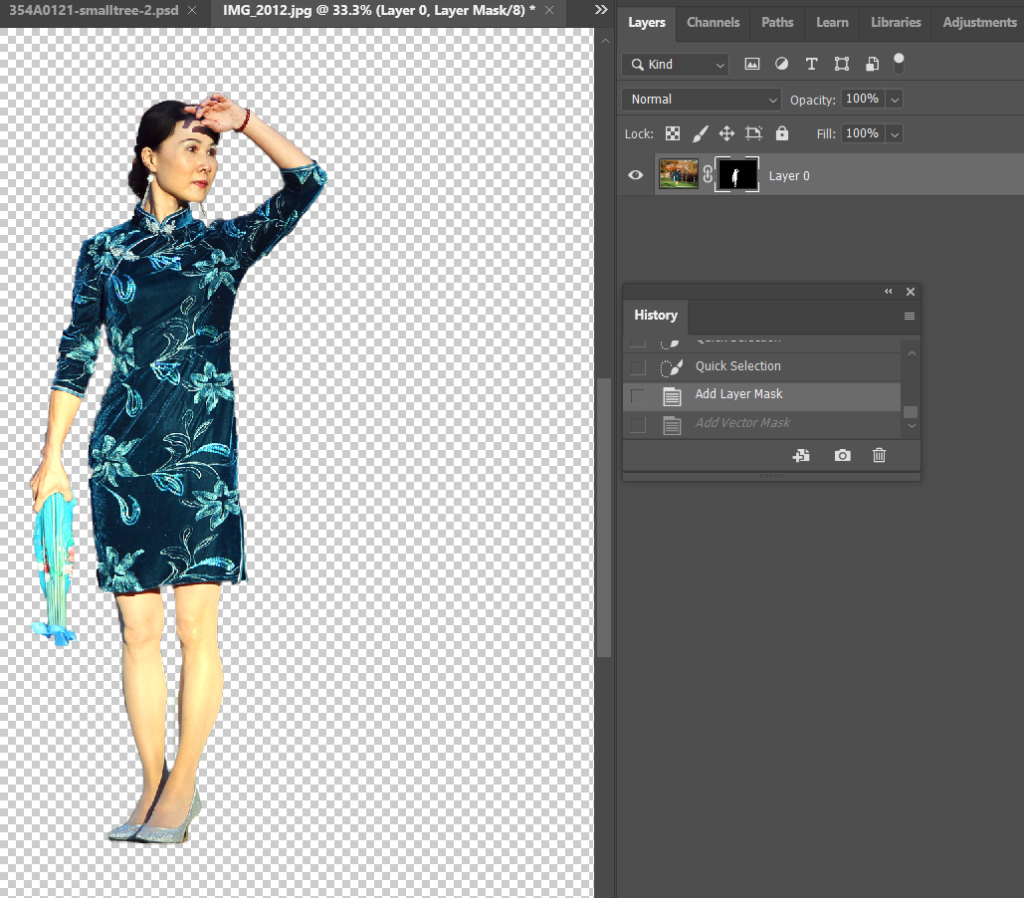
After the selection, click Add a Mask icon.

Now, you have selected object with transparency background.
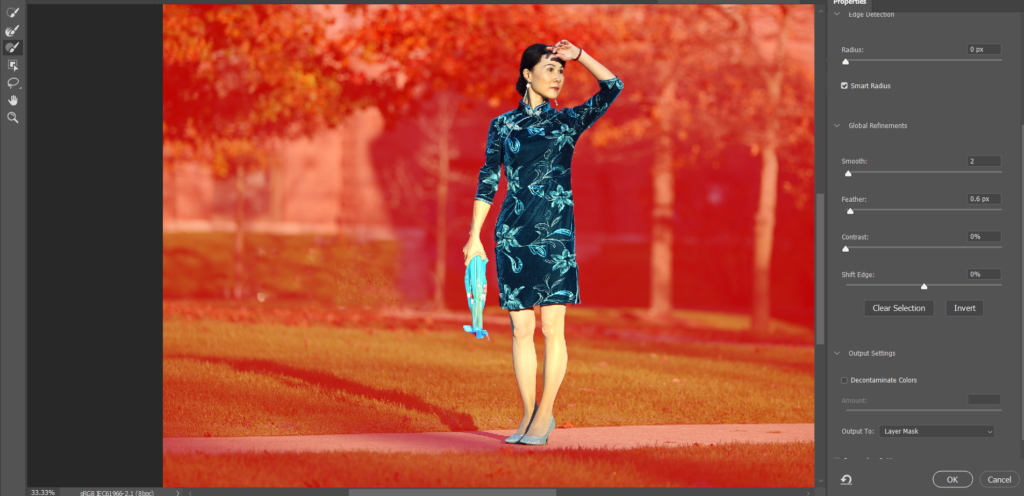
Alternately, if you still in Selection Tool
, you can click on Select and Mask
(go to Select>Select and Mask) .

Adjust the selection and then Layer Mask.
You can use Shaft + click to show or hind the background.

2. Add another text layer behind the image.
Click Crete a new layer in the bottom. Select Text Tool (T). Type some words.. The words are in the front the image.
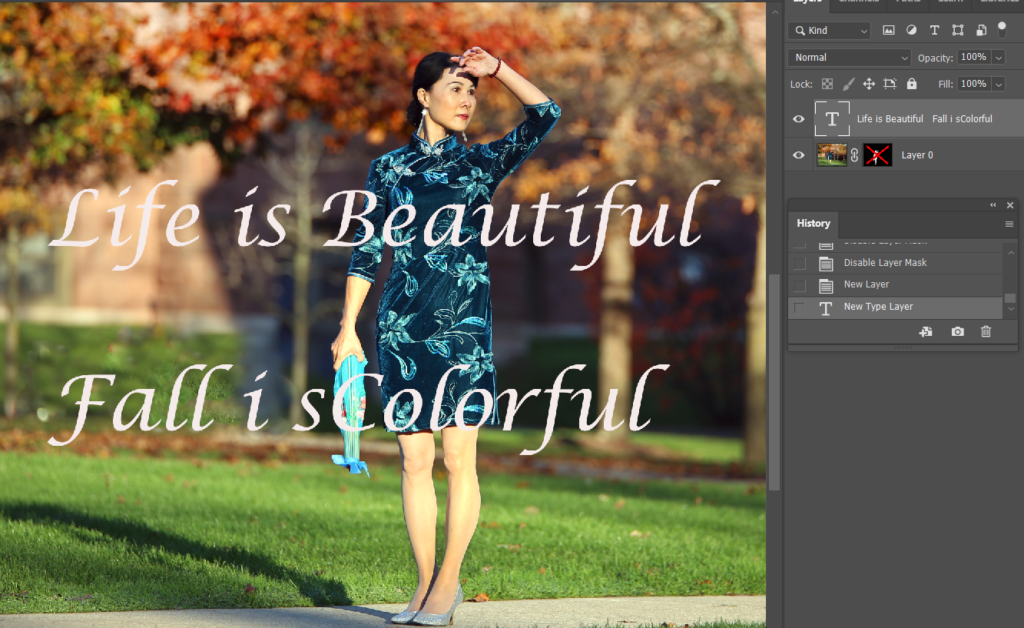
To move the text behind the image, hold

move to Text Layer.
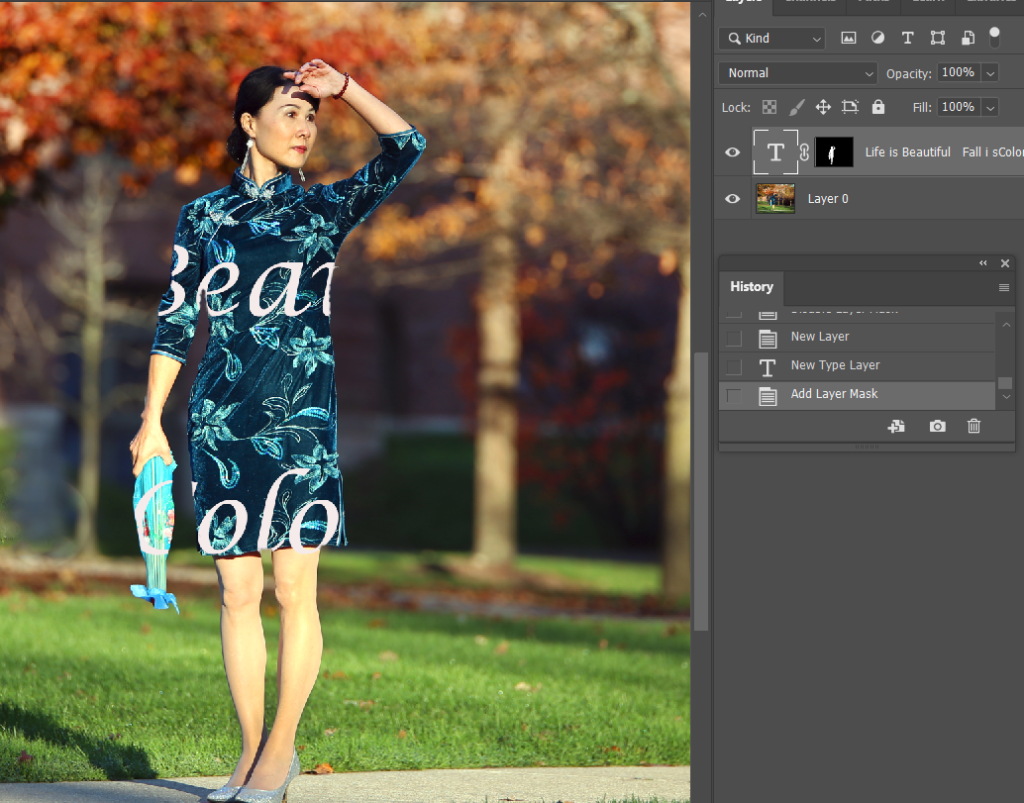
the some words doesn’t show until we highlight selected object and hod, control + i.
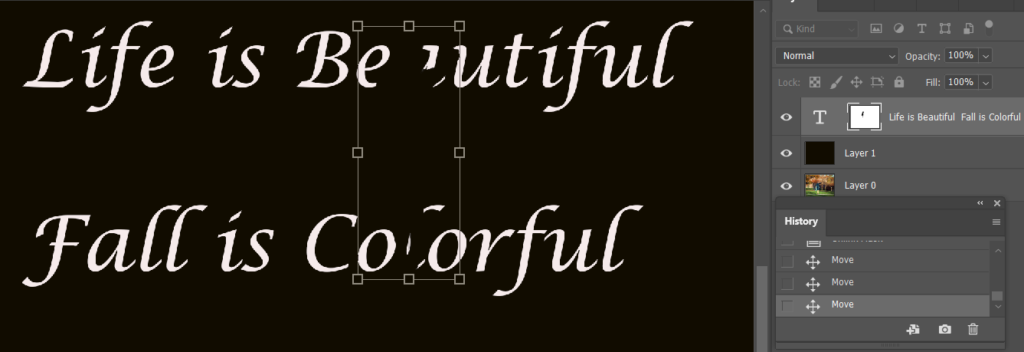
But if you move the text out of the object, we miss some part of words.
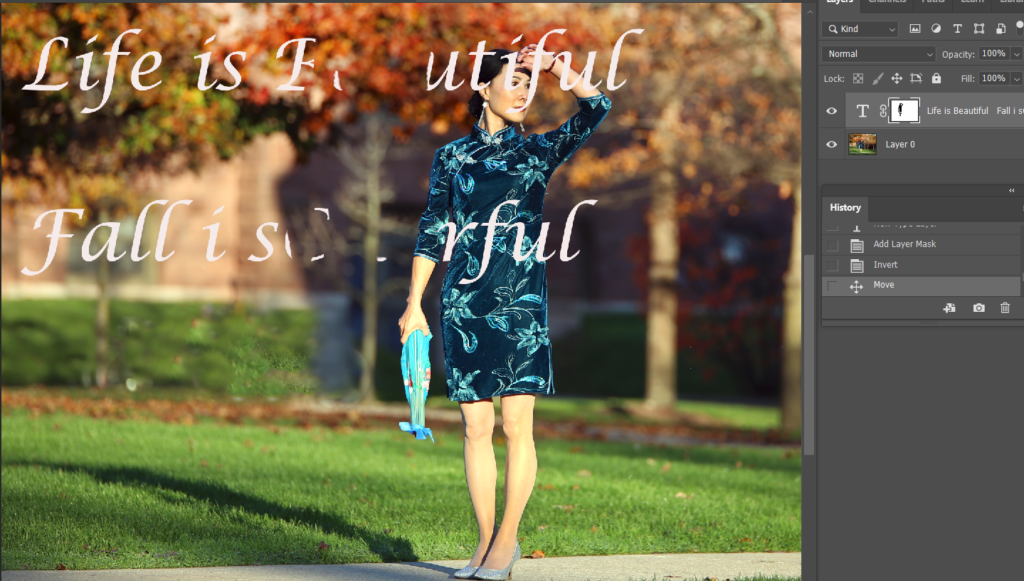
Now, if you unlink Text layer and selected layer,
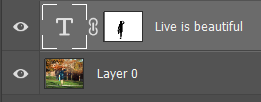
You can see the all words.
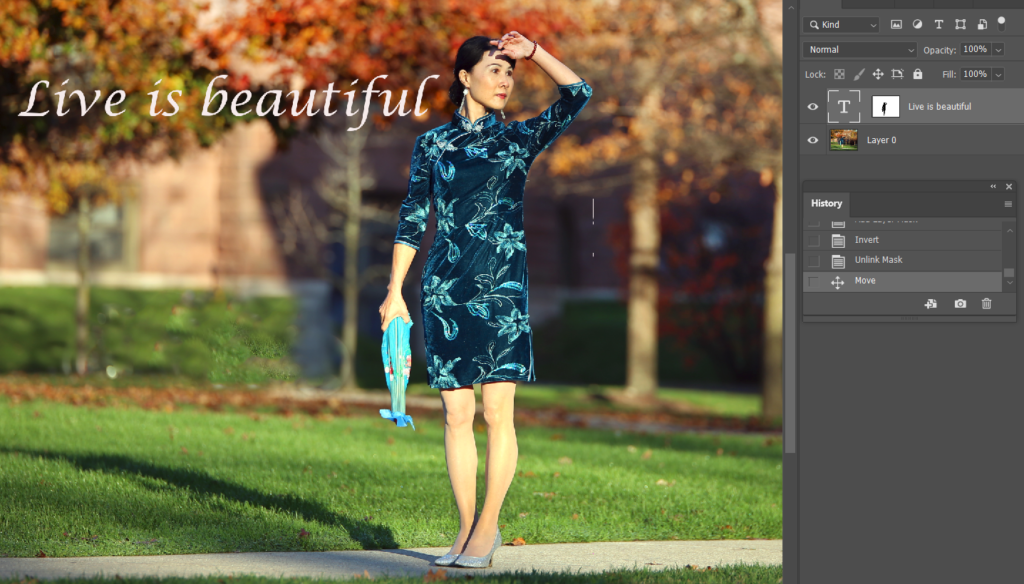
You can double click on the Text layer to change the text. Or click Move tool to move the words.
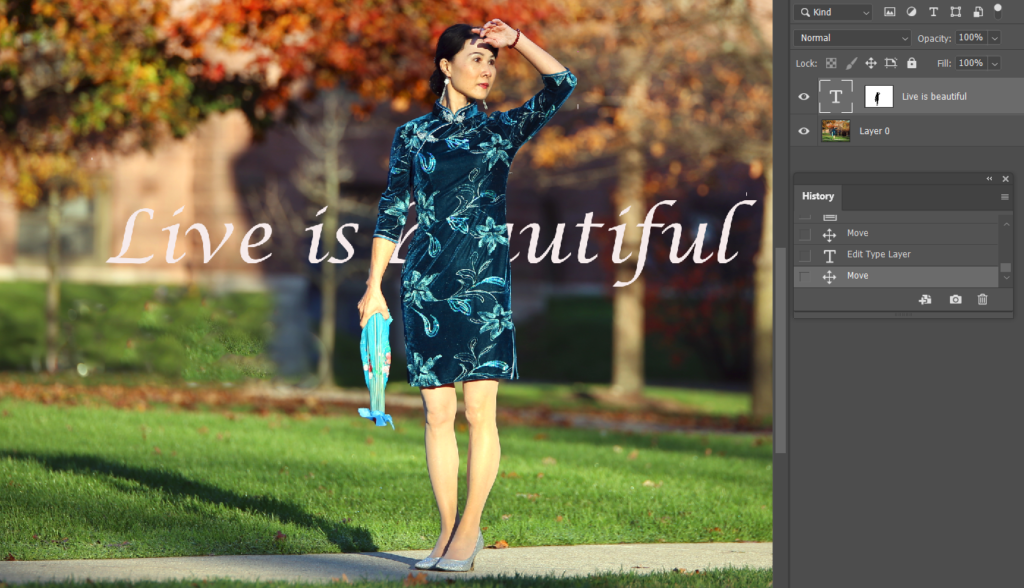
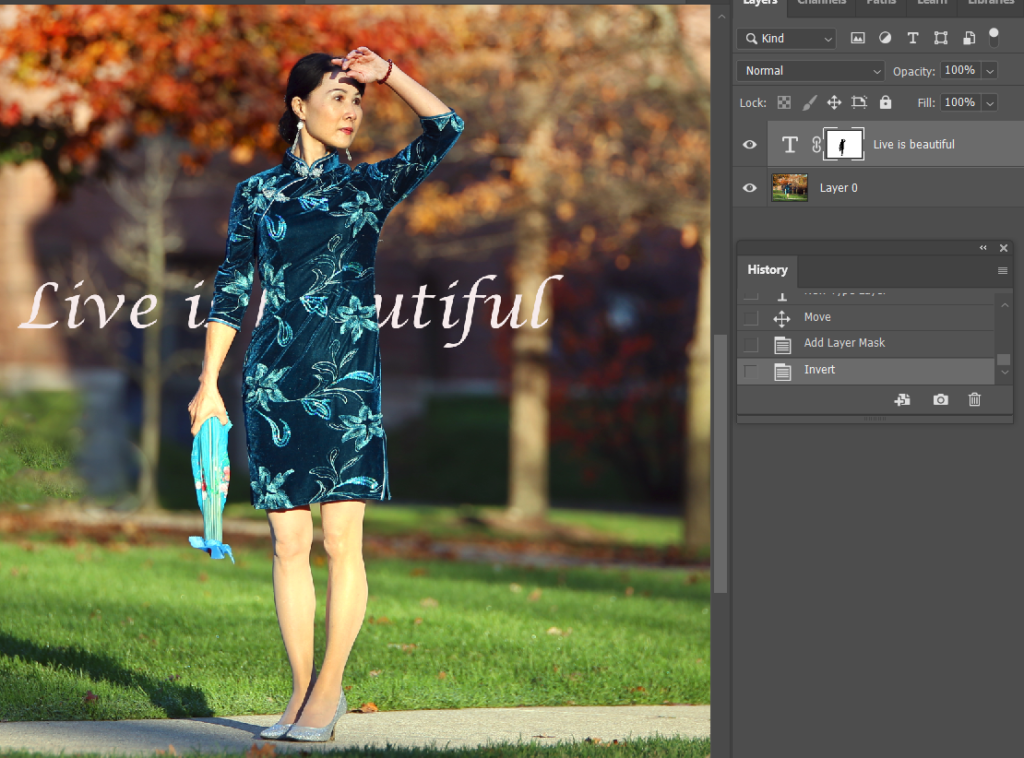
3. If you want to display the image behind text, use select tool to select the area.
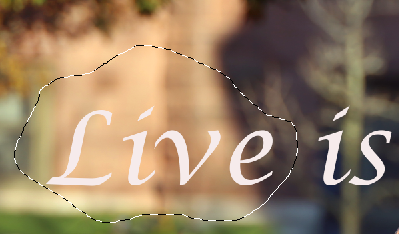
Make sure the selected image is highlighted
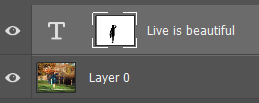
Use Brush tool with Black background, brush the word Live. The background show up.
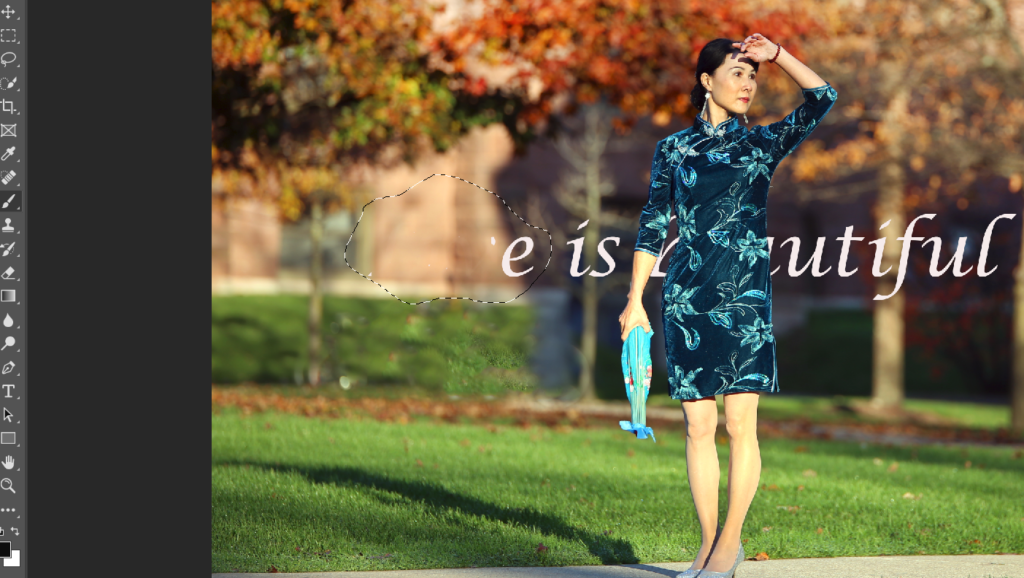
4. To add one more layer between original layer and select/Text layer, host Control key click on Create a new layer.
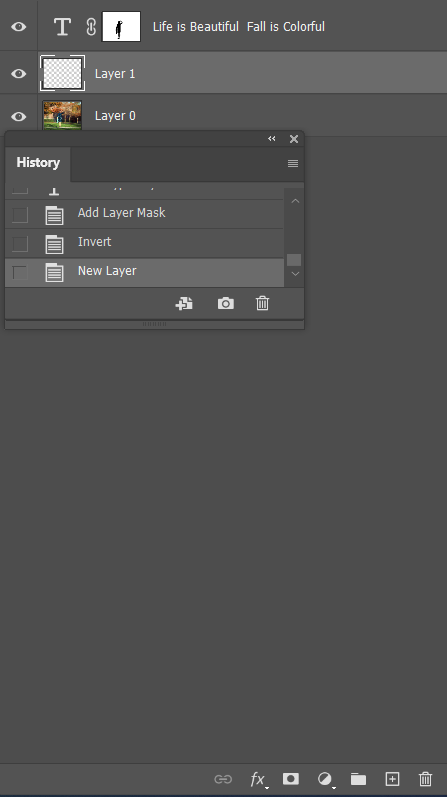
Make sure the black background is selected, and Hold Alt key click Backspace. You have the black background.

If you have text layer highlight without link, you can move the text.
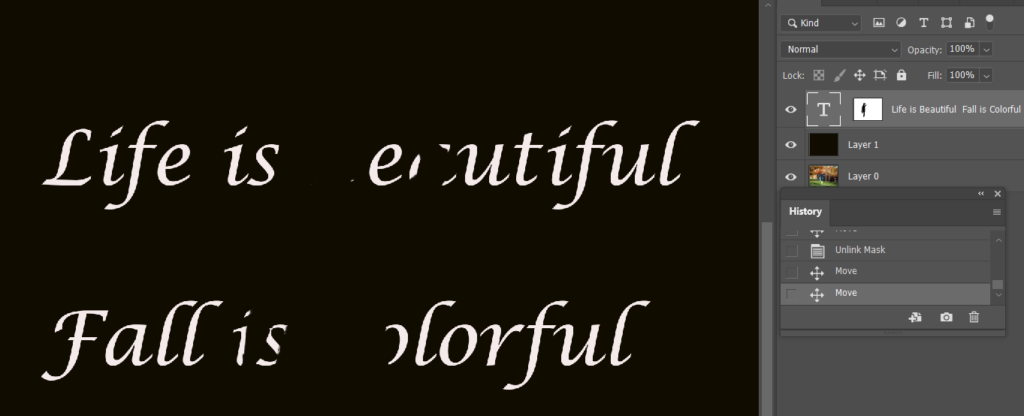
If you have selected object highlight with link, you can move the object.
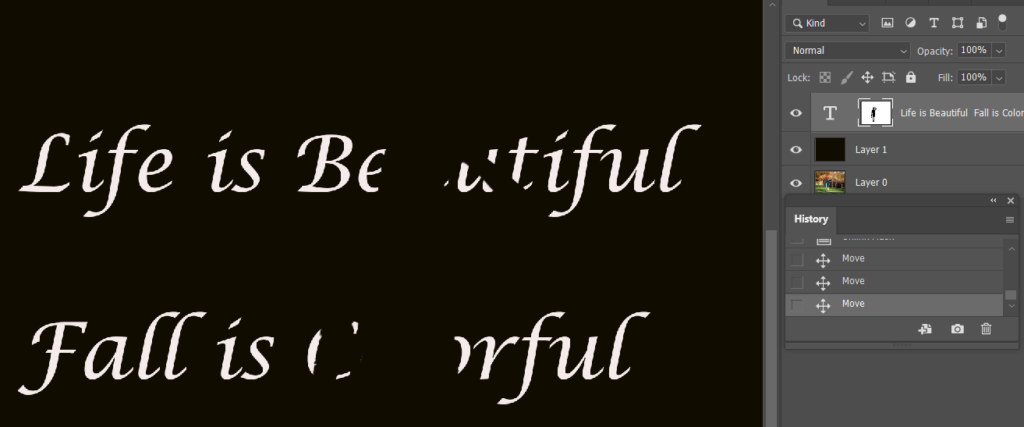
If you hold Control + T, you can large or small the object.
