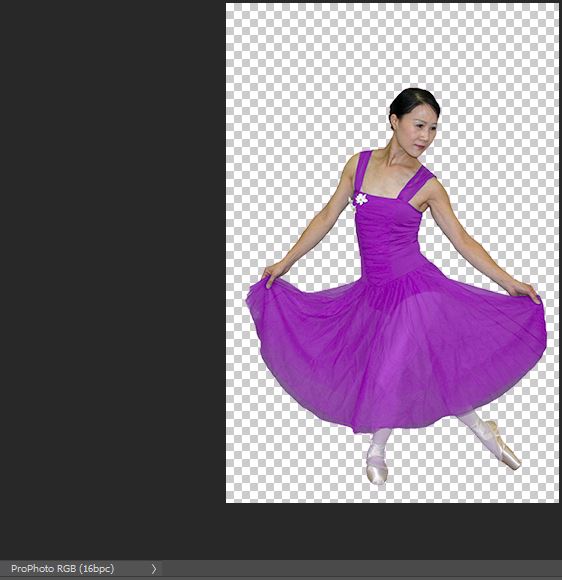
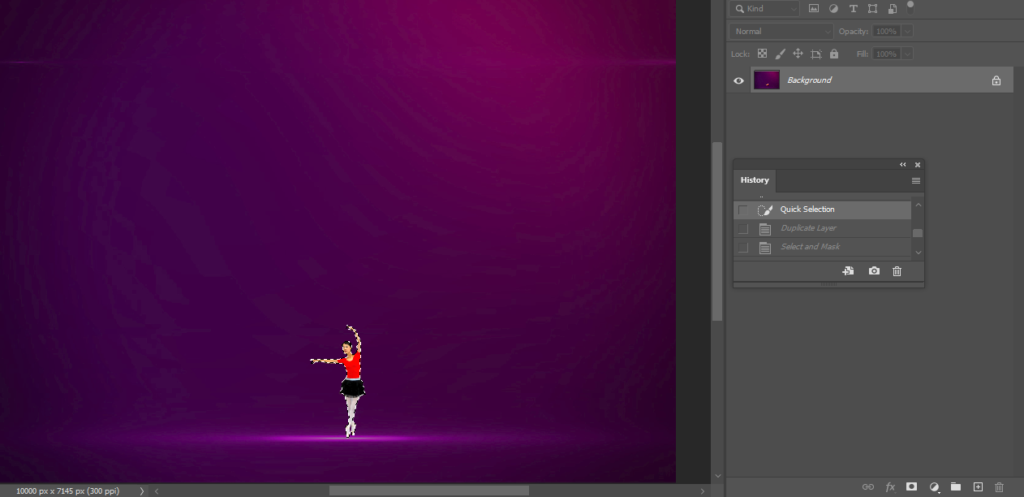
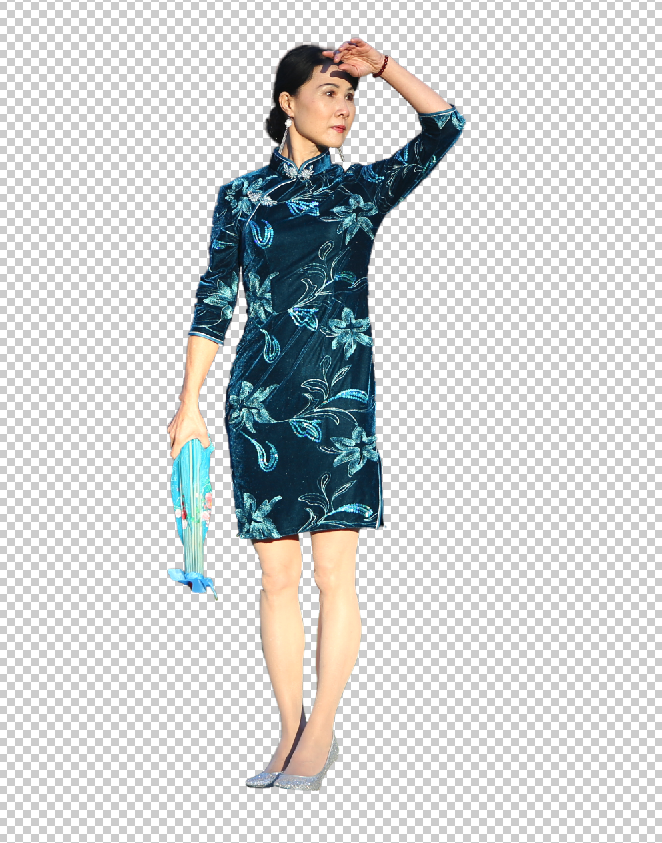
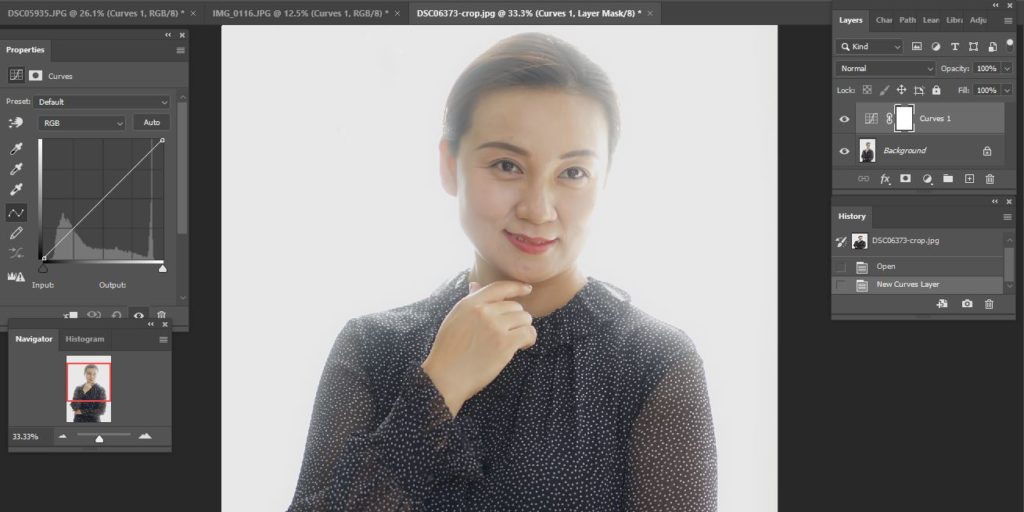
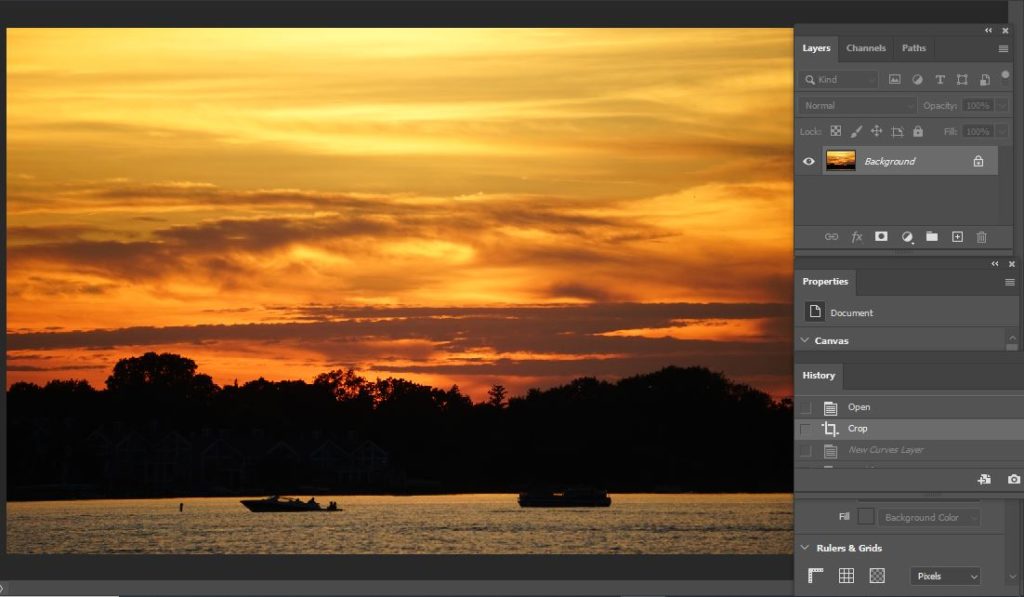
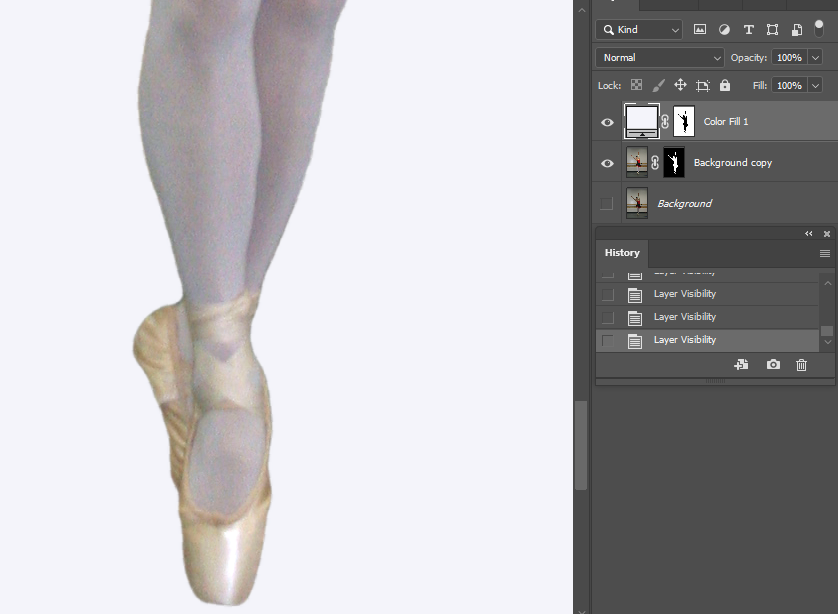
- open the image with Photoshop.
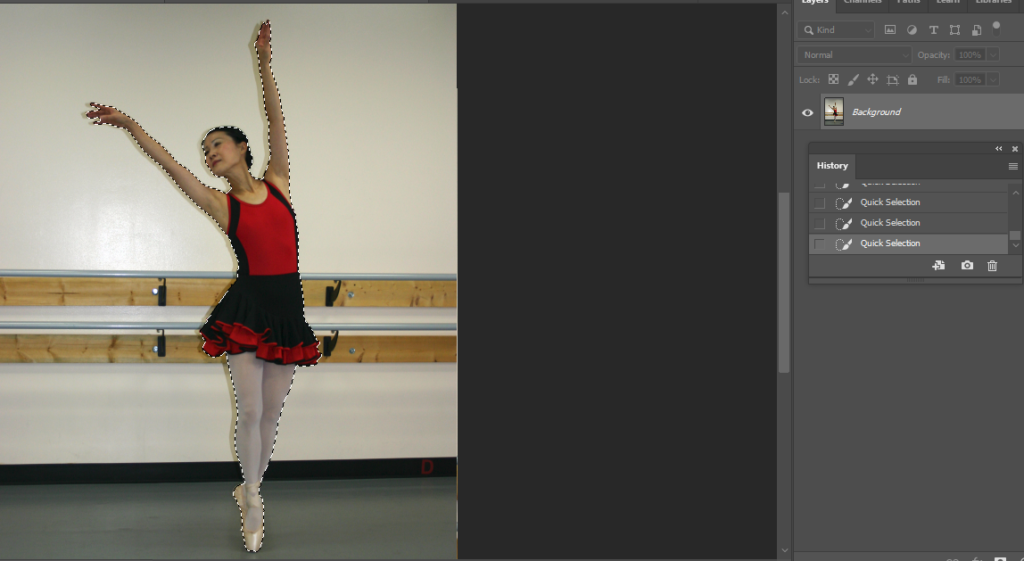
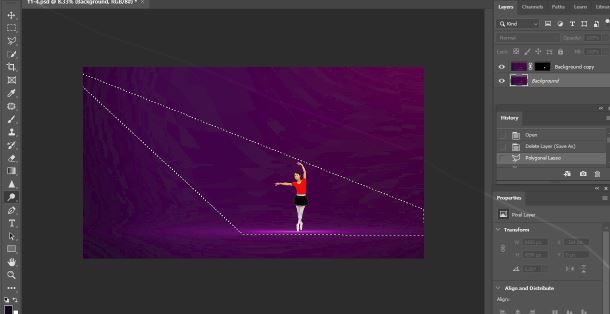
2. Use the Selection Tool to select the object.
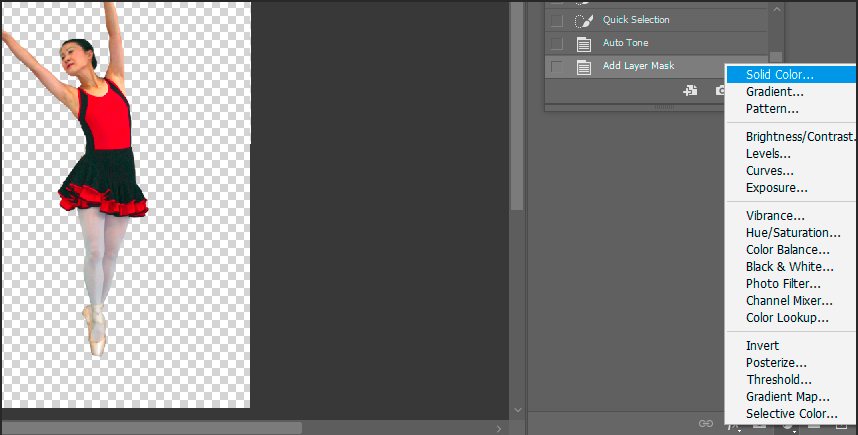
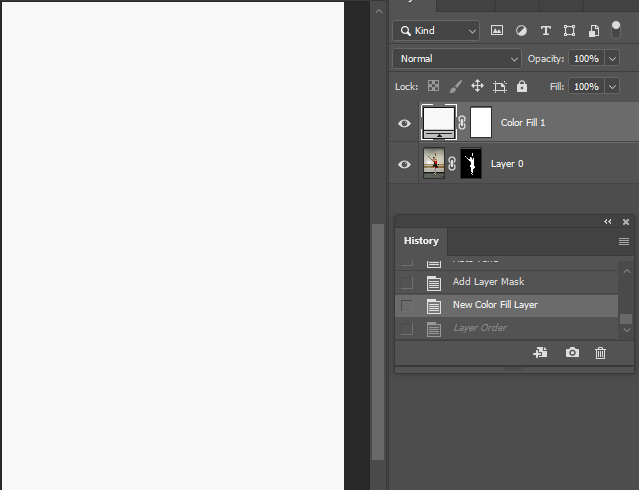
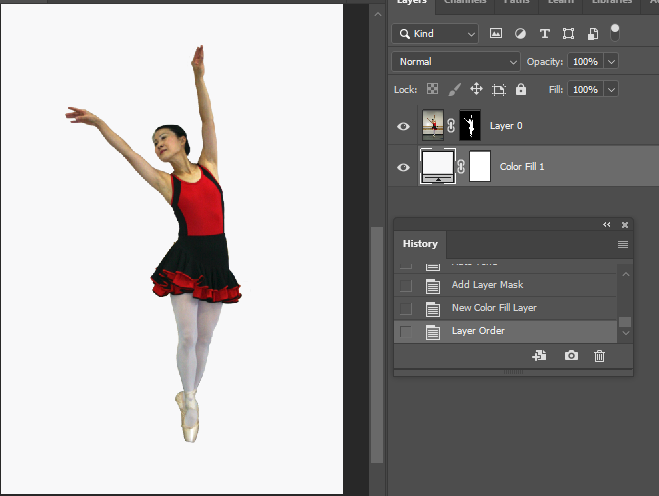
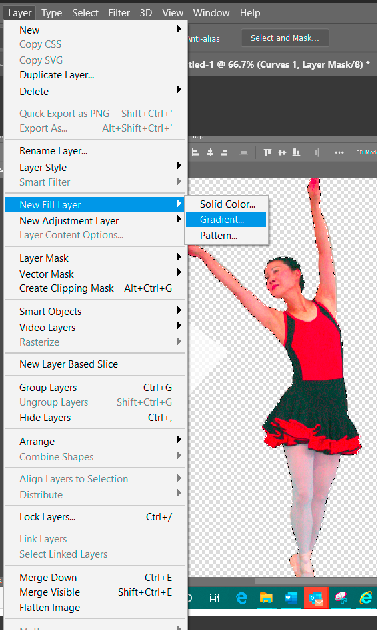
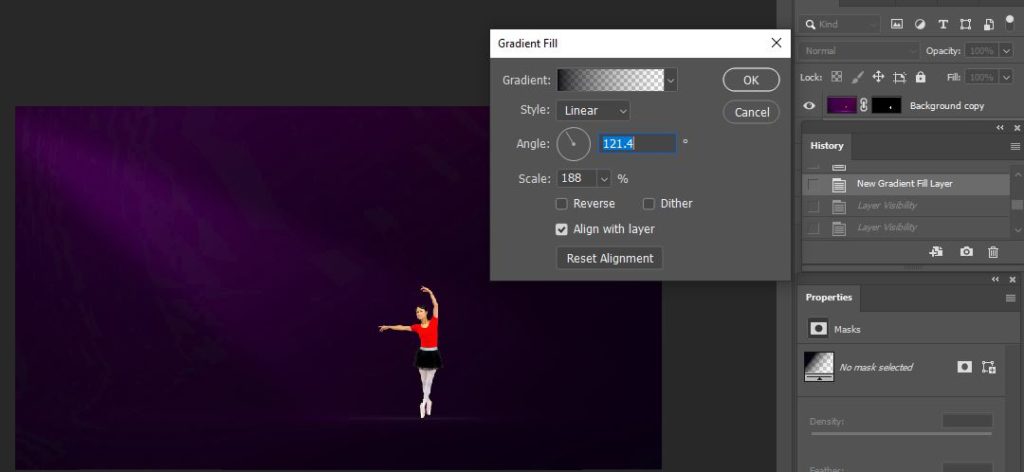
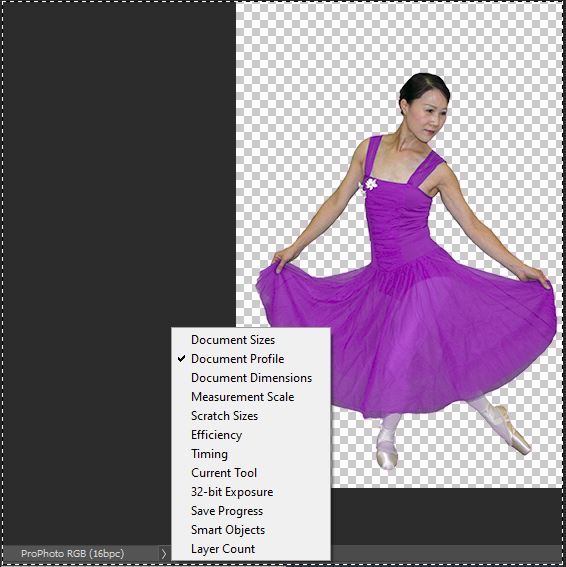
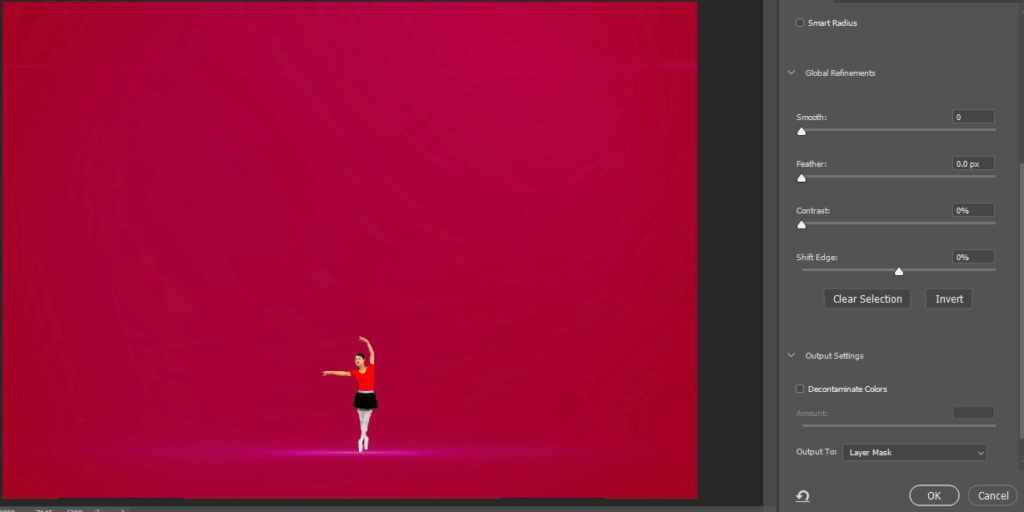
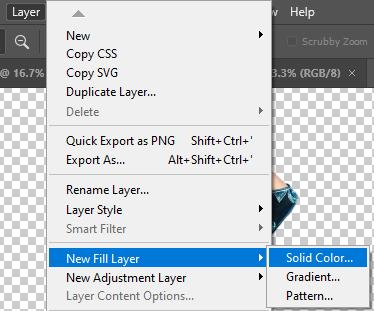
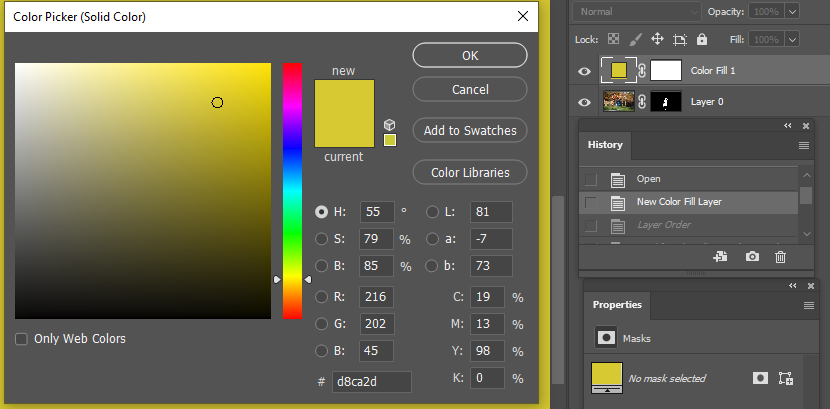
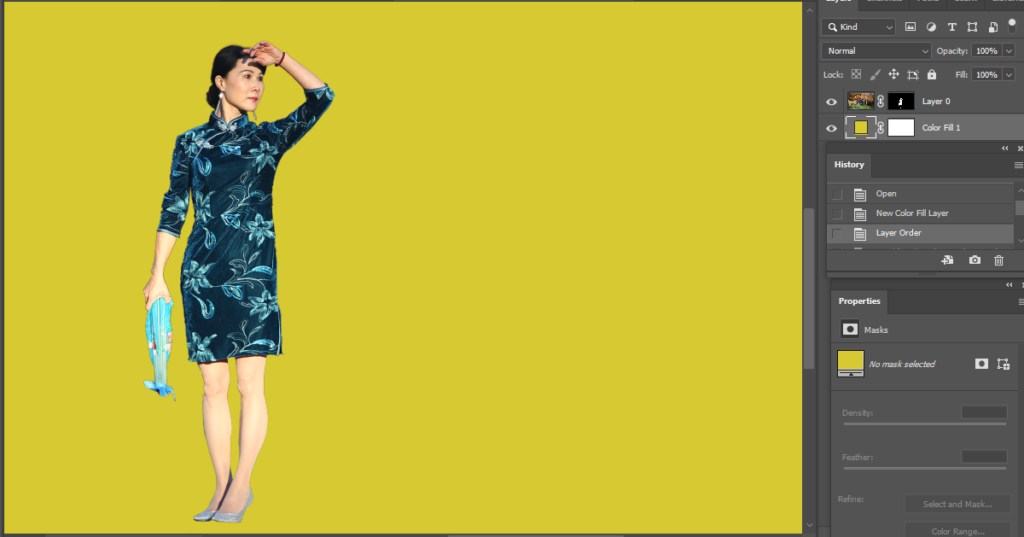
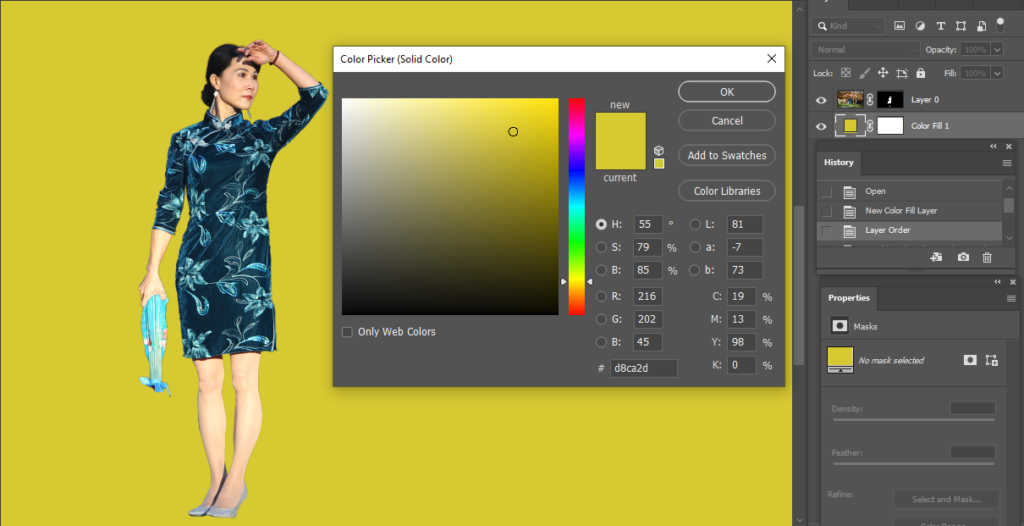
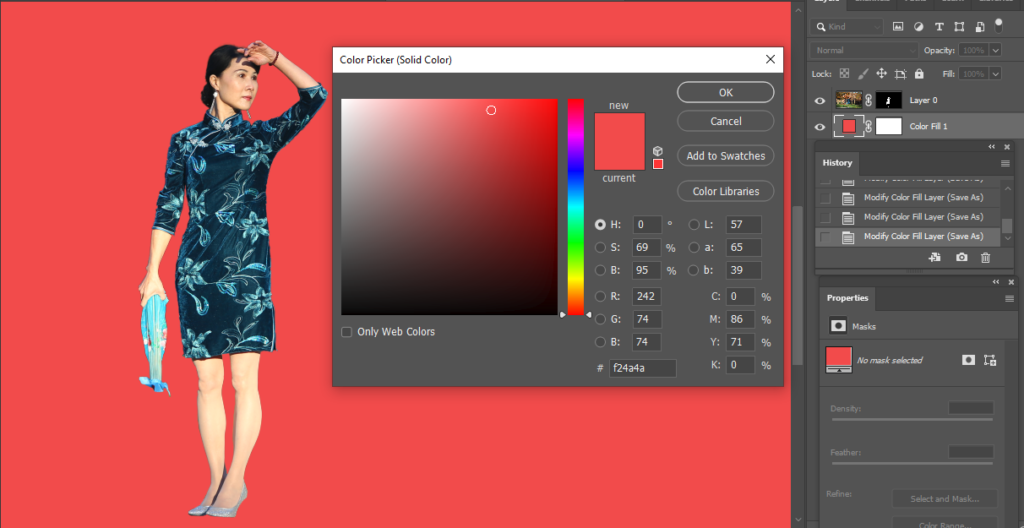
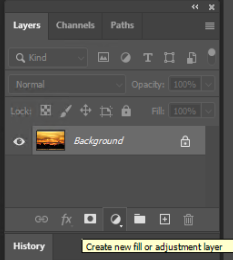
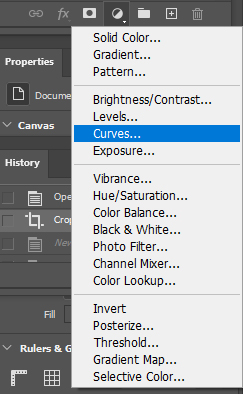
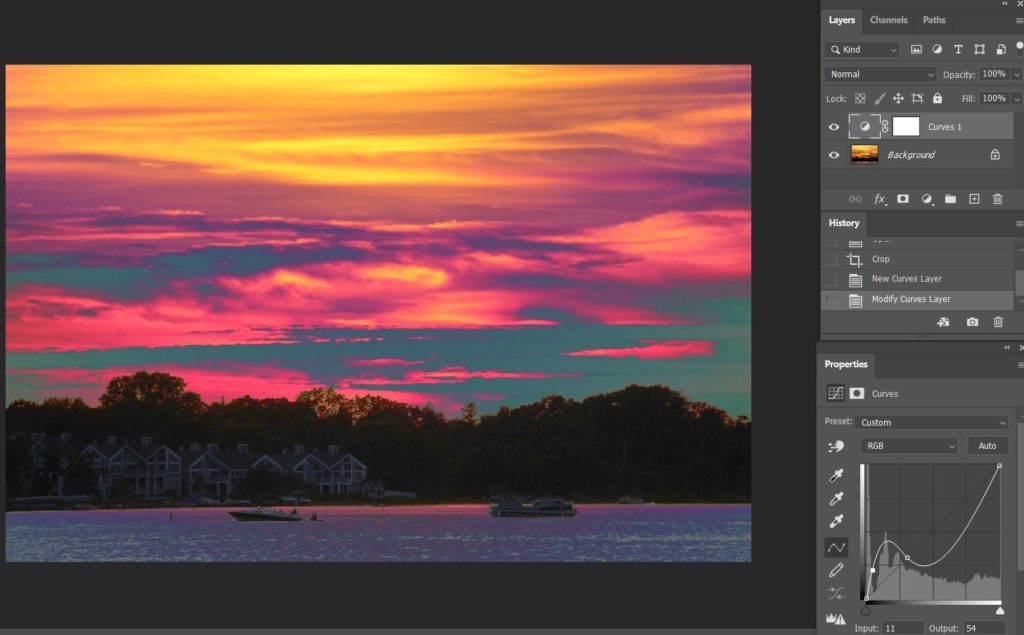
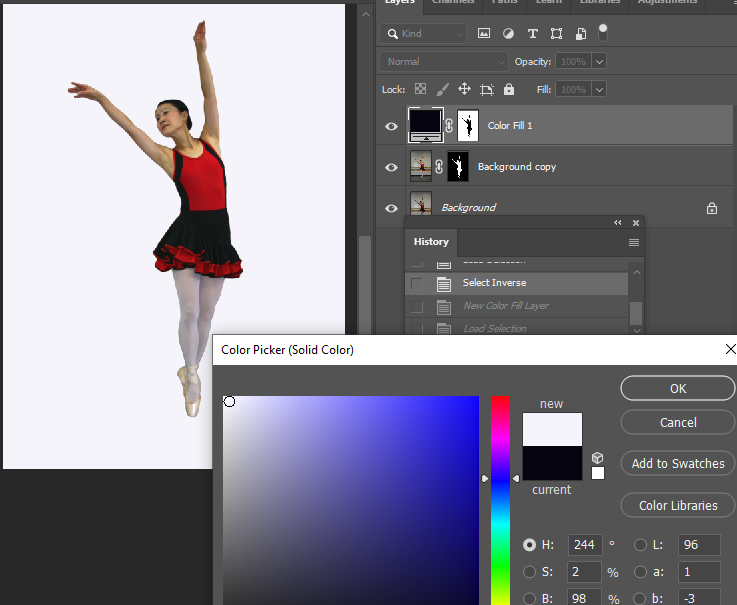
3. To easy to compare, change the background color. In Select menu, select inverse. Click on Create new fill or adjustment layer icon and select Solid color. Choose white color in out case.
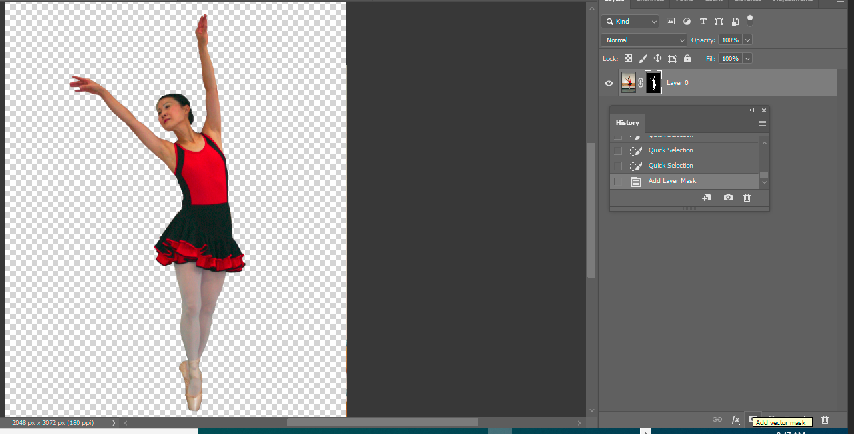
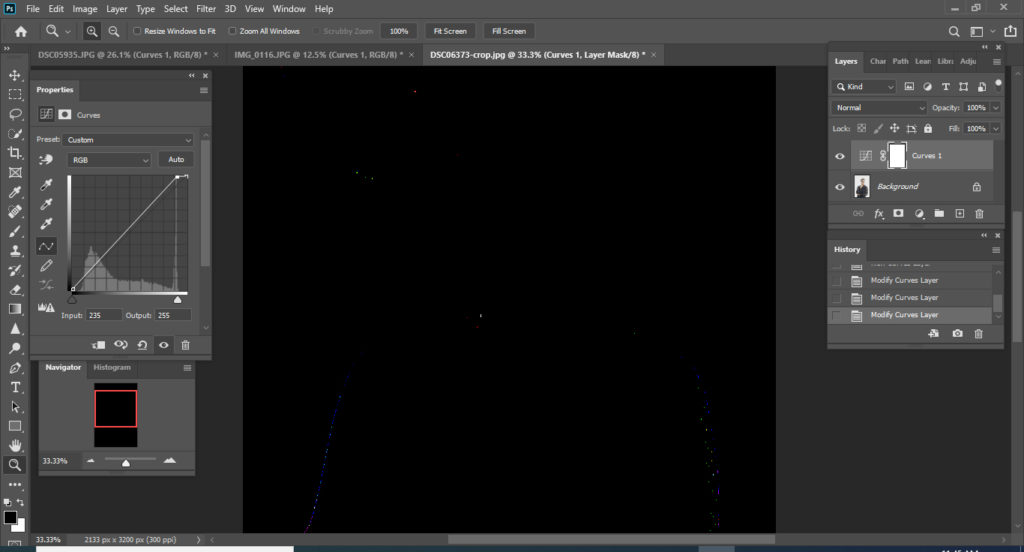
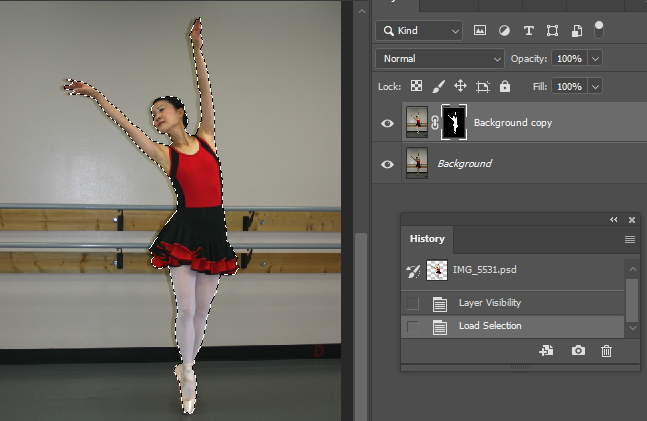
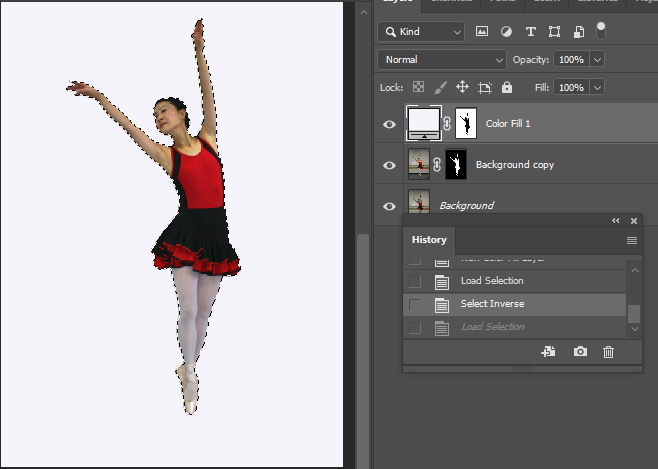
4. Hold CTR + Click on the object and then Inverse to selected object.
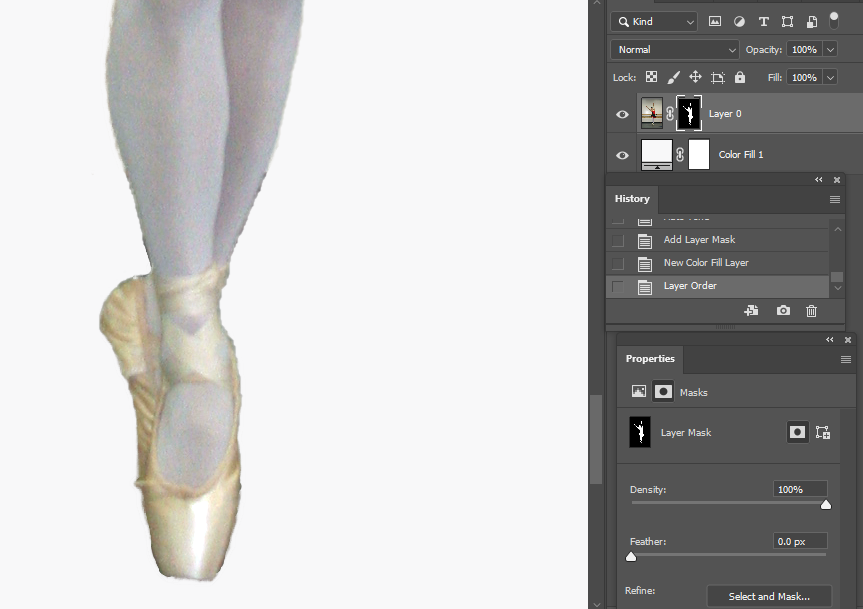
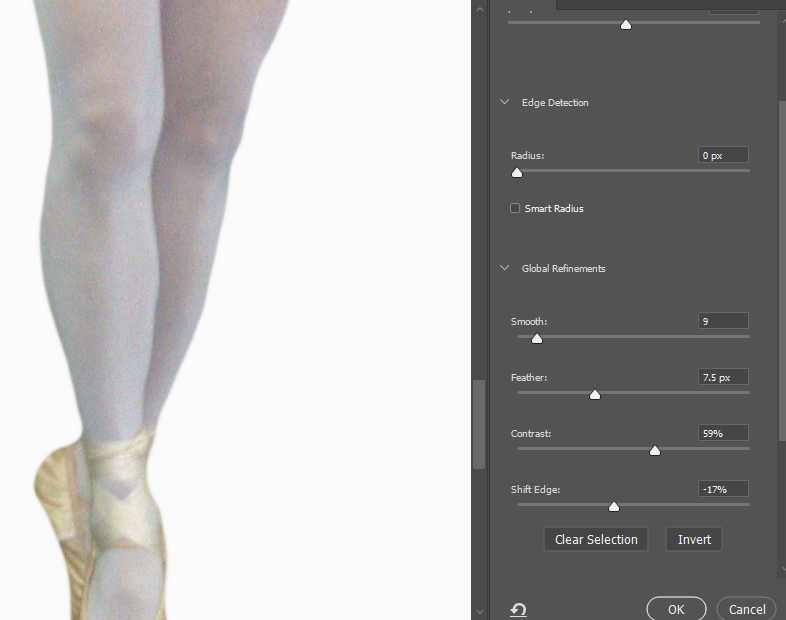
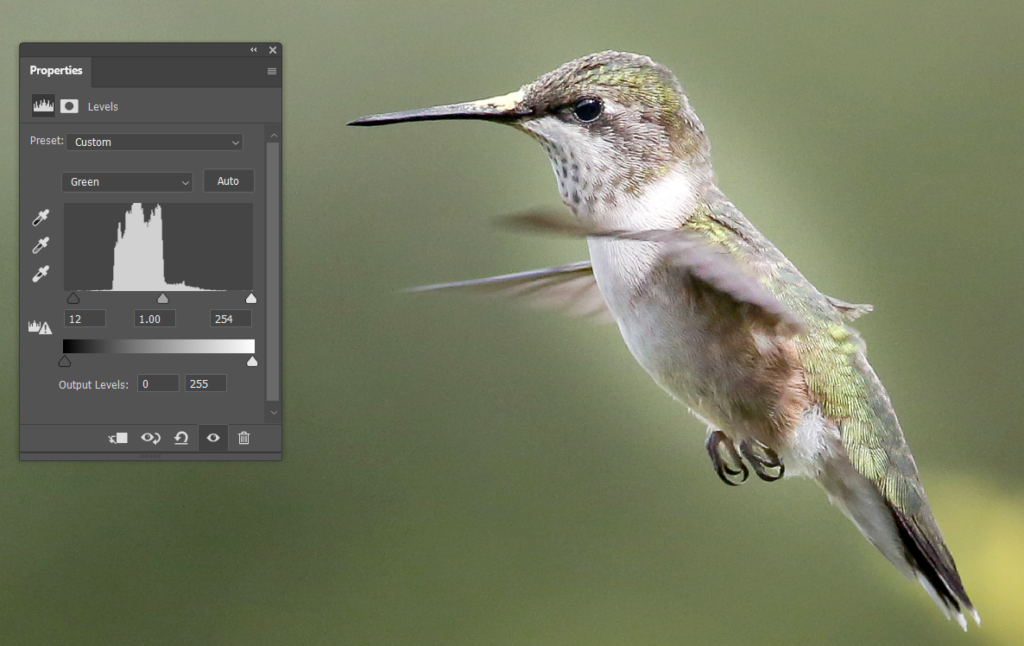
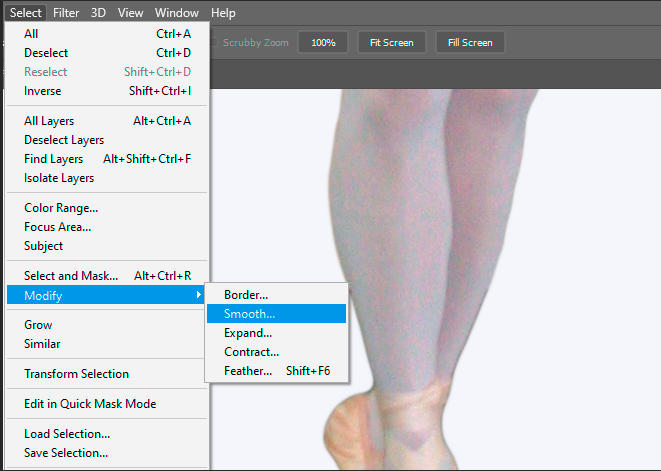
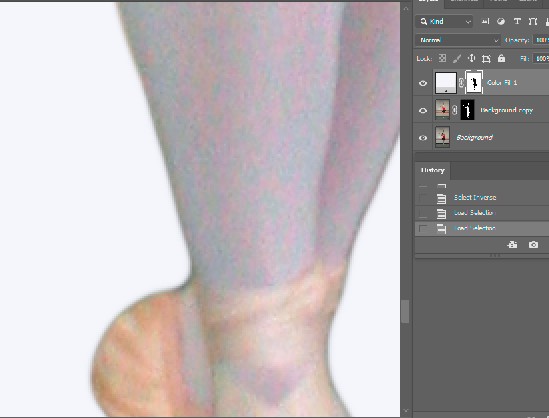
5. Enlarge the image. Then go to Select>Modify, adjust Smooth, Contract and Feather. Note: to hind selected line, hold CTR+H.
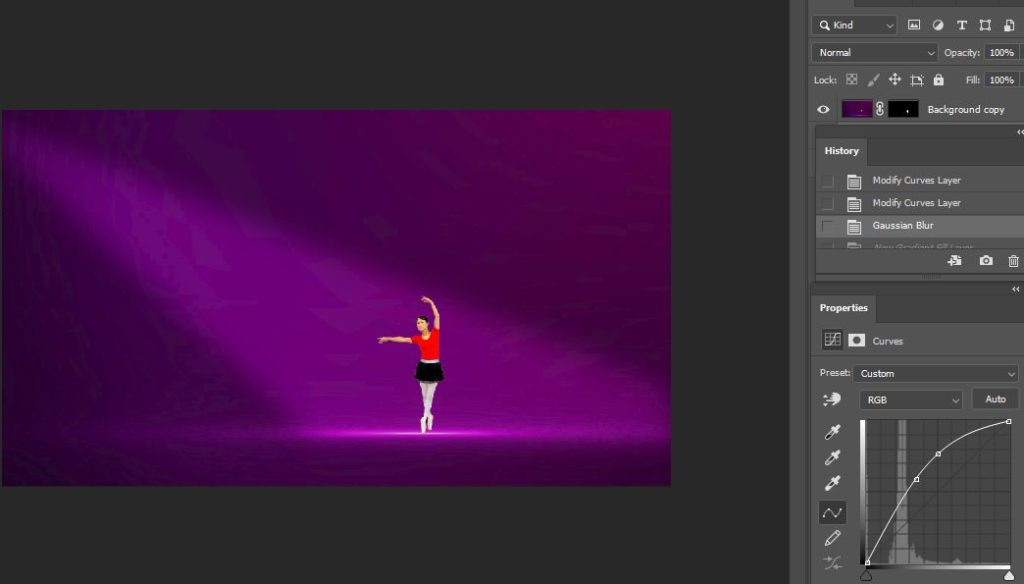
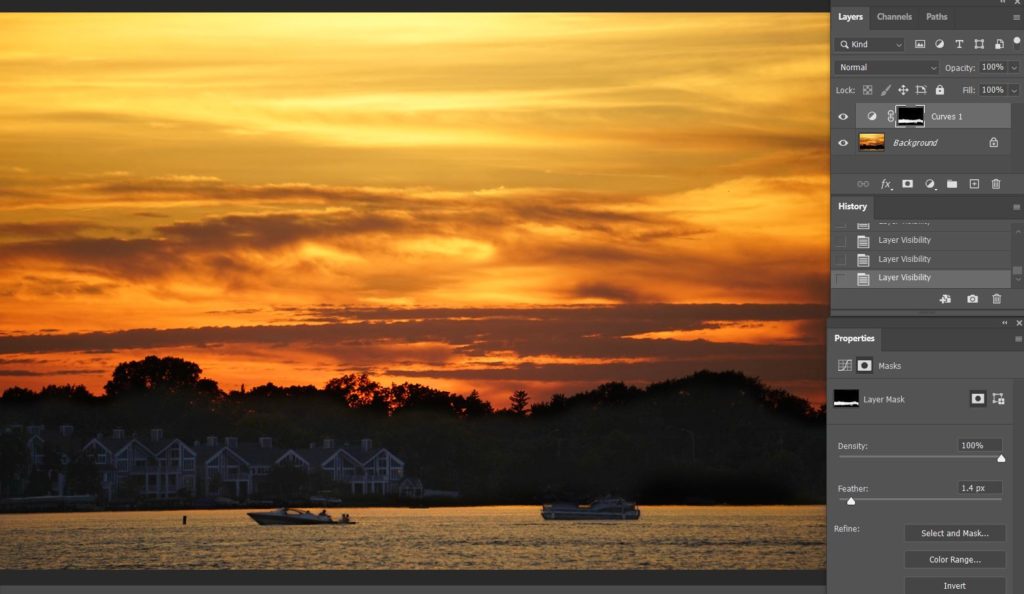
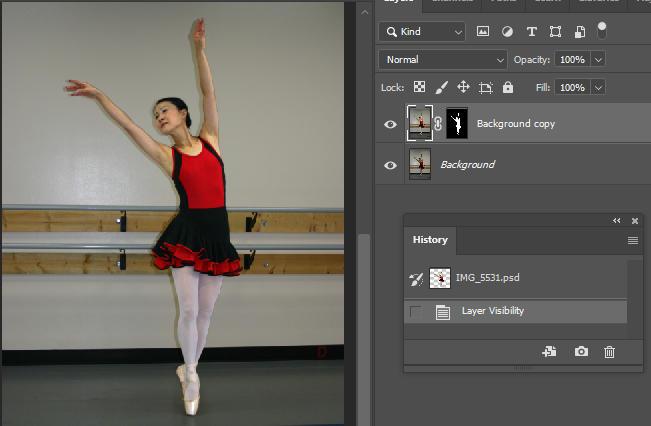
6. To compare before and after, click on the eye icon on the original layer.
Before
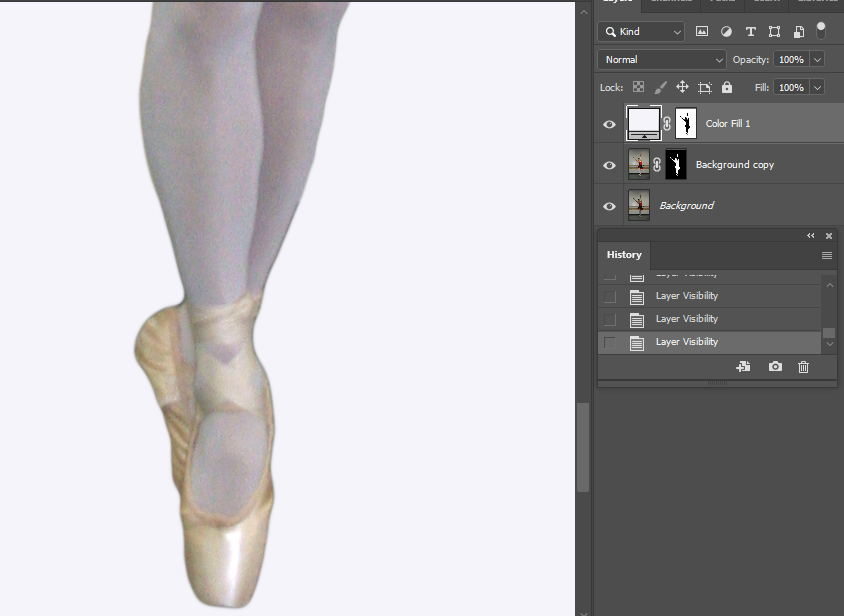
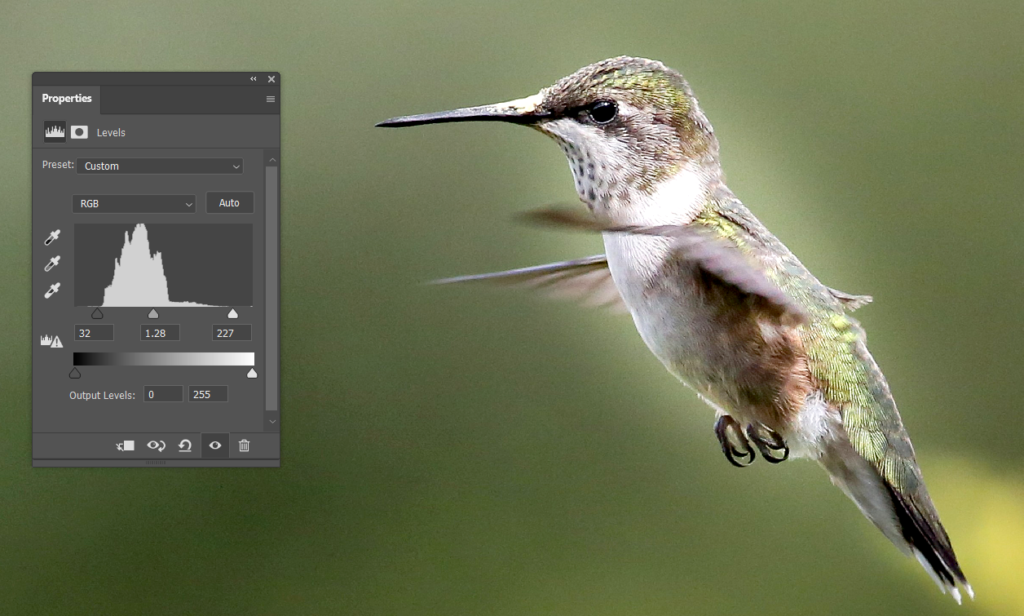
After
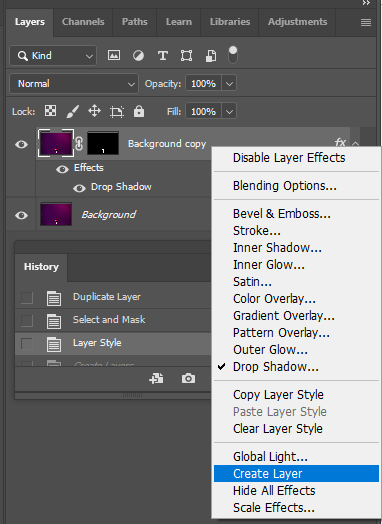
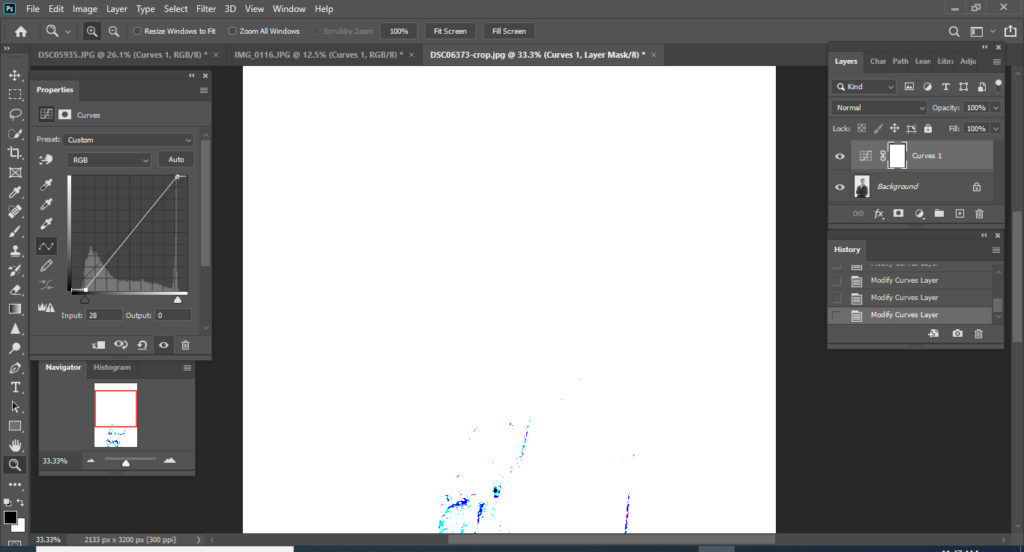
7. Now, make sure the select object and then inverse.
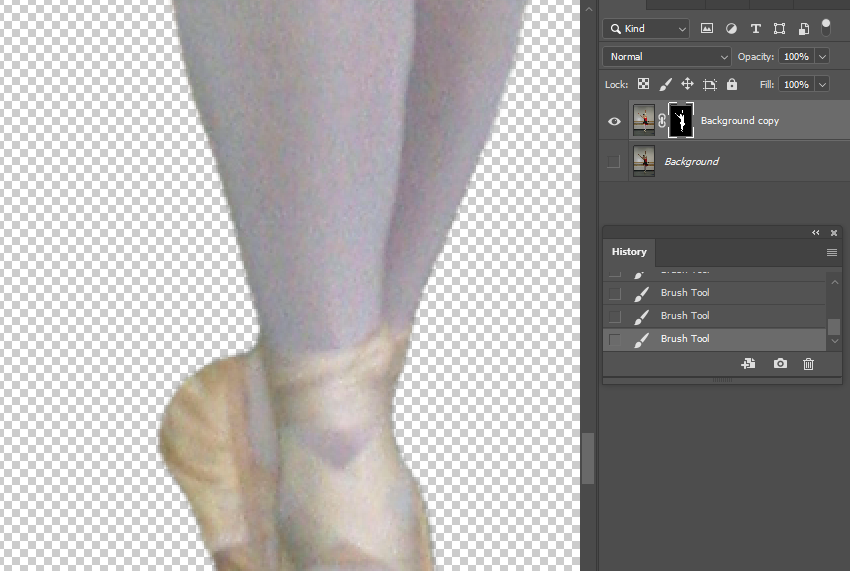
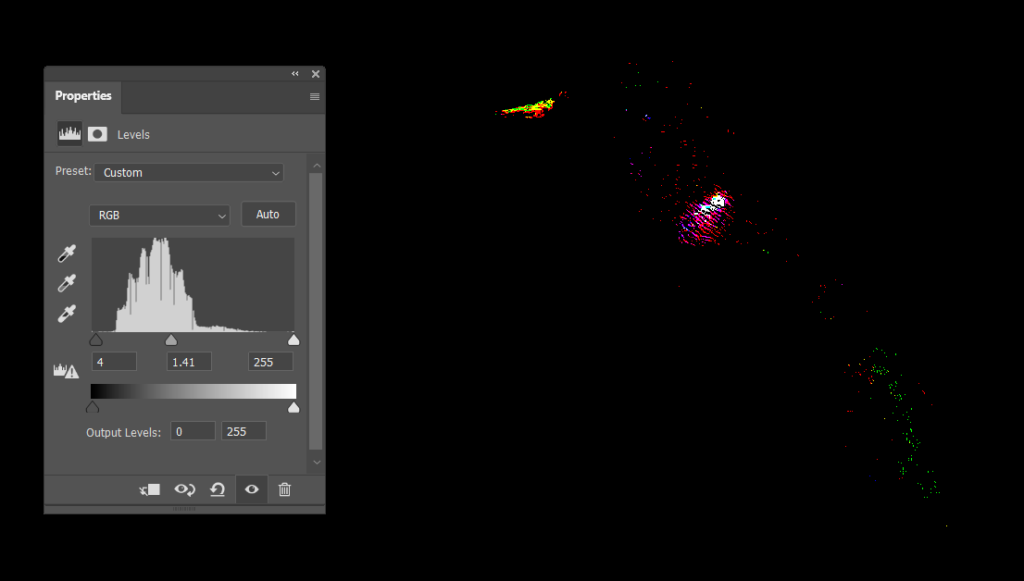
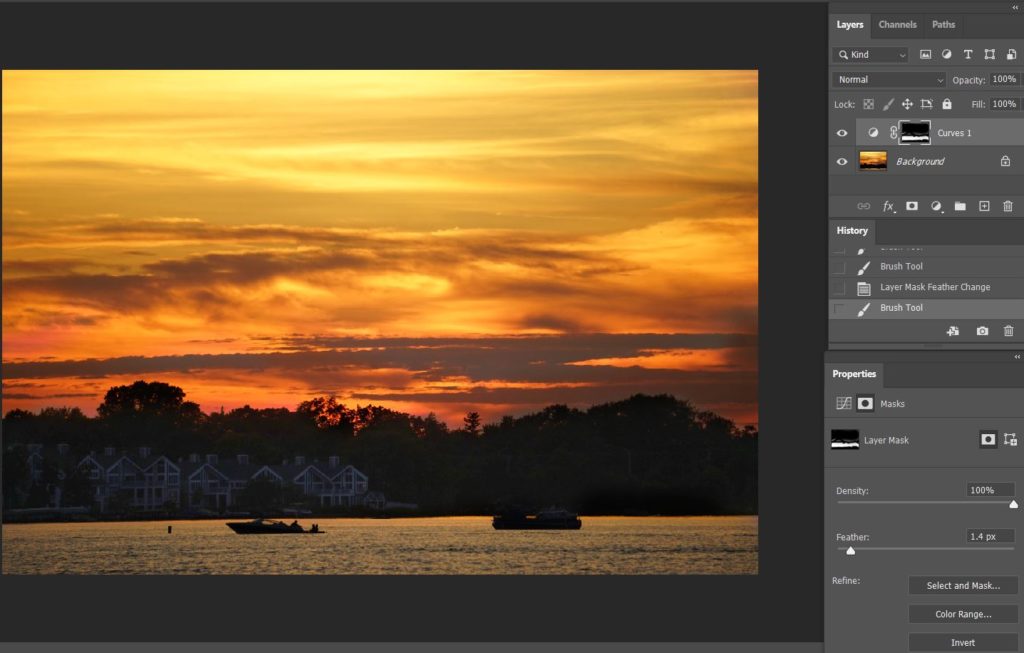
We will fix the dark edge of the object. Also make sue the color is black.

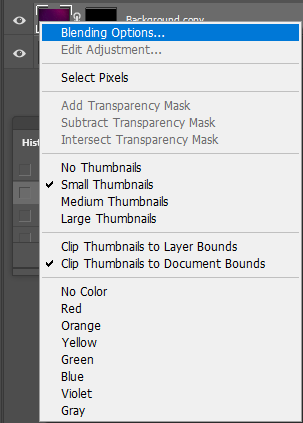
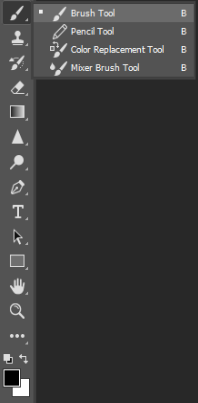
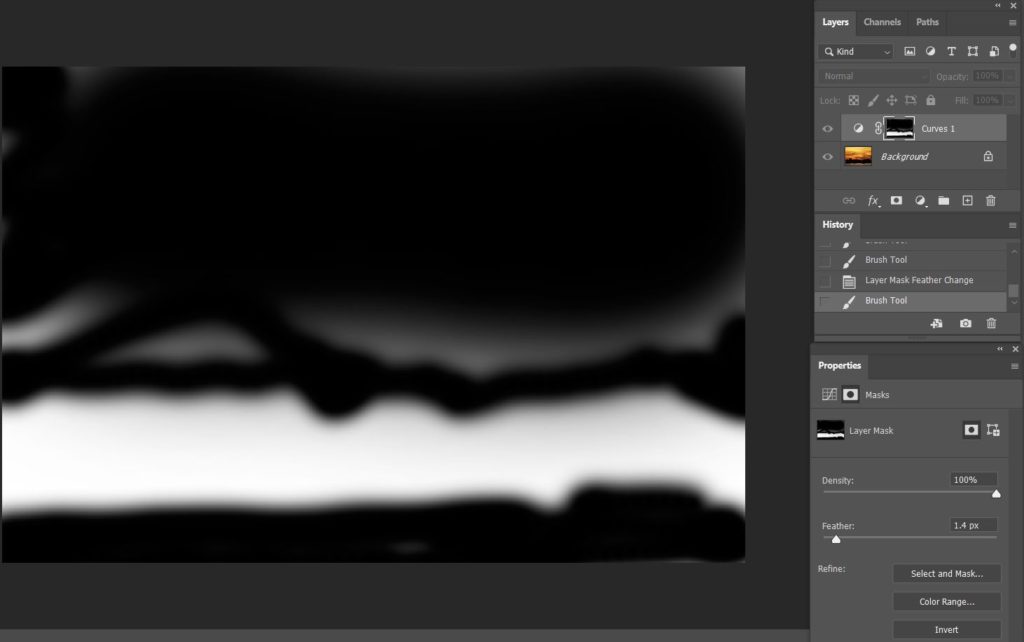
Select Brush Tool and brush the edge. This is before.
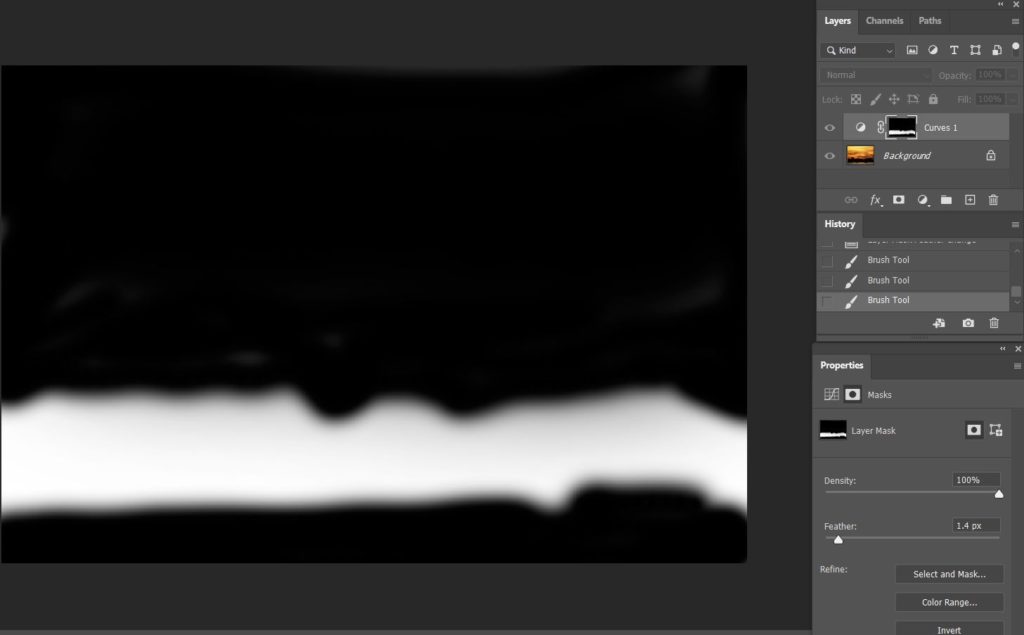
This is after.