- Always adjust White Balance first. You can do it manually or use White Balance Tool.
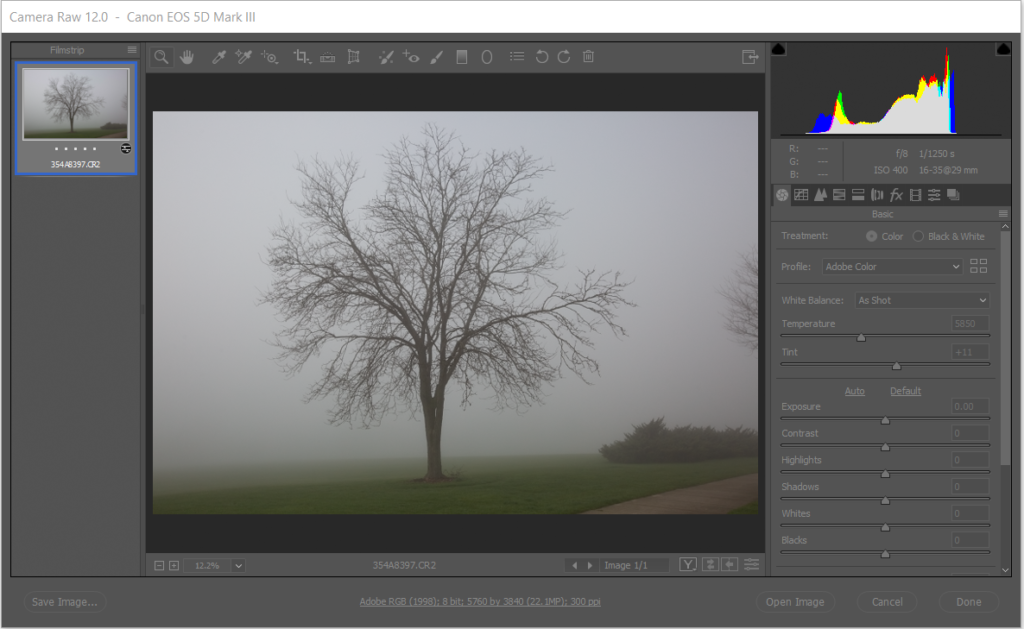
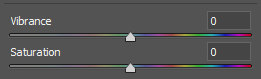
2. Vibrancy and Saturation. Note: don’t do too much on Saturation.
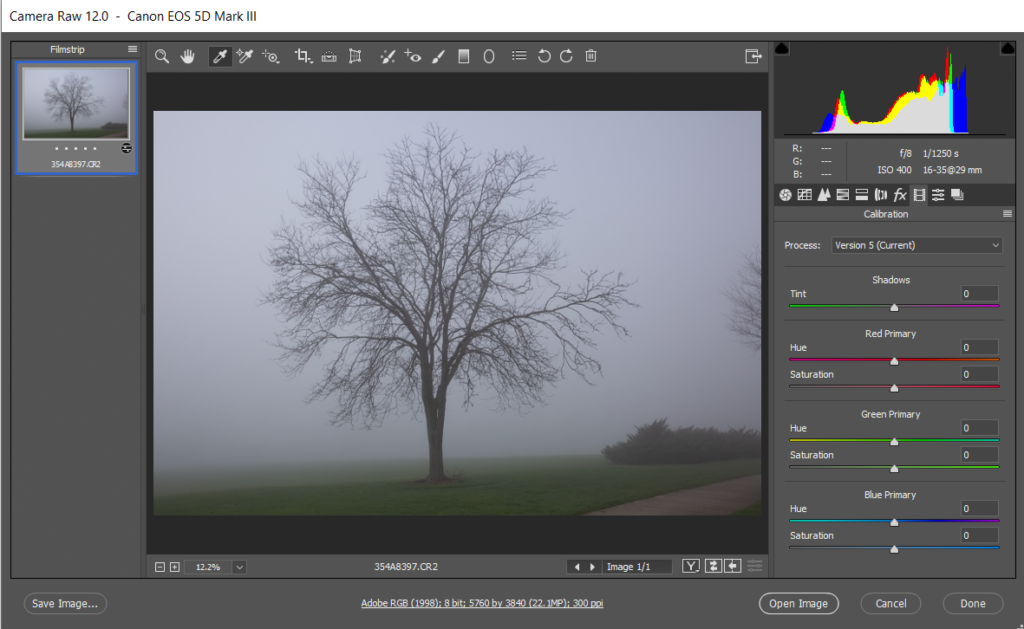
3. Calibration. Pay more attention to Blue Primary, Blue Hue.
4. Split Tone or Tone curve.
2. Vibrancy and Saturation. Note: don’t do too much on Saturation.
3. Calibration. Pay more attention to Blue Primary, Blue Hue.
4. Split Tone or Tone curve.
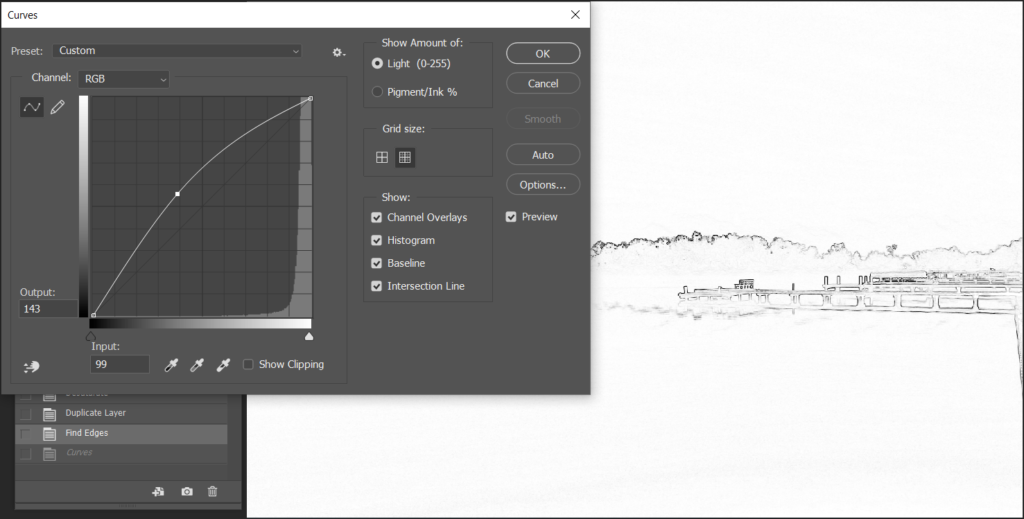
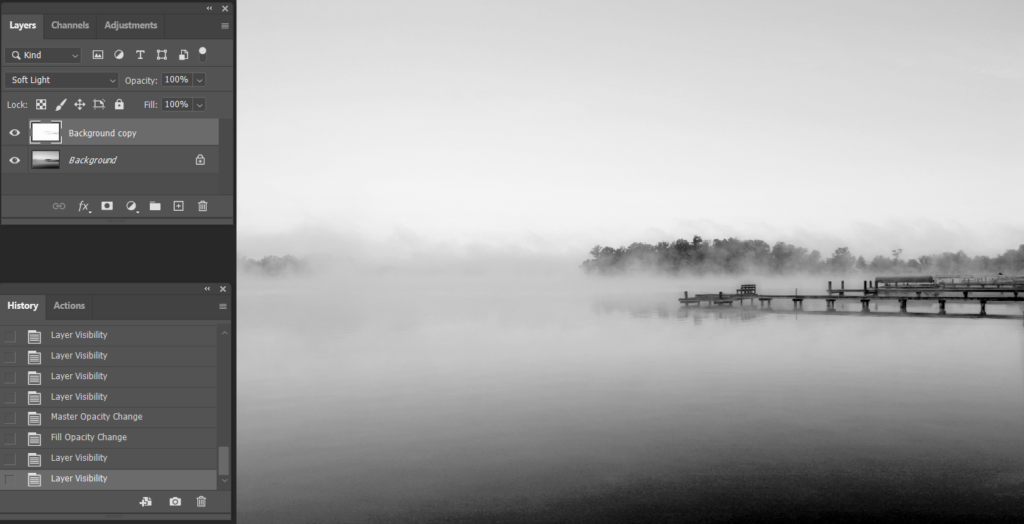
2. Desaturate by going to Image>Adjustments>Desaturate.
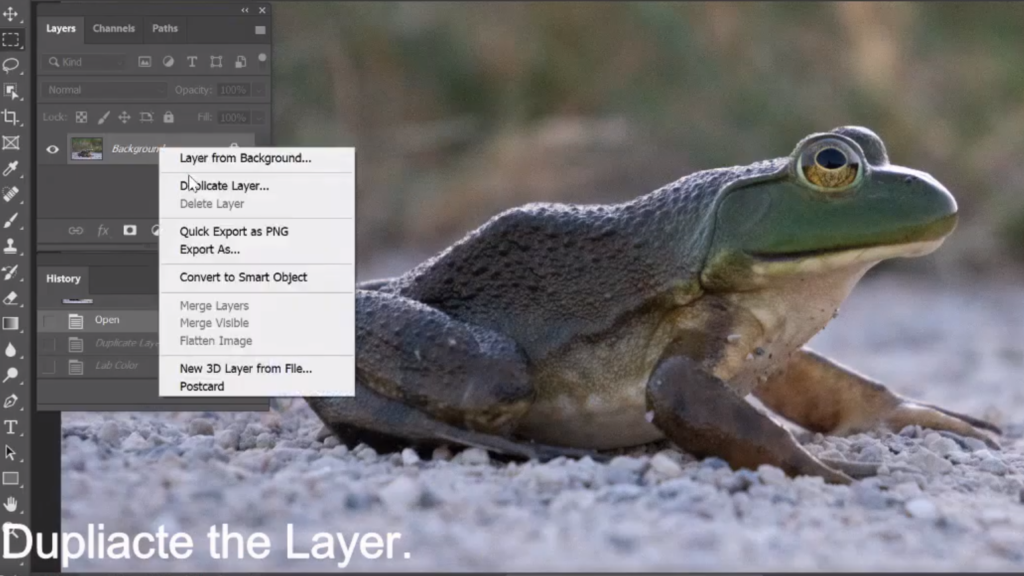
3. Duplicate the layer. Go to Filter>Stylize>Find edge.

4. Go to Image>Adjustments>Curve to make more contract make the edge more clear.

5. Go to Filter>Stylize>Diffuse.
6. Go to Blur>Box Blur, Radius set 25 in our example.
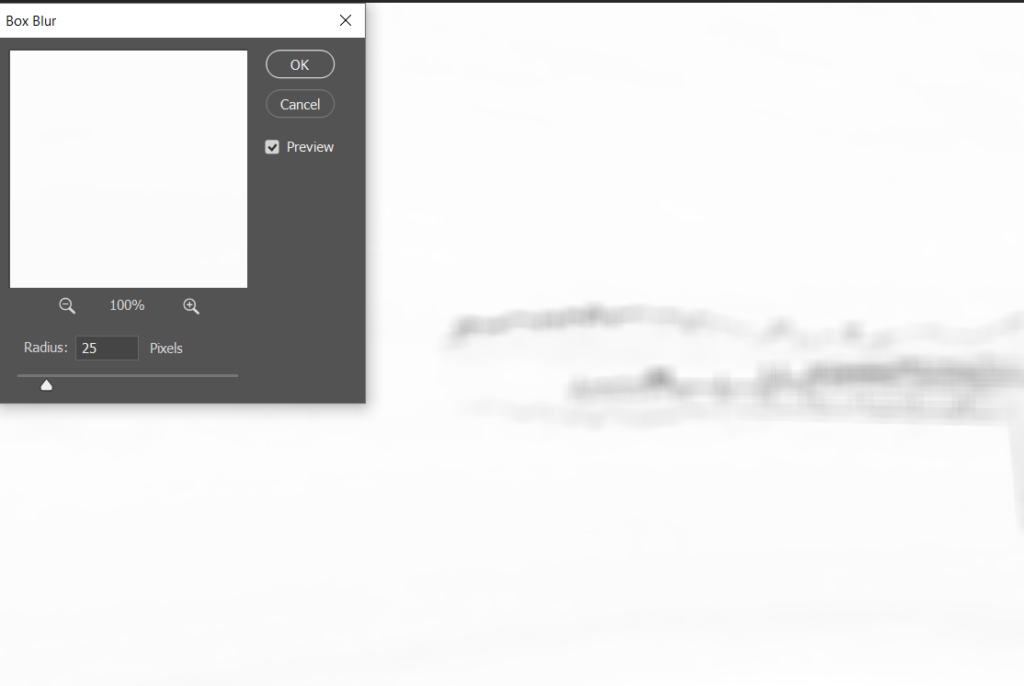
7. Change the Blending mode, Soft Light in our example. You can also adjust Opacity.
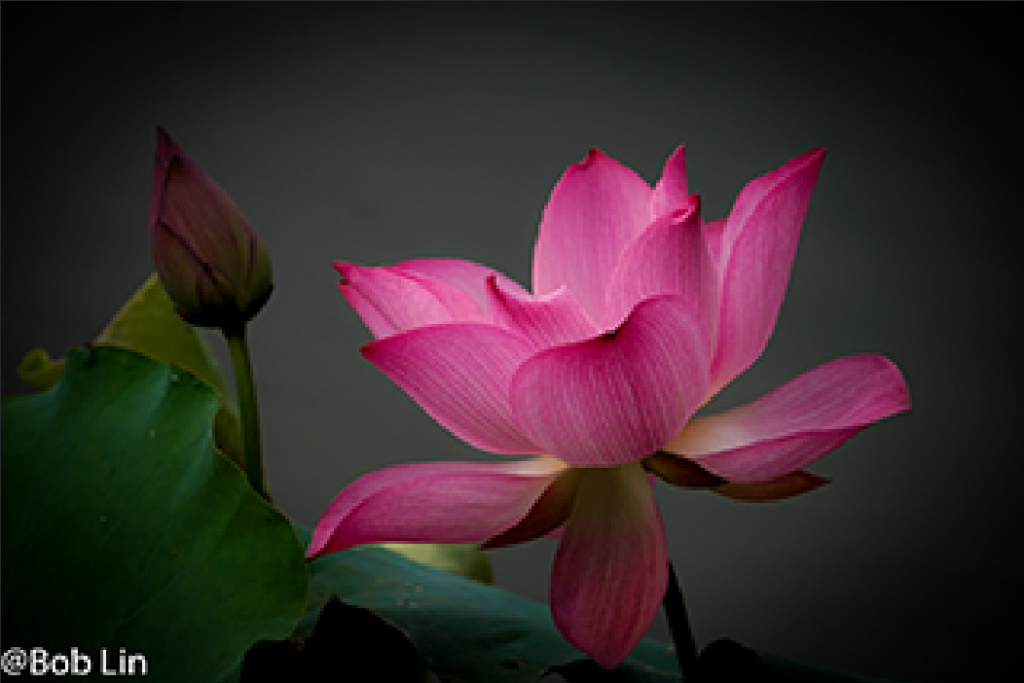
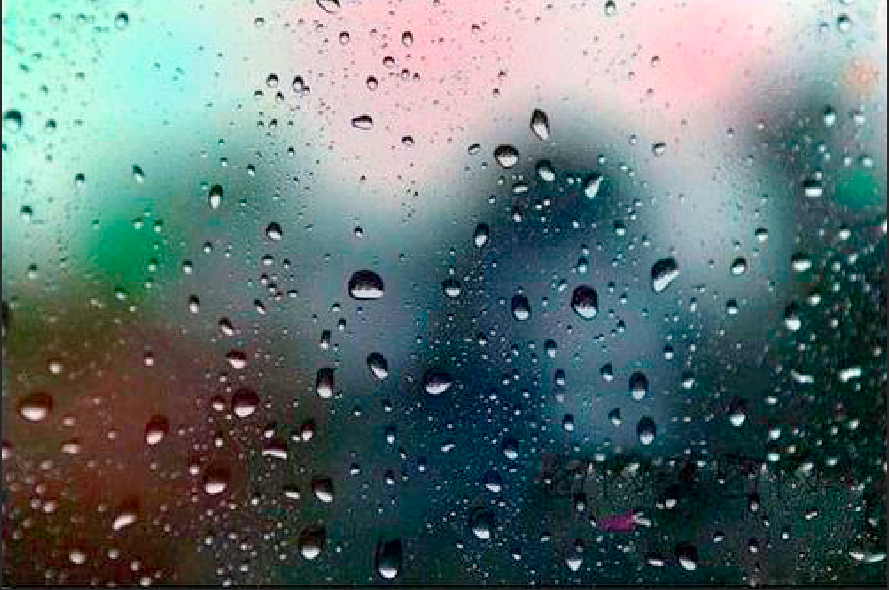
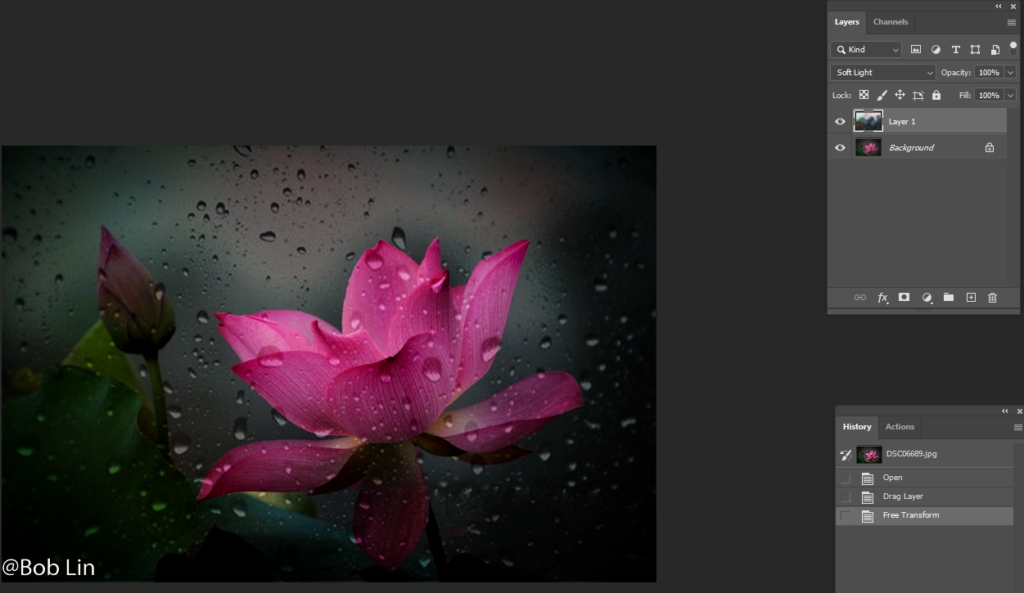
2. Move the glass image into flower.
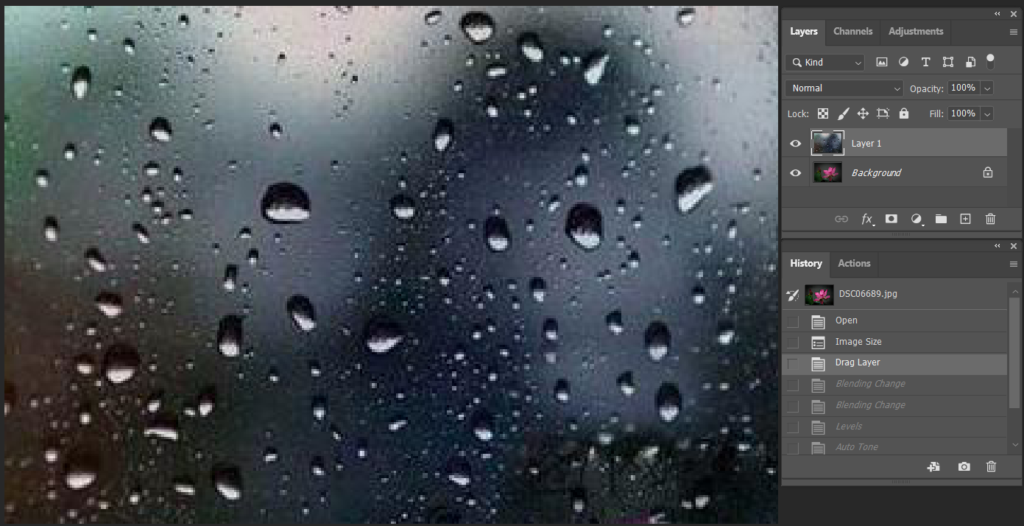
3. Change the blending mode, Soft Light in our example.
Please review the steep by step video:
In LAB color, there are two color channels and two light channels. Use light to sharpen an image is better than color sharpening. Here is how.
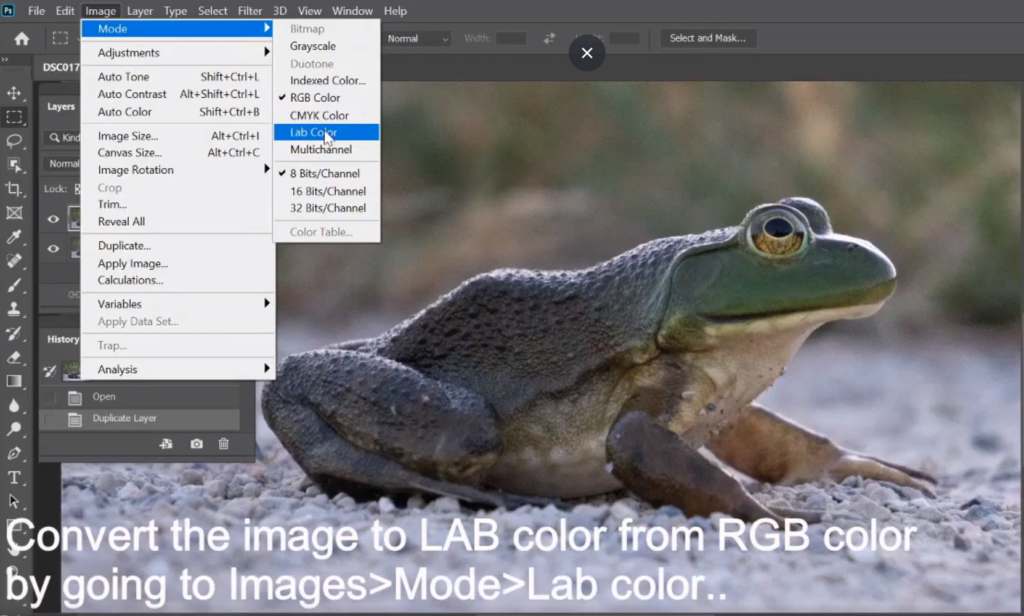
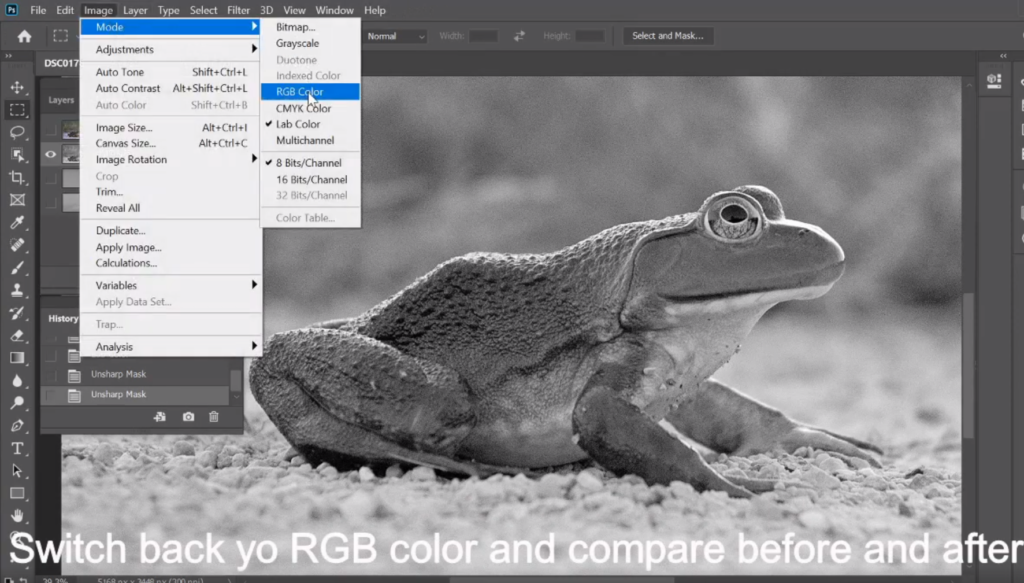
2. Convert the image to LAB color from RGB color by going to Images>Mode>Lab color.
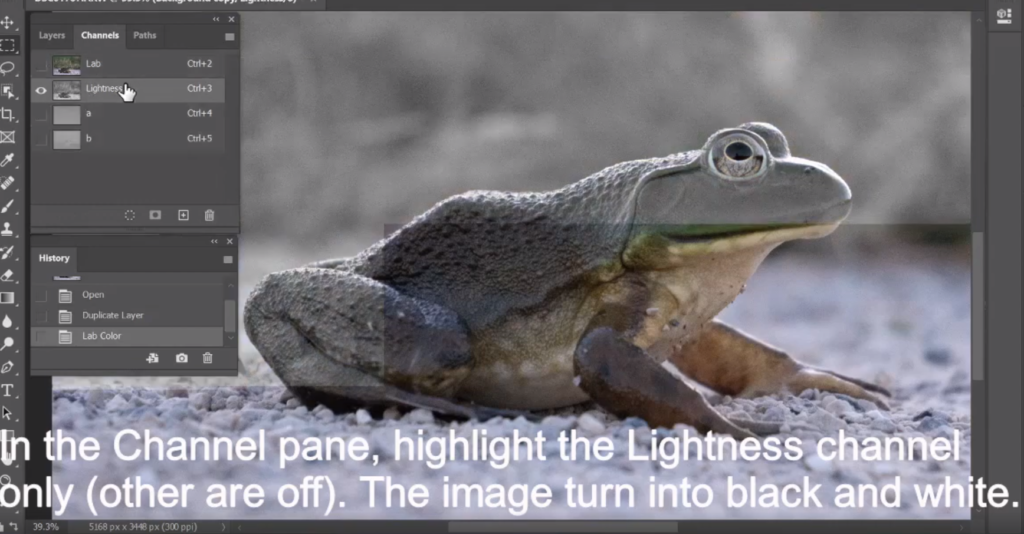
3. In the Channel pane, highlight the Lightness channel only (other are off). The image turn into black and white.
4. Go to Filter>Sharpen>Unsharp Mask. Adjust Amount and Radius. In the first time, Radius can be higher, for example 5.
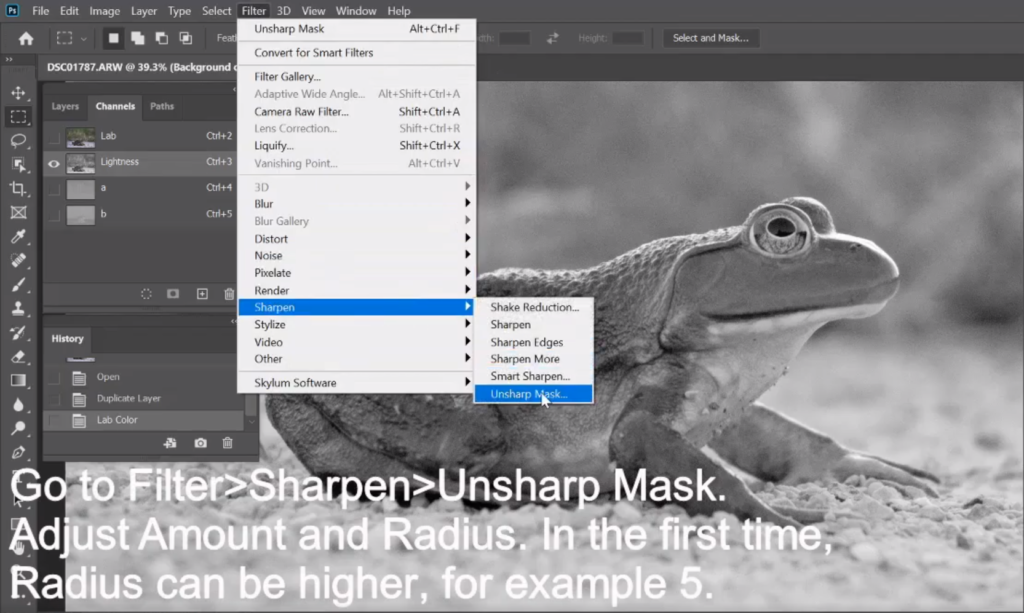
5. Then repeat Unsharp Mask once more time to set Radius little lower, for example 1 or 2.

6. Switch back yo RGB color and compare before and after.
Please view step by step video:
Miracast, HDMI over WiFi is a WiFi standard. With Miracast, any computer can display the screen to TV. Here is how.
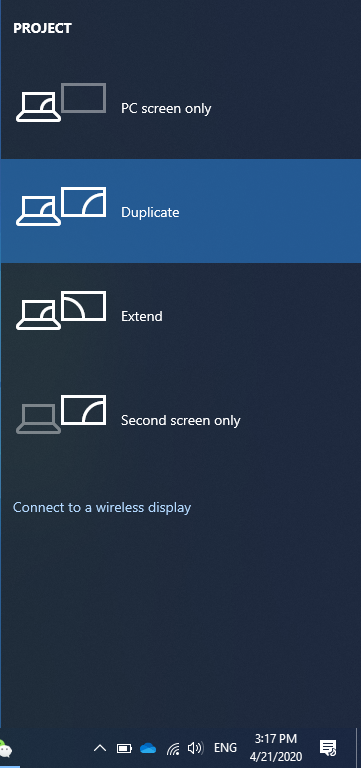
2. Click Connect to a wireless display. Select the TV (Living Room in our case) to display the windows screen.
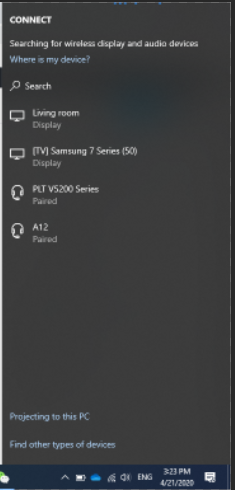
If you don’t see the TV on the list, you may need to enable it on the TV Settings. For example Roku TV, go to Settings>Screen Mirror.
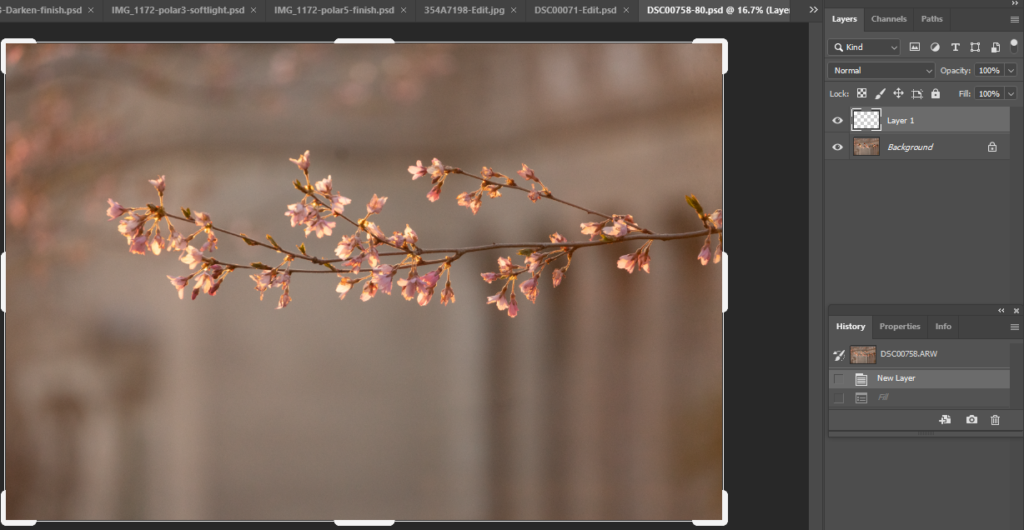
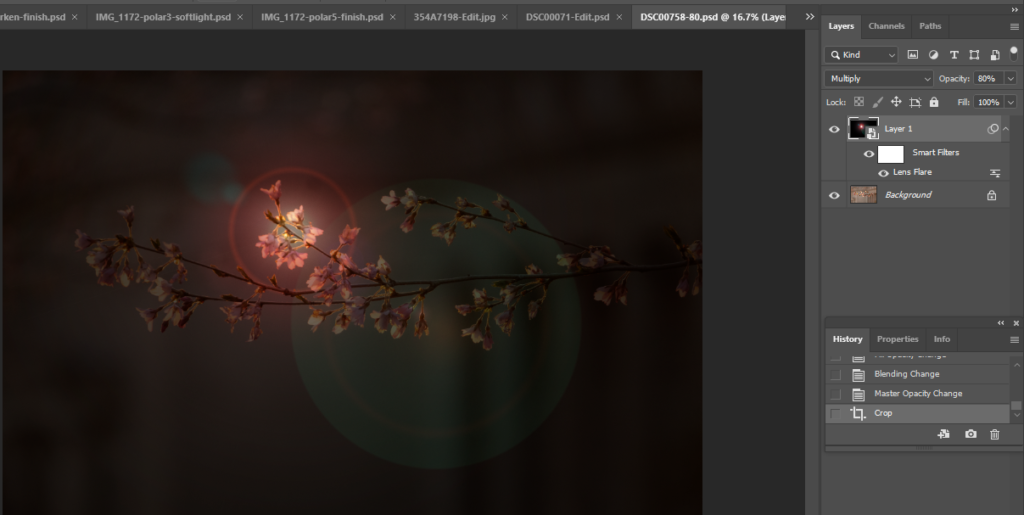
2. Fill with black background.
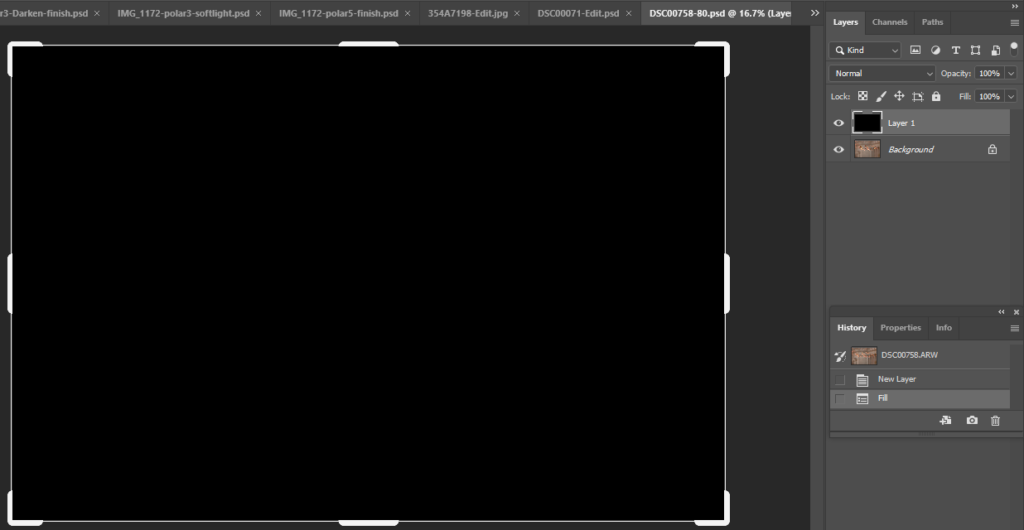
3. Create a Smart Object by right click on Black layer 1 and select convert to mart object. Note: it could be any color. Black is easy to show the backlit.
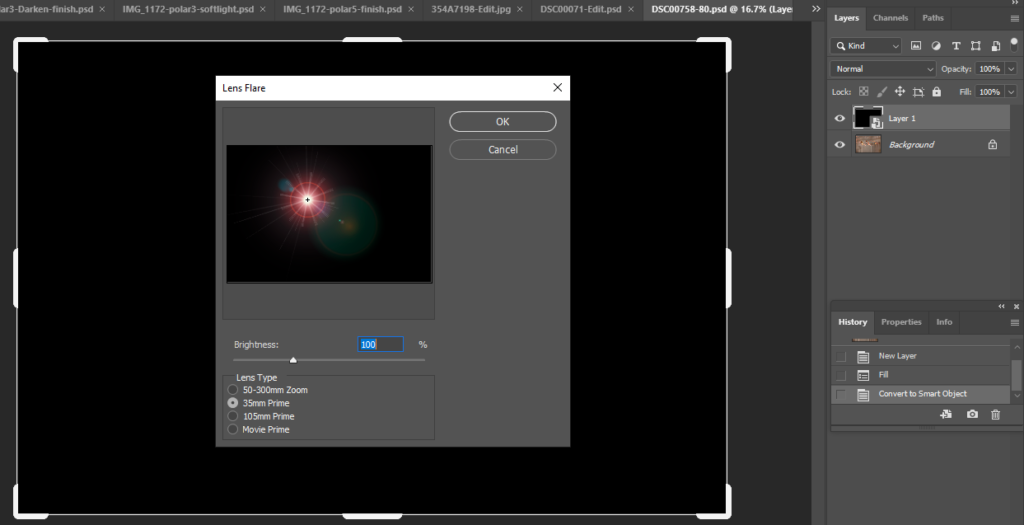
4. Now, go to Filter>Render>Lens Flare. You will have different lens type options. Pick one you like.
5. Select one of blending mode, in our case it is Hard Light.
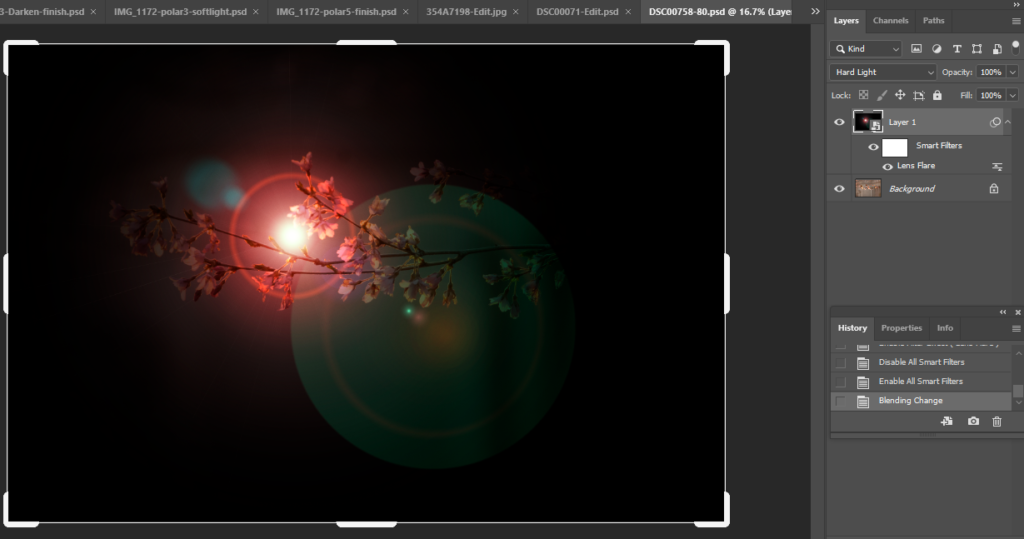
6. Use the move tool to move the light and adjust Opacity.
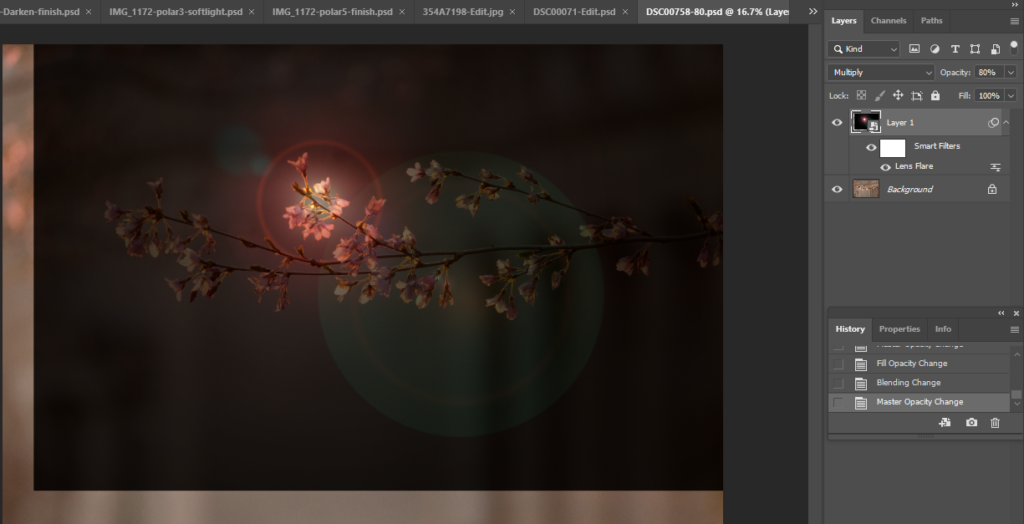
7. Crop the image and save it.
There are many ways to select an object in Photoshop. For example,
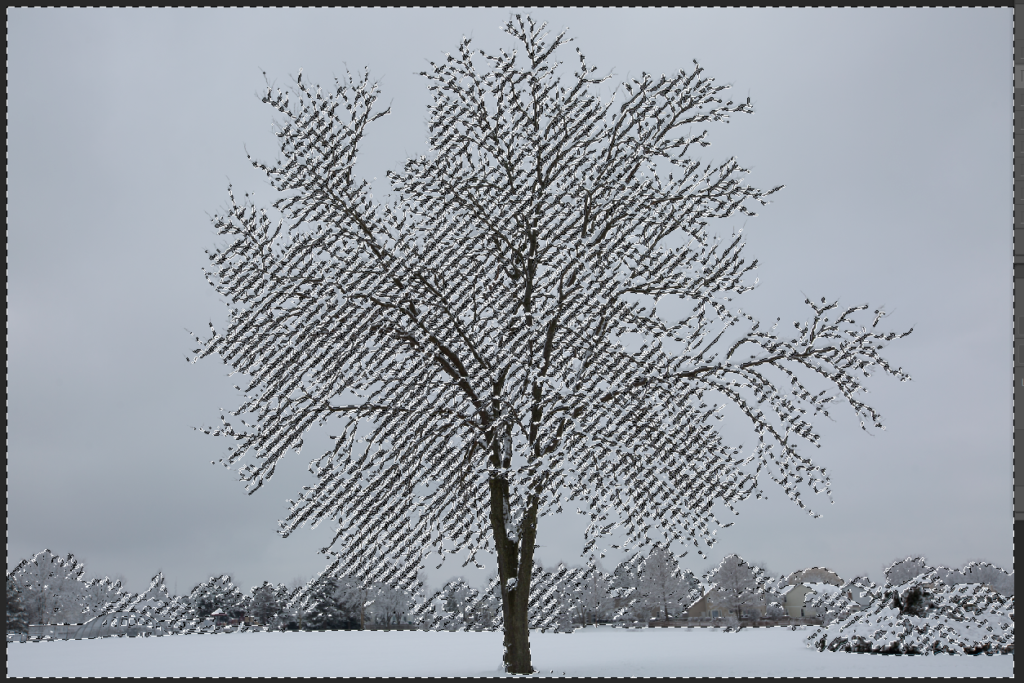
| How to use Quick Action in Photoshop to Remove Background or Select Object Using Alpha Channel in Photoshop – Step by step with Screenshots How to use Object Selection Tool in Photoshop 2020 In this example, we show you how to use color range to select an object. This is before. |

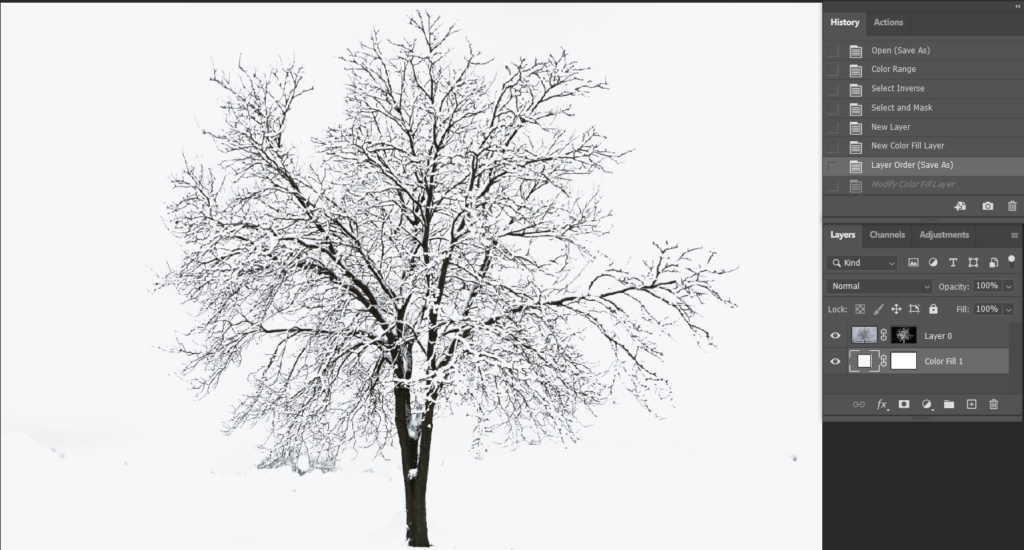
This is after
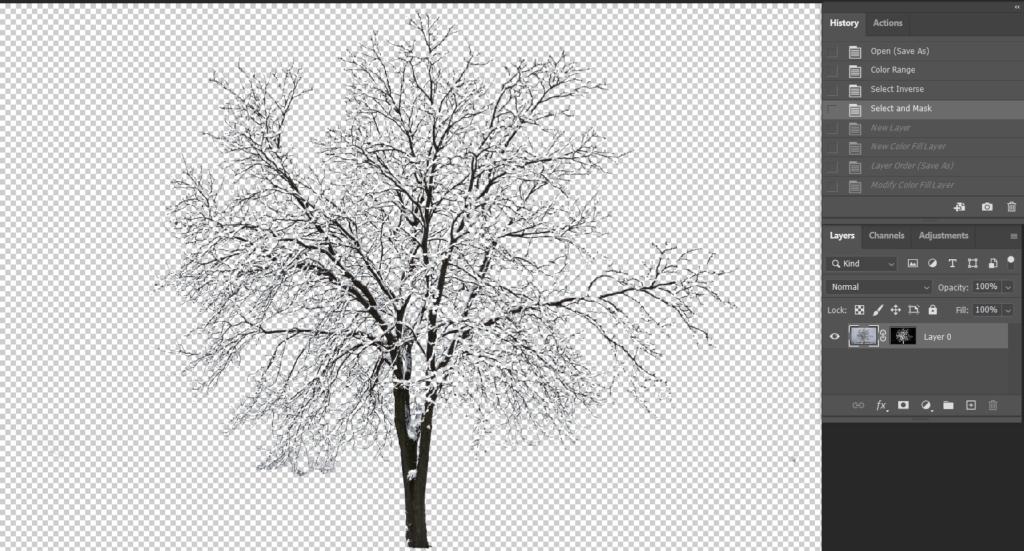
Here is how.
2. Use the point to select sample color. Point + to add more sample color.
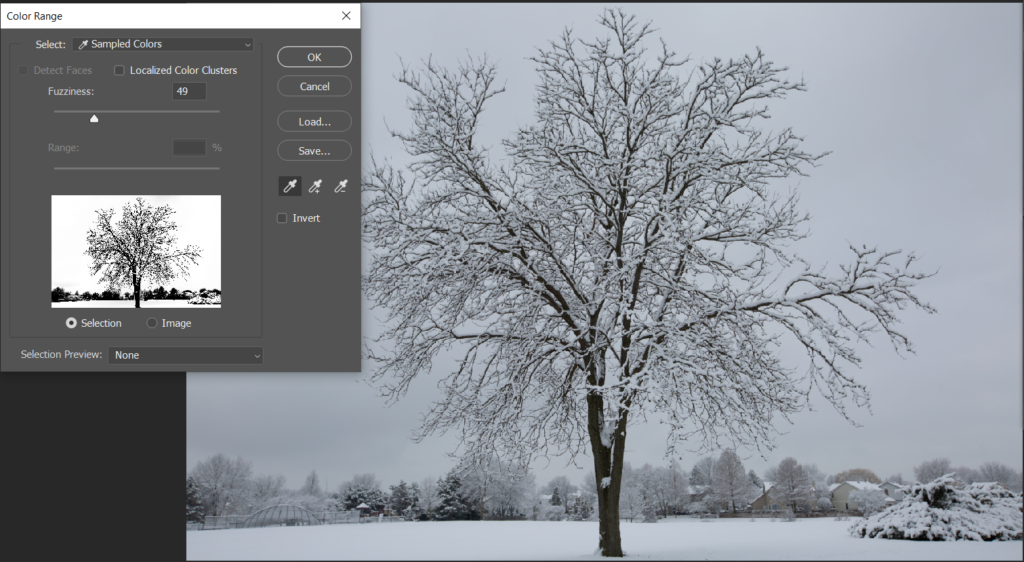
3. Click OK to close the Color Range window and you have select the sample color, cloud and snow in our example.
4. Inverse the selection which select the tree.

6. Use Select and Mask in Selection Menu to deselect the area you don’t want.
7. Add a new layer and then add solid color (white in our example)
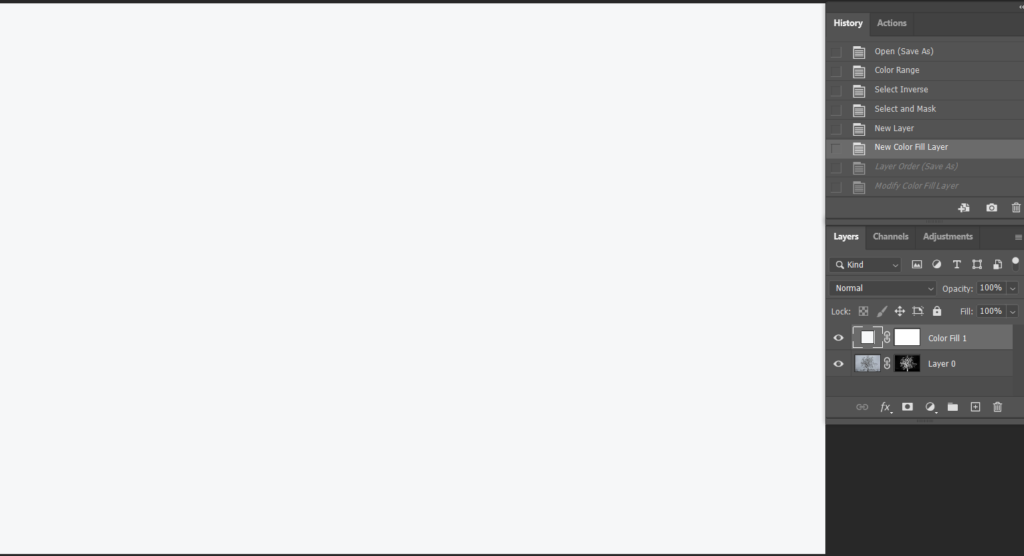
8. Move the new Color fill 1 layer below the original layer. You can check the selection.
9. Or you can move the select tree to another image.
Please view the step by step video:
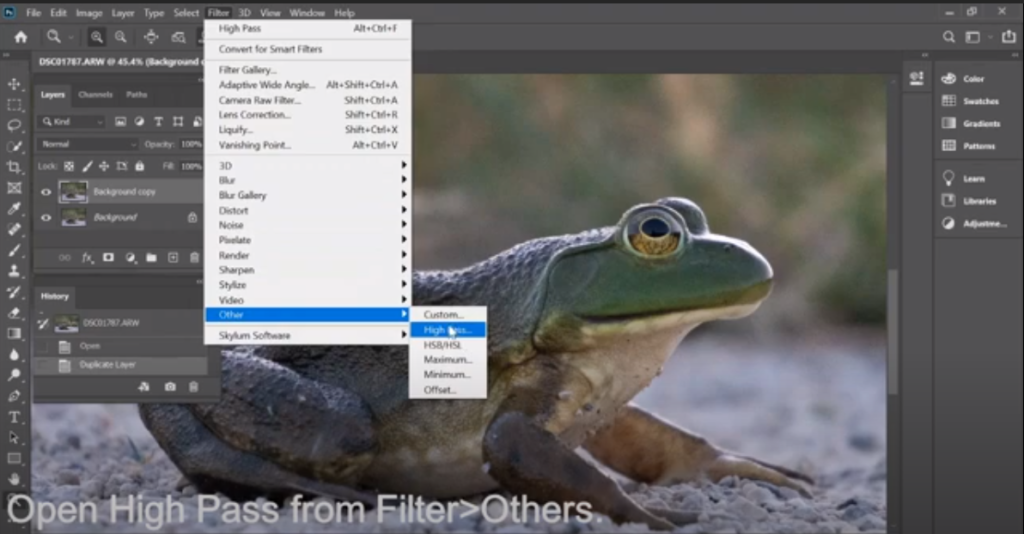
There are many ways to sharp an image in Photoshop. High Pass filter is one of them. The different is the High Pass filter only sharpens edges, and anything that’s not an edge becomes flat grey . Therefore, we use it a lot in portrait.

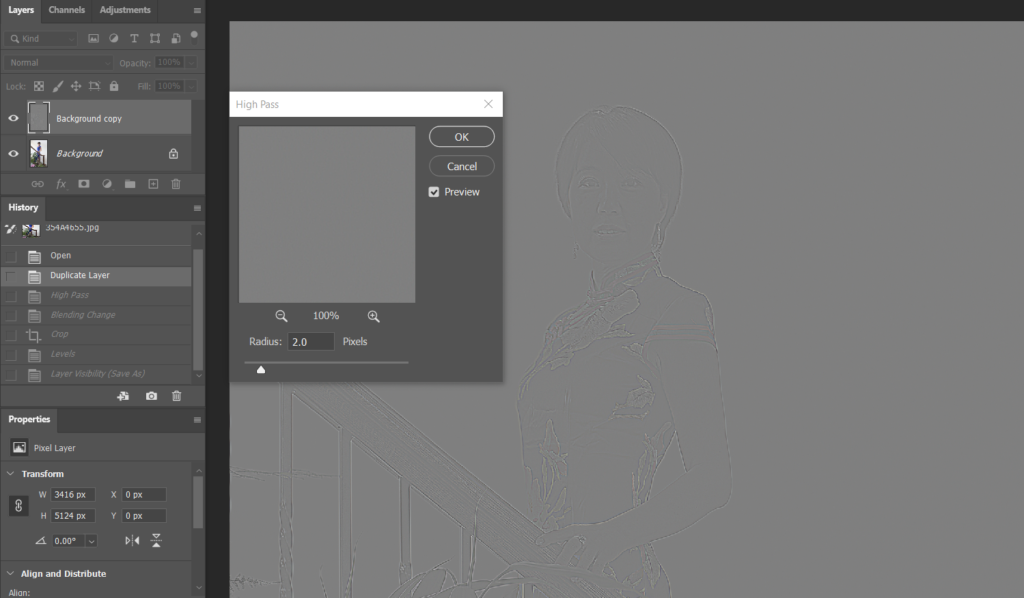
2. Open High Pass from Filter>Others.
3. Set the Radius between 1 to 2 pixel. in most cases, 4 and above is too much.
4. Select Overlay or Soft light in Blending mode.
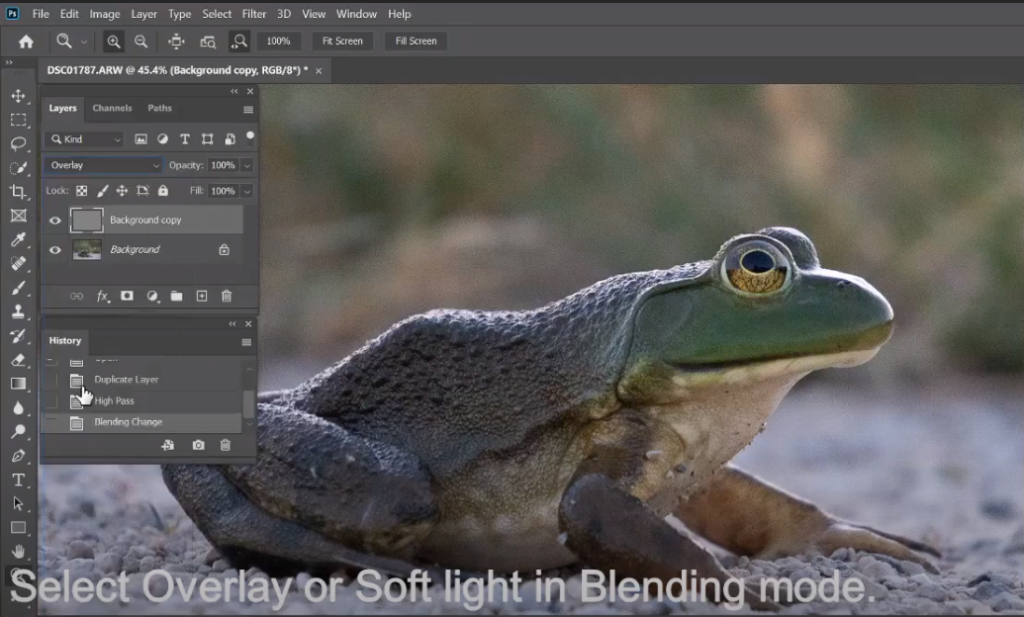
5. If you want to have more sharp, duplicate other layer.
Please view the step by step video:
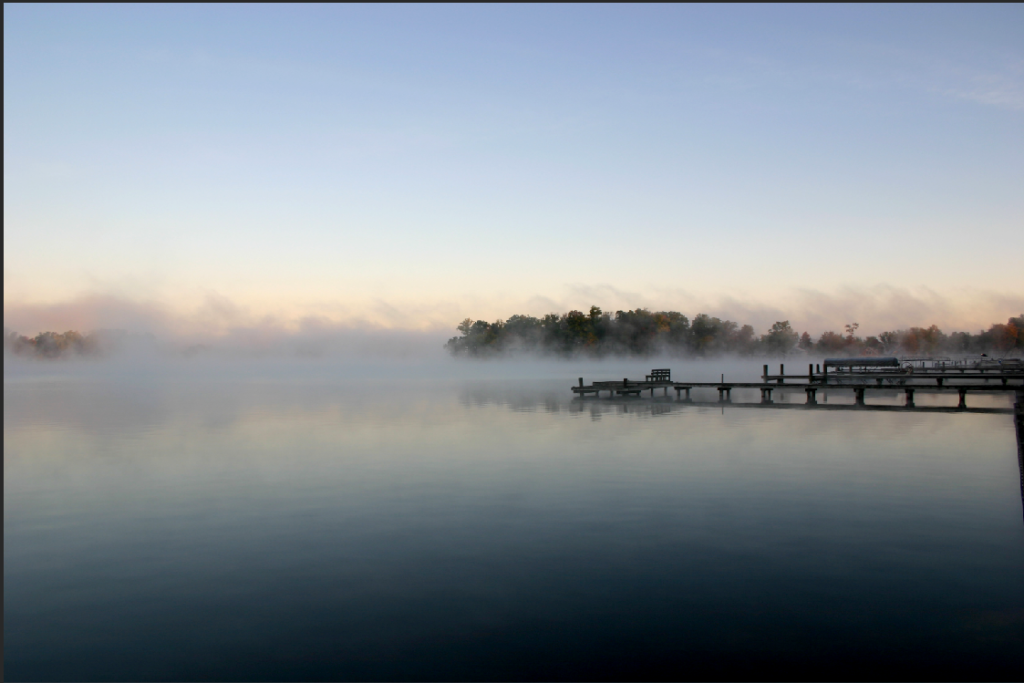
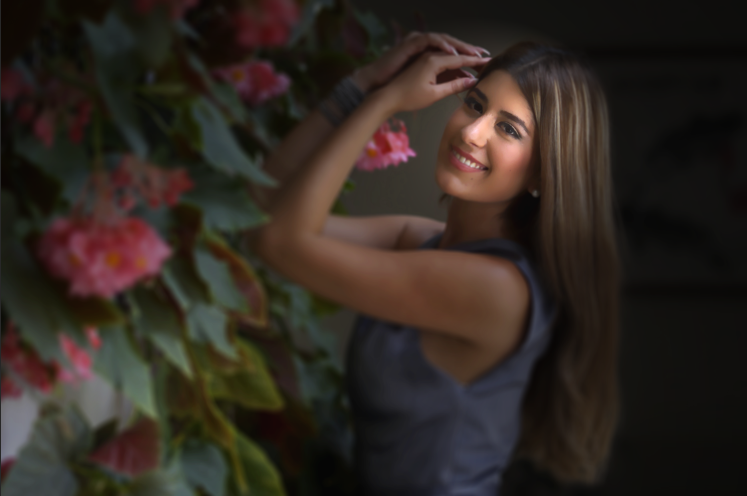
This is before

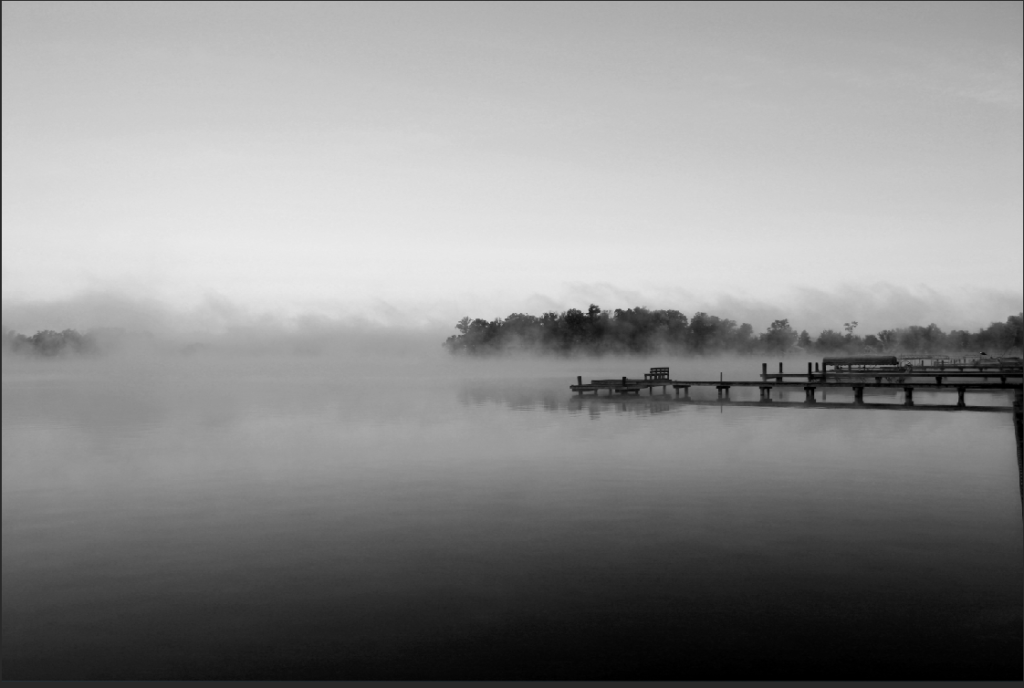
Aftre
!. With the image open, go to Filter>Render>Lighting Effects.
2. In our example, you use Point and Spot lighting Effects. Adjust Color, Hotspot, Colorize, Gloss, Metallic.
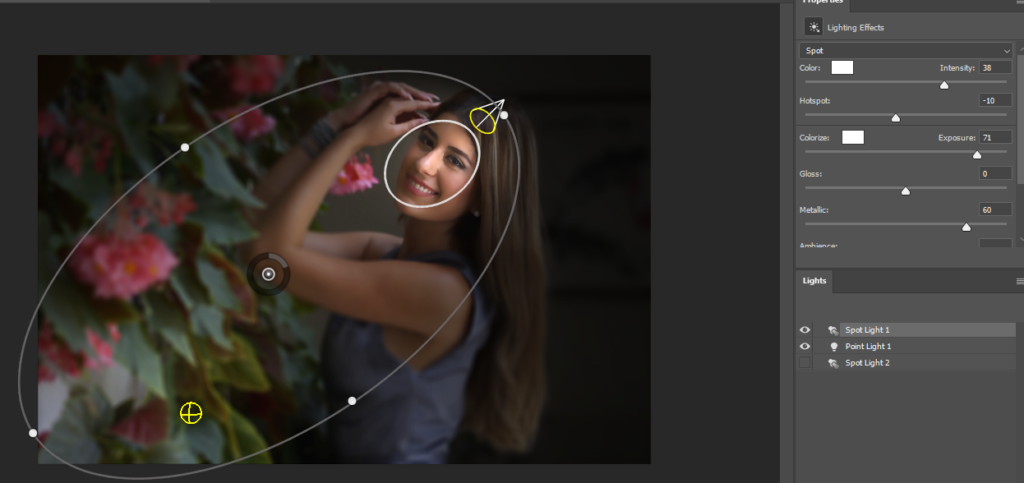
3. Click OK to complete it.
You may blur a background by selecting a background and Lens Blur filter. However, the best way to blur a background is using Alpha Channel plus Lens Blur Filter. Here is how.
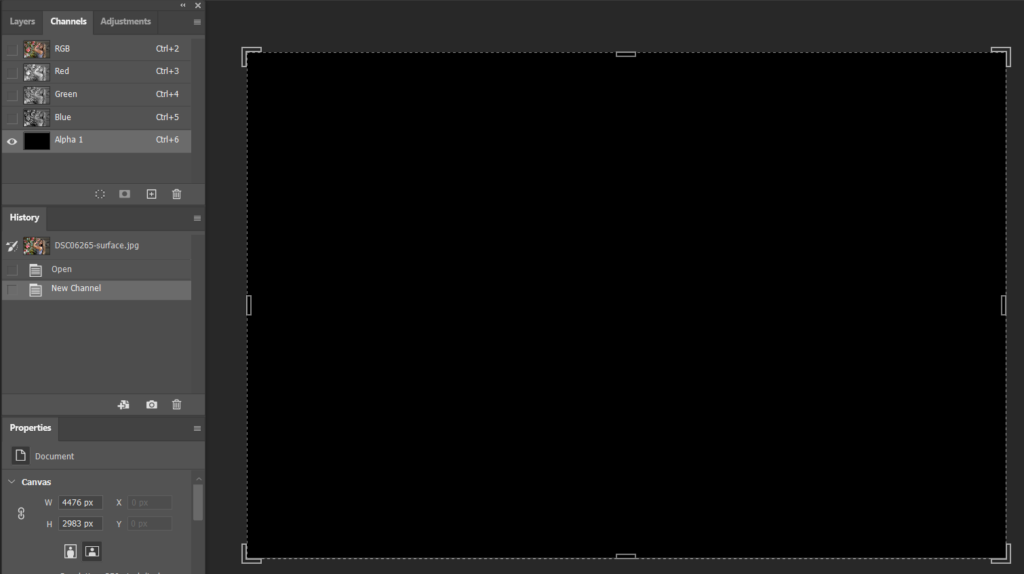
2. Still highlight Alpha 1. Click Radiant Tool to create Linear Gradient from the right to center.
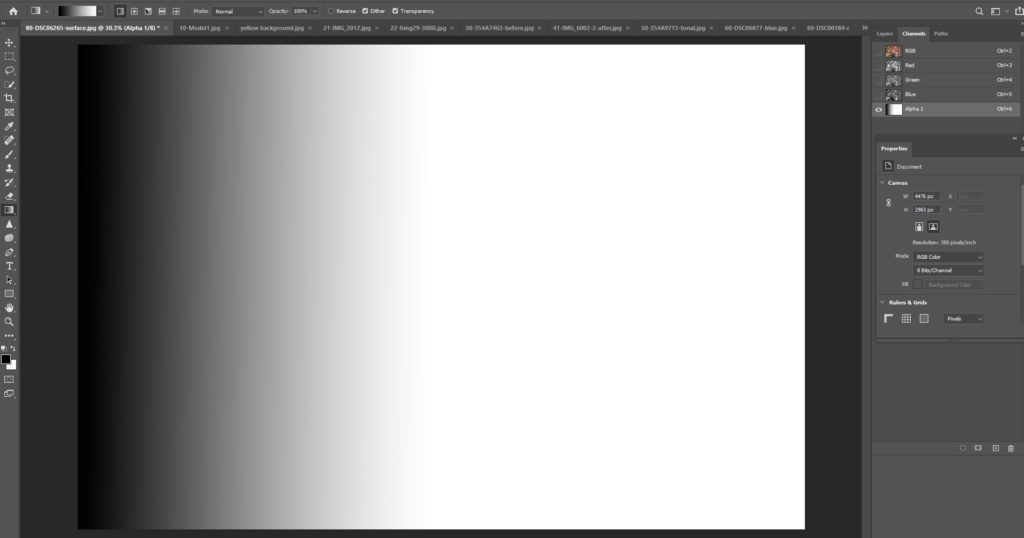
3. Highlight all Channels except Alpha 1. Then go to Filter>Blur>Lens Blur. Select Alpha 1 channel. Check Inverse (because we blur starts at right eye). Adjust Radial, Blur Focus distance and more. Check and uncheck the Review to compare before and after.
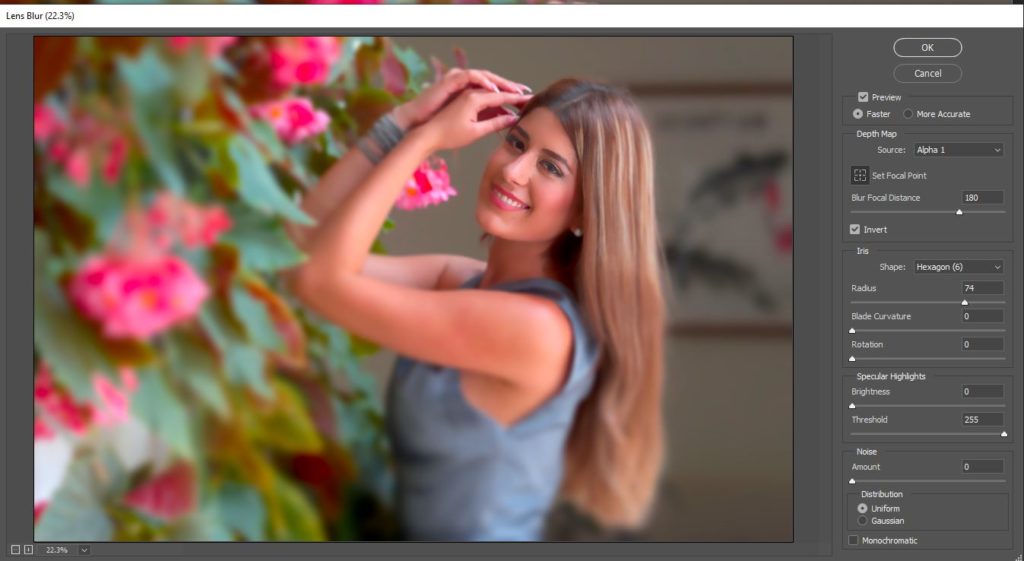
4. Click OK to complete it.