With Yahoo Mail Plus, you are able to forward your emails to another email addresses. This article shows how to do so.
Note: Beginning January 15, 2021, automatic forwarding of emails from your Yahoo inbox to another email account will no longer be a feature of free Yahoo Mail accounts. Upgrade to Yahoo Mail Pro or Plus
1. Login your Yahoo account and
then click on Settings.
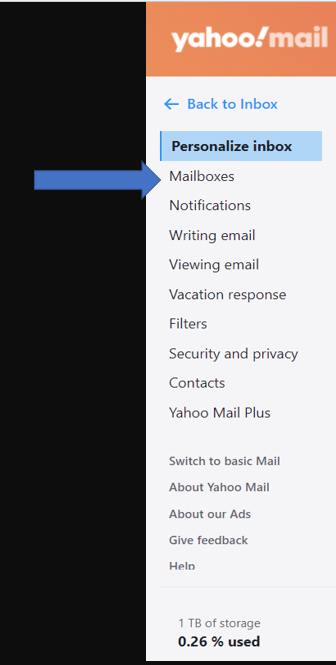
2. Click on … More Settings.
3. Click on the Mailboxes.
4. Click on your yahoo email. If this is personal Yahoo email, you have an option to upgrade to Yahoo Mail Plus.
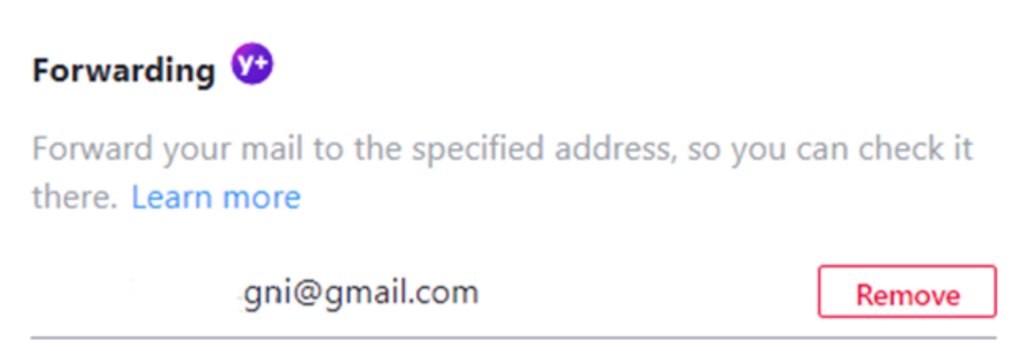
If you have Yahoo Mail Plus, you should have an option to Add/Remove another email address you want to forward.
The Sony camera function menu allows you to quickly change camera settings without having to dig into the camera’s complex menu system. This video will show you how to customize the function menu based on Sony A1.
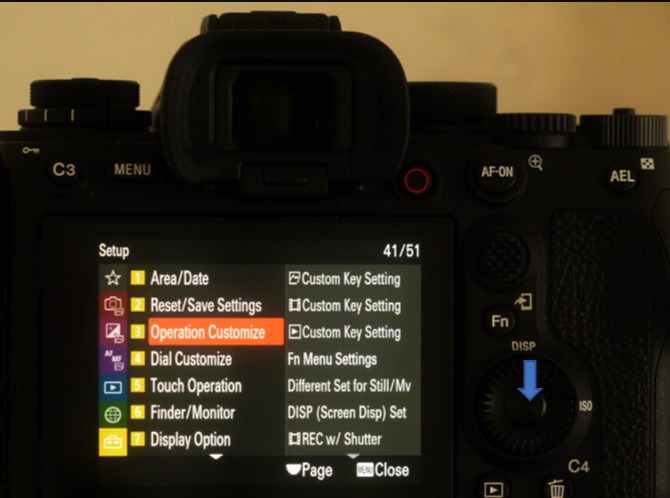
1. Press Menu and go to Setup>Operation Customize (41/51). Then press Enter in Center Wheel.
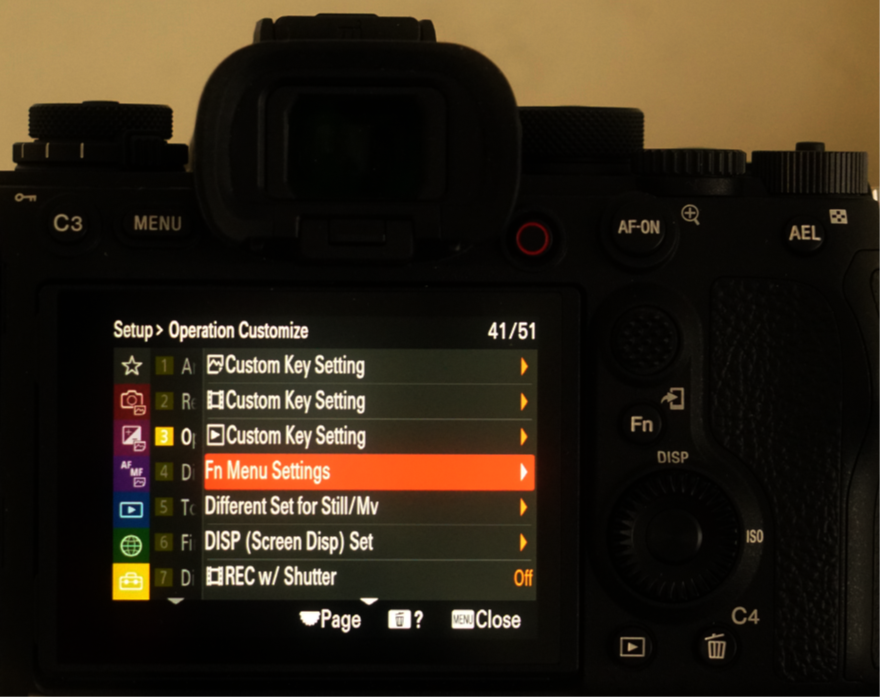
2. Select Fn. Menu Settings and press Enter in Center Wheel.
3. Under Fn
Menu, select a menu you want to customize.
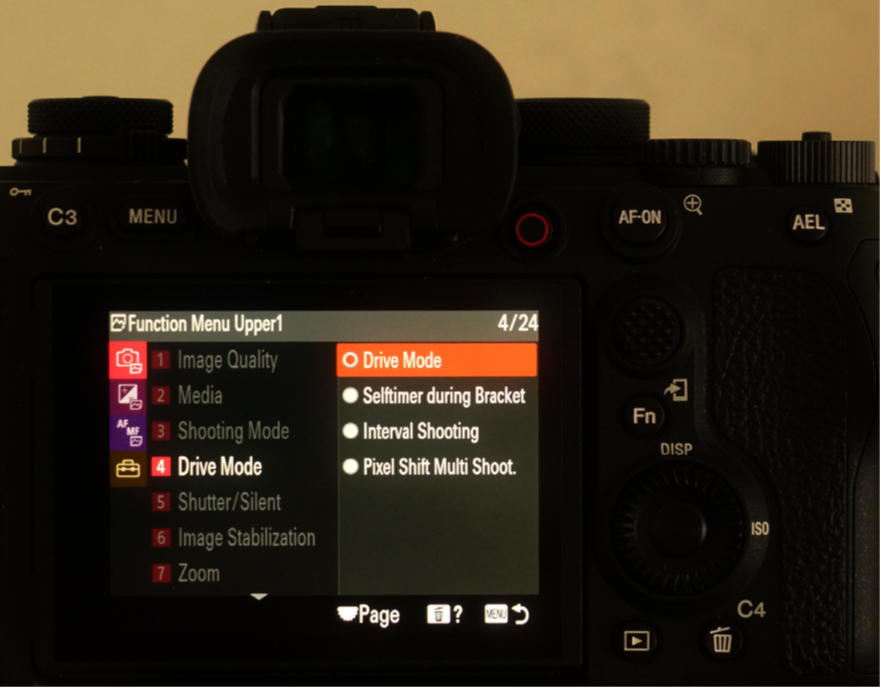
The Sony camera function menu allows you to quickly change camera settings without having to dig into the camera’s complex menu system. This article will show you how to customize the function menu based on Sony A7R II.
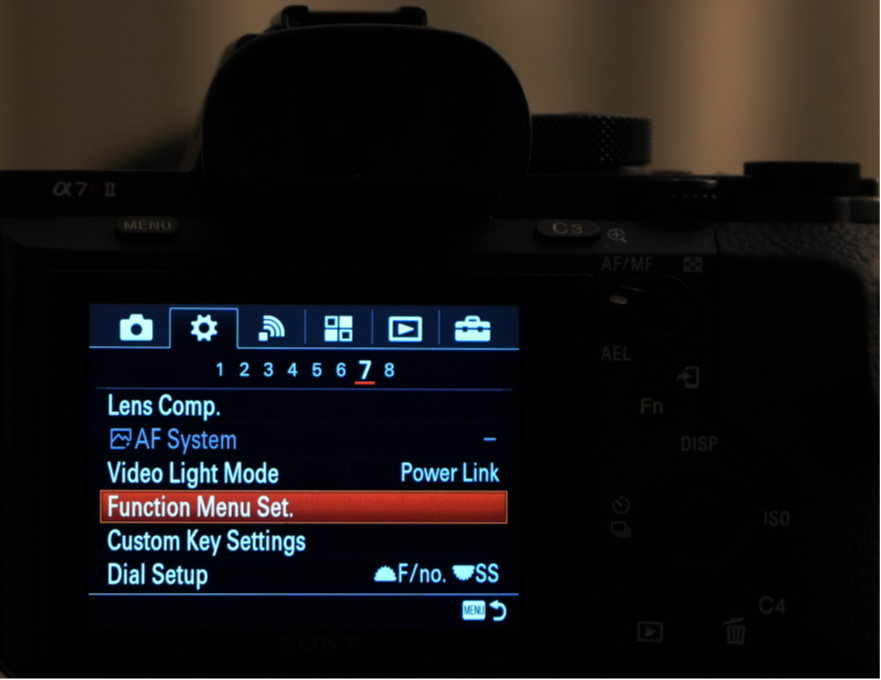
1. Press Menu and go to Setup2>7>Function Menu Set.
2. Under Function Menu Set, select the function you want to setup by press Enter in Center Wheel.
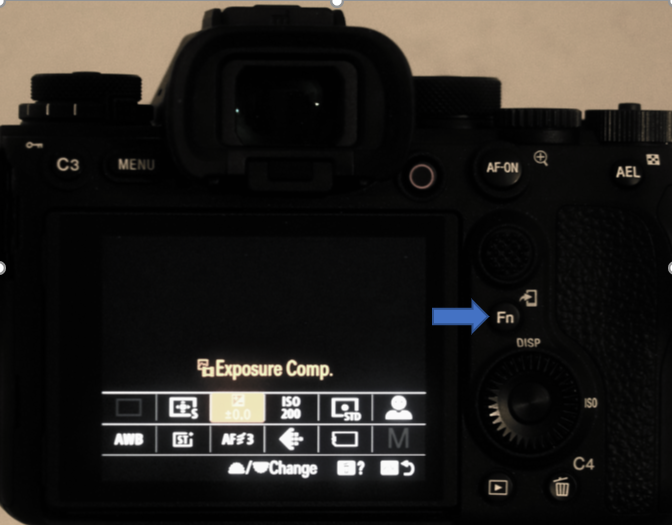
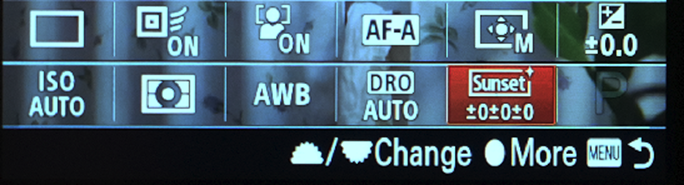
3. Whenever you want to switch the camera settings, press Fn button. Use Center Wheel to make the changes.
This article will show you how to transfer images from Sony A7R II camera to mobile devices using Wireless and Imaging Edge Mobile. You may have two options to transfer images from Sony A7R II to phone. 1. Enable Smartphone Connect on Sony A1 camera. 2. Select images to be sent.
Step 1: Enable Smartphone Connect on Sony A7R camera
Option 1: Send
to Smartphone
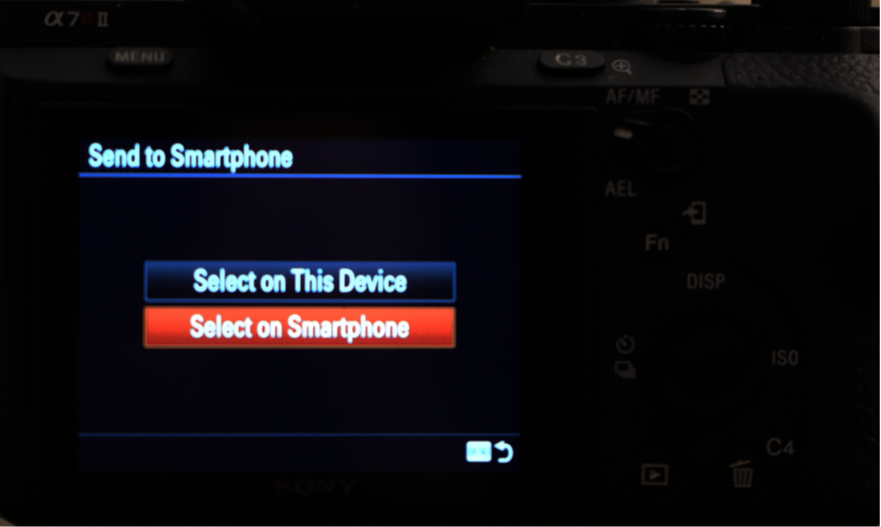
1. On Sony A7R camera, go to Wireless>Send to Smartphone, and then press Enter.
2. Select on Smartphone, and then
press Enterto provide WiFi info or go to step 2.
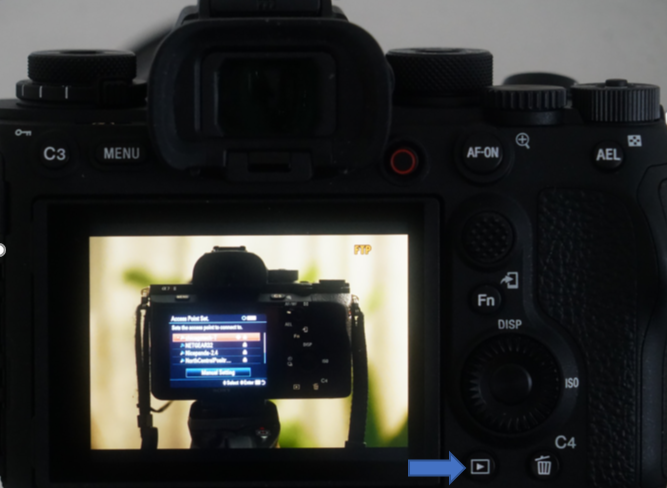
Option 2: Select images to be sent 1. Press the (Playback) button to enter playback mode.
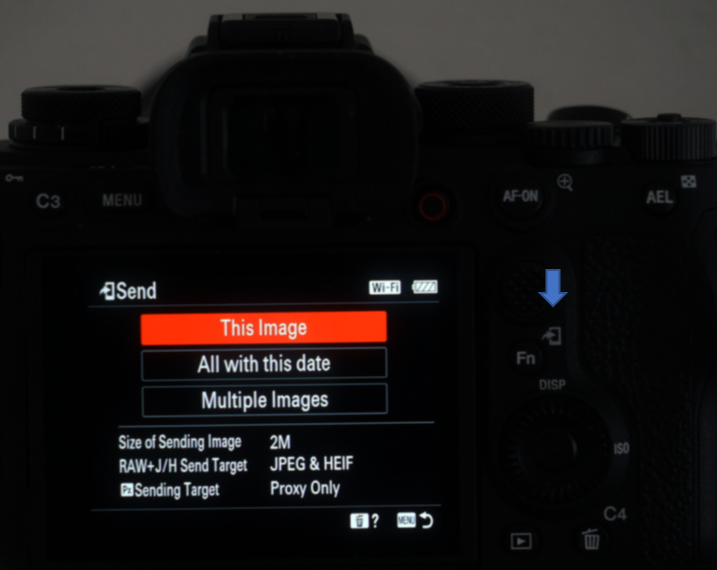
2. Press Send key, and then select images to be sent
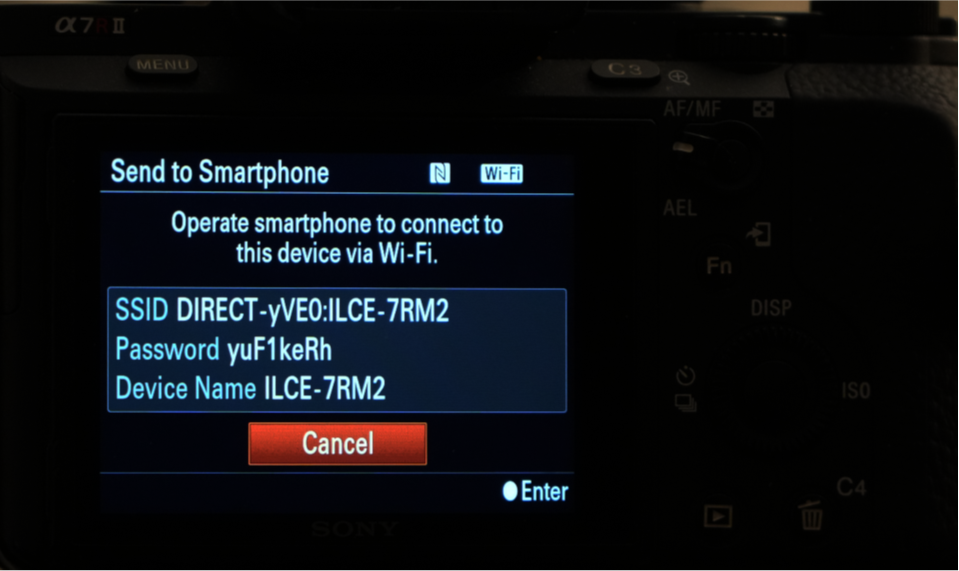
3. It shows Sony A7R II WiFi
info.
Step 2: Run Imaging Edge Mobile to connect mobile device to Sony A7R II camera WiFi
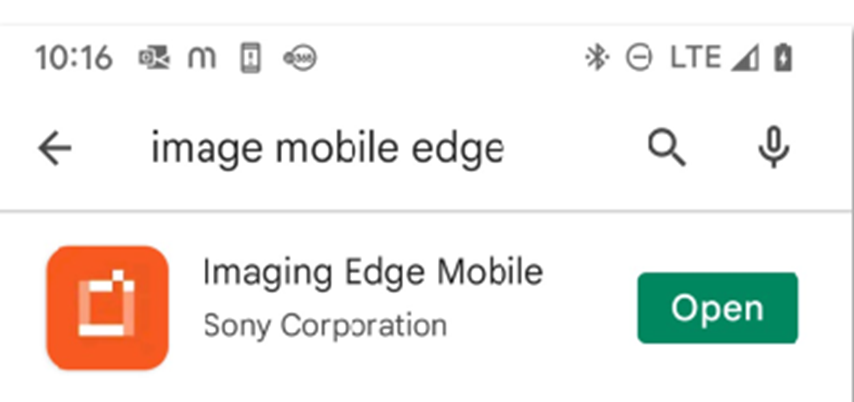
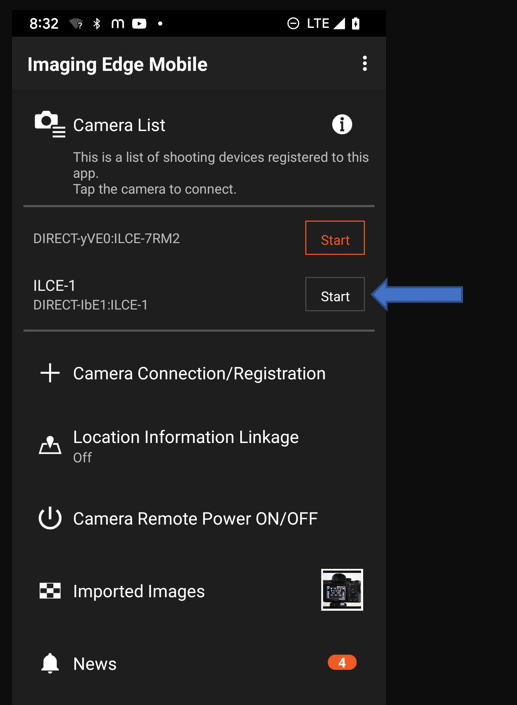
1. Install and open Imaging Edge Mobile on the phone
2. Tap Start to connect the Sony Camera in Camera List, DIRECT-yVEQ-ILCE-7RM2 in our example.
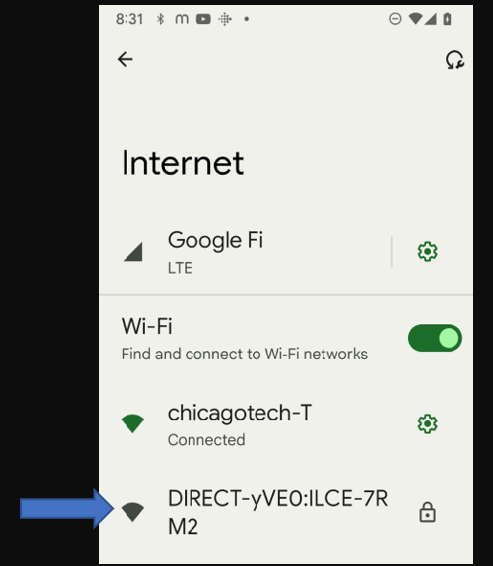
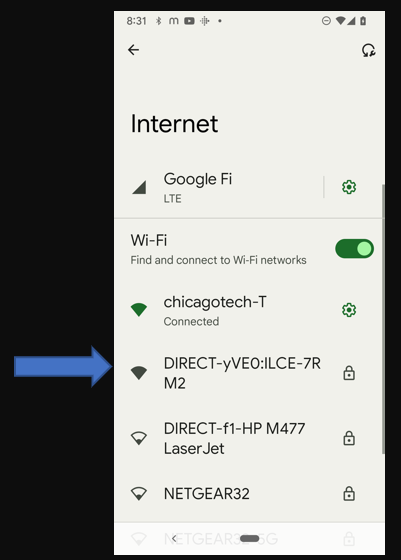
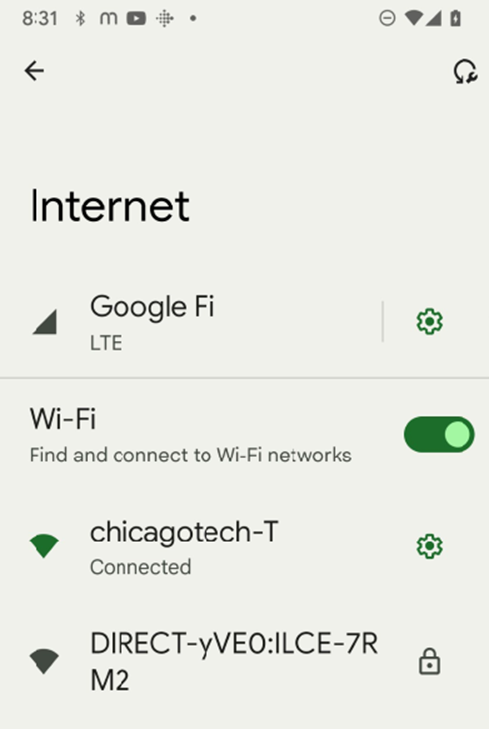
3. If you have connected to the
Sony Camera WiFi before, go to the Phone Settings>Internet to re-connect to the Sony
WiFi.
Otherwise, select Connect using Enter camera password.
4. Select Sony A7R II WiFi and
enter the password.
5. Tap OK when Scanning completed.
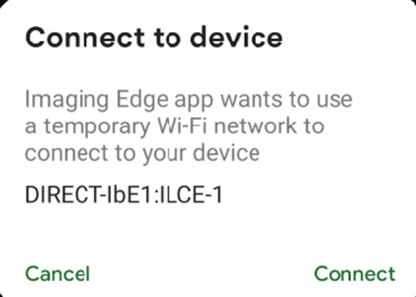
6. Tap on Connect when Connect to device popup.
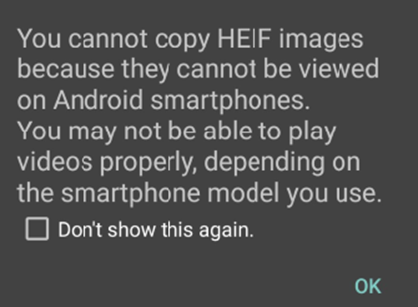
7. Tap OK when “You cannot copy HEIF image…” popup.
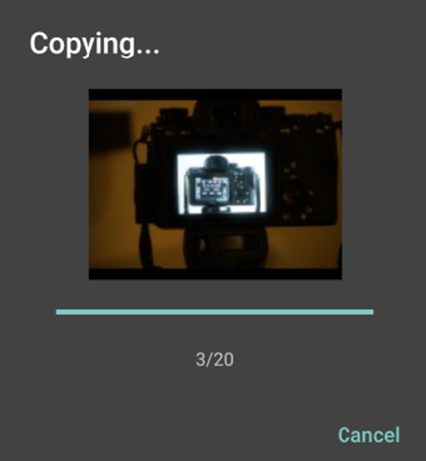
Step 4: Transfer images to mobile device
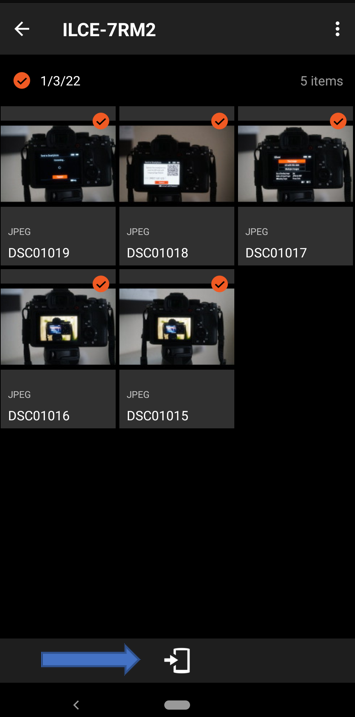
1. Selecting images you want to transfer. Tap Send icon.
This article will show you how to transfer images from Sony A1 camera to mobile devices using Wireless and Imaging Edge Mobile. There are 4 steps: 1. Enable Smartphone Connect on Sony A1 camera; 2. Select images to be sent; 3. Setup mobile device connecting to Sony A1 camera WiFi; 4. Transfer images to mobile device.
Step 1: Enable Smartphone Connect on Sony A1 camera
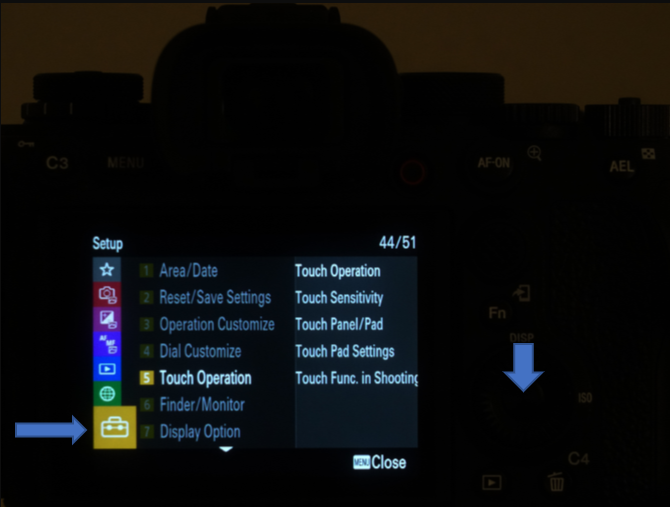
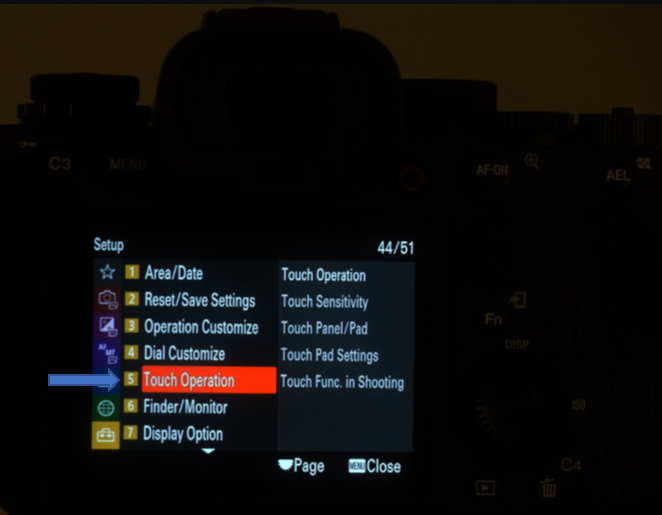
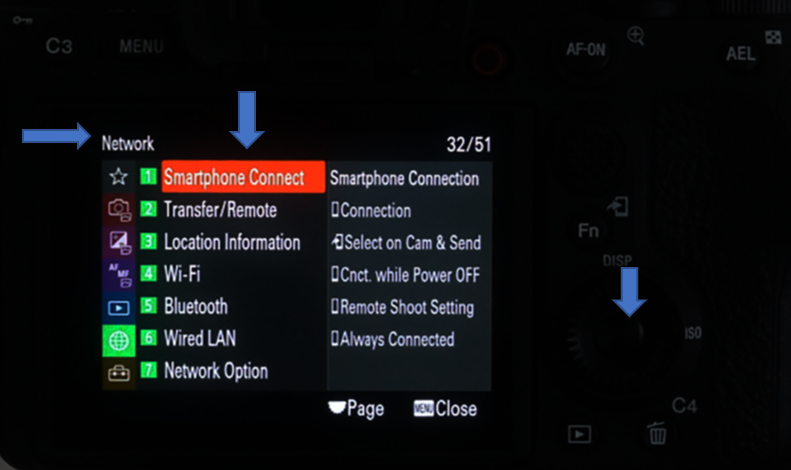
1. On Sony A1 camera, go to Network>Smartphone Connect.
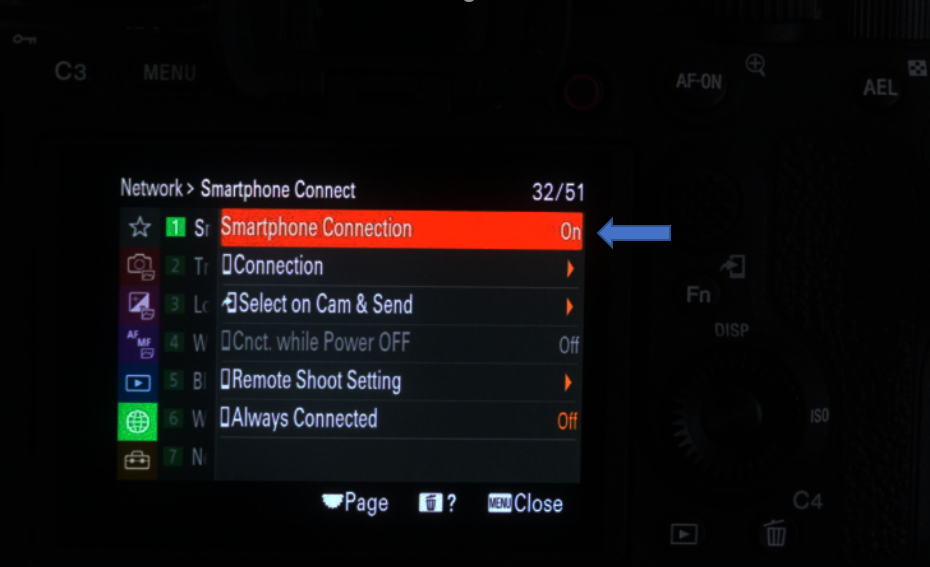
2. Make sure the Smartphone Connect is turn on.
Step 2: Select images to be sent
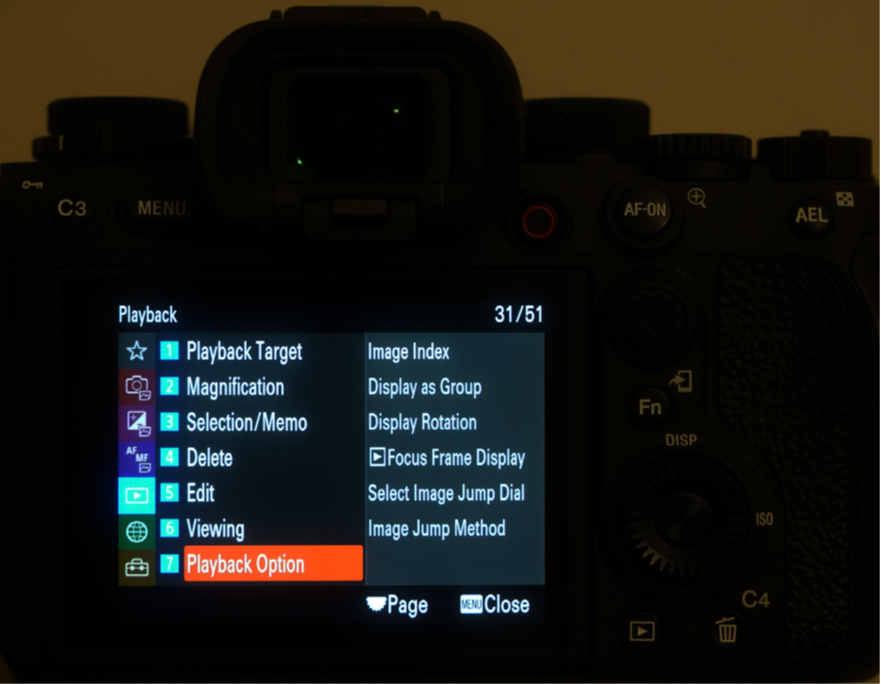
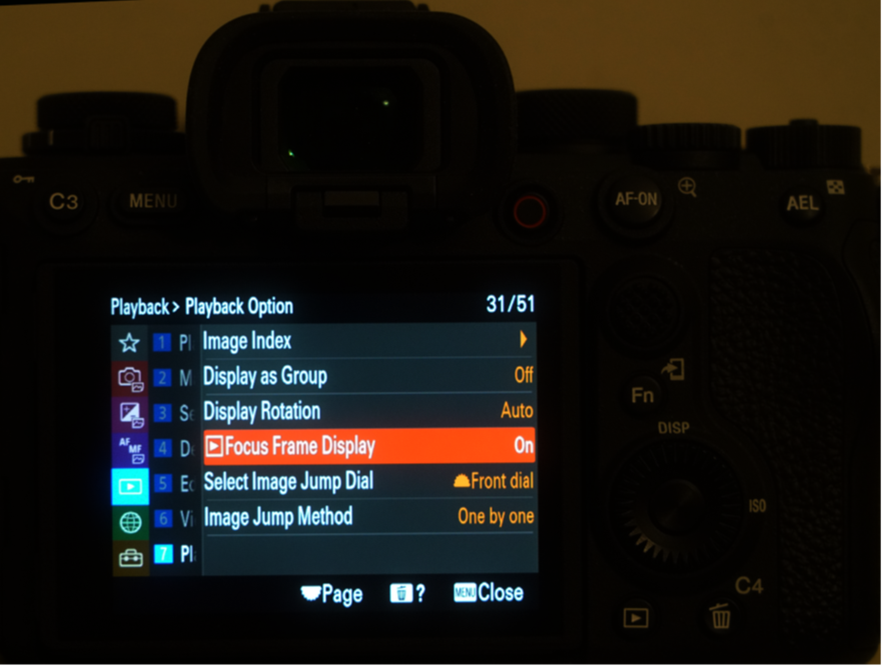
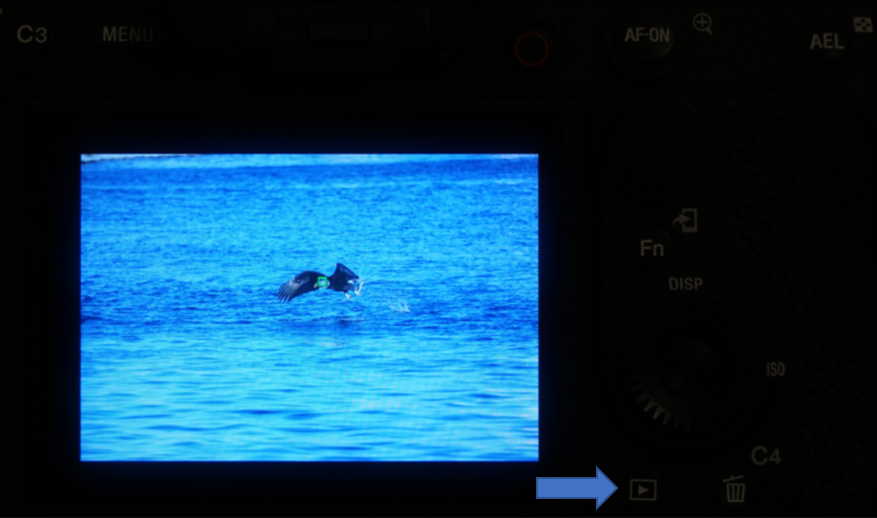
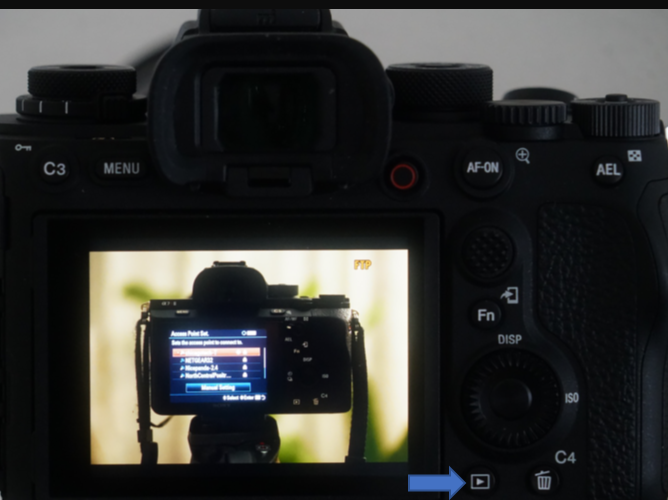
1. Press the (Playback) button to enter playback mode.
2. Press Send key, and then select images to be sent
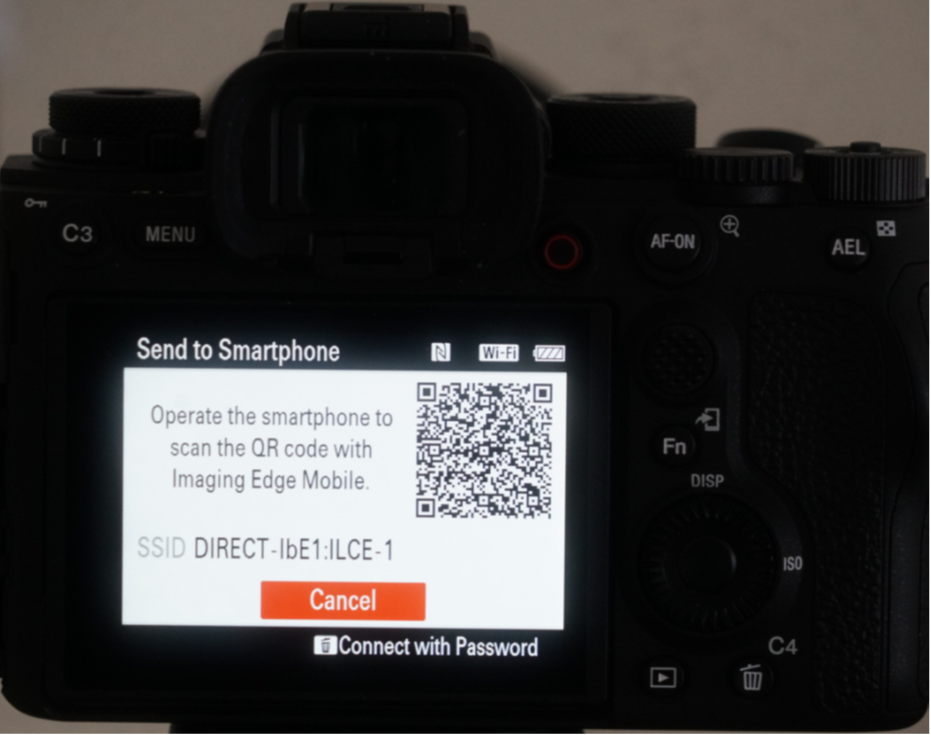
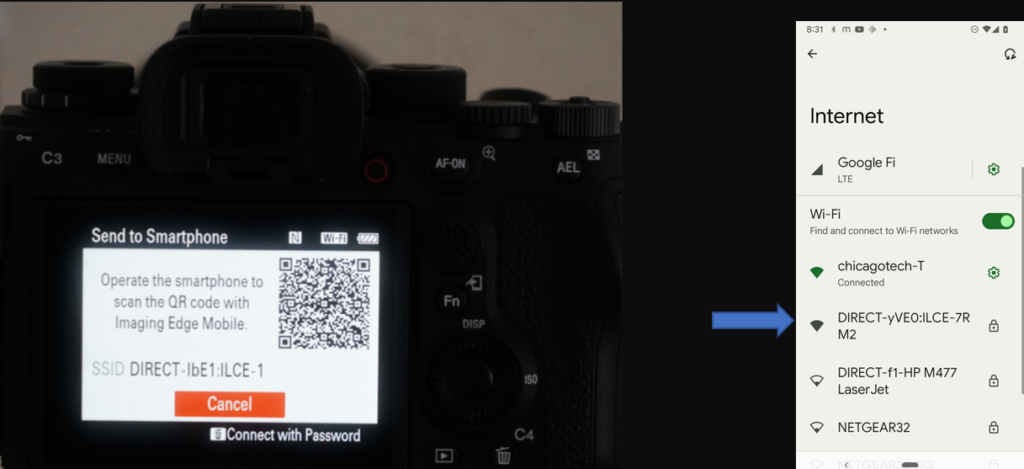
3. Sony Camera WiFi info shows up with QR Code.
Alternatively, press Delete button
to show Sony A1 WiFi info.
Step 3: Run Imaging Edge Mobile to connect mobile device to Sony A1 camera WiFi
1. Install and open Imaging Edge Mobile on the phone
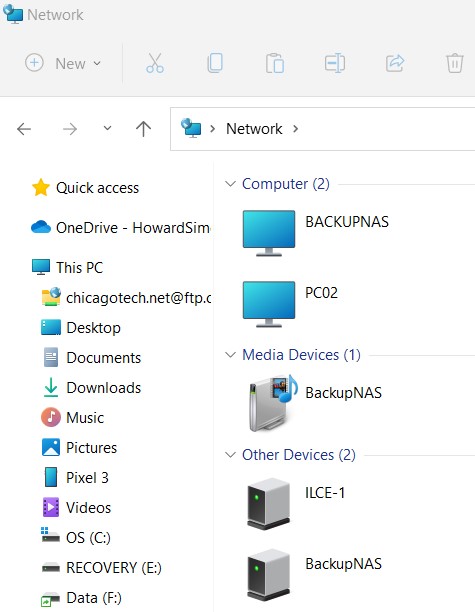
2. Tap Start to connect the Sony Camera in
Camera List, ILCE-1 in our example.
3. If you have connected to the
Sony Camera WiFi before, go to the Phone Settings>Internet to re-connect to the Sony
WiFi.
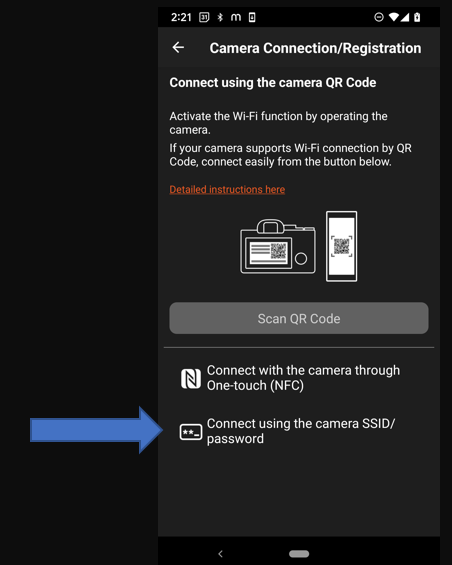
Otherwise, select Connect using the camera QR Code or Enter camera password.
4. Scan the QR Code on the Sony
Camera or select Sony A1 WiFi and enter the password.
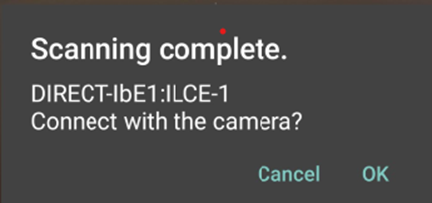
5. Tap OK when Scanning completed.
6. Tap on Connect when Connect to device popup.
7. Tap OK when “You cannot copy HEIF image…”
popup.
Step 4: Transfer images to mobile device
1. Selecting images you want to transfer. Tap Send icon.