In PowerPoint, you can control the speed of your slideshow presentation in a few different ways:
Manual Control during Presentation: During your slideshow, you can manually control the pace by clicking your mouse, pressing the spacebar, or using the arrow keys on your keyboard to advance to the next slide. This method allows you to present at your preferred speed, pausing when necessary to elaborate on points or interact with your audience.
Set Slide Transition Timing: PowerPoint allows you to set specific timing for slide transitions. This means that each slide will automatically advance after a certain amount of time. Here’s how to set slide transition timing:
Select the slide you want to set the timing for.
Go to the “Transitions” tab on the PowerPoint ribbon.
In the Timing group, enter the desired time in the “After” box. This represents the number of seconds you want the slide to display before automatically advancing to the next one.
Repeat this process for each slide if you want them all to advance automatically.
Custom Animation: You can also control the timing of individual elements within a slide using custom animation. This allows you to reveal text, images, or other content on the slide in a sequential manner. Here’s how to apply custom animation:
Select the element you want to animate.
Go to the “Animations” tab on the PowerPoint ribbon.
Choose the desired animation effect from the list.
To control the timing, click on the “Animation Pane” button to open the Animation Pane.
In the Animation Pane, you can drag the animation effects up or down to change the order, and you can adjust the duration by clicking on the drop-down arrow next to the animation effect and selecting “Timing.”
By using these methods, you can effectively control the speed of your PowerPoint slideshow presentation to match your preferences and the needs of your audience.
.
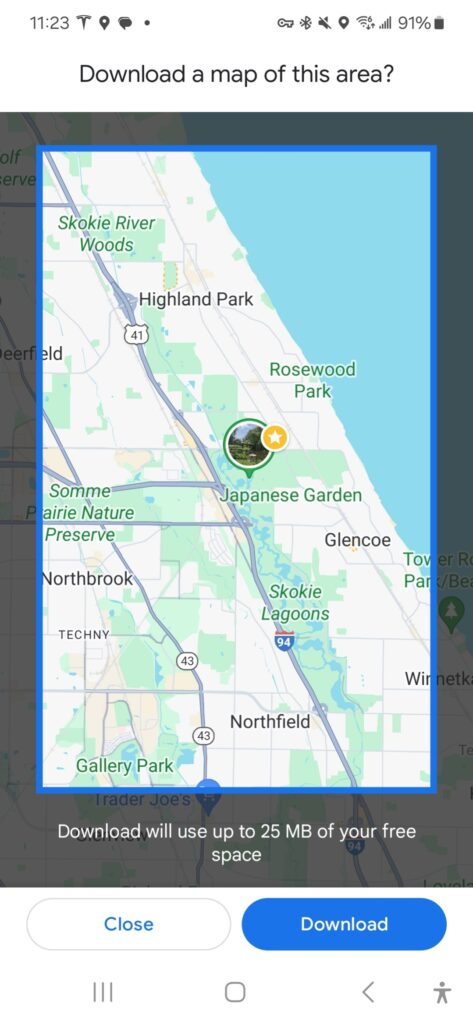
Offline maps.