In a case you have a problem to install Nik Collection on Lightroom, you may want to install it manually. Here is how.
- Close Photoshop and Lightroom.
- Run Nik Collection. Note: make sure this is new installation.
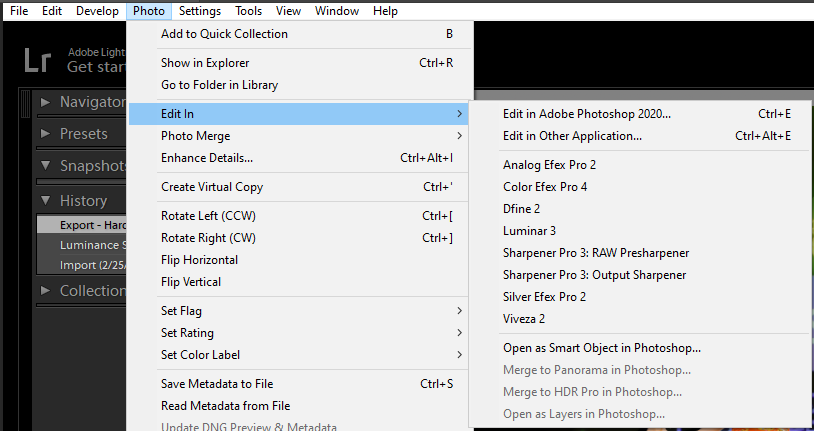
- Open Lightroom again and look to see if the Nik Collection product is now installed under Photo > Edit In>. If not, continue next step.
4. While Lightroom is still open, click Edit> Preferences OR Lightroom > Preferences.
5. Click on the “External Editing” tab at the top of preferences.
6. Right click on the “Choose” button and locate the Nik Collection application file for your product. Typically it can be found at either, C:\Program Files\DxO\Nik Collection\Viveza 2\Viveza 2.exe, OR Macintosh HD |Applications | Nik Collection | Viveza 2 | Viveza 2. For other products, replace Viveza 2 with the appropriate product.
7. Once located, select the program or application file as indicated above and click “Choose”.
8. Set the file format to “TIFF”, Color Space to sRGB (or the one of your choice), Bit Depth to 16-bit, Resolution to 240, and Compress to None.
9. Under Preset click, the drop-down selector and choose, “Save Current Settings as New Preset” from the list.
10. Type in the name of the plug-in such as”Viveza 2″ and click Create.