如何拍逆光

  1. 曝光补偿:曝光补偿是逆光拍摄时最常见的技巧,一般根据背景光的强弱,在相机原始测光的基础上增加1-2EV的曝光量,主体就能获得比较合适的曝光,这也是拍摄逆光最通用地方法。
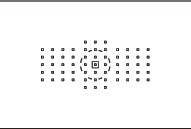
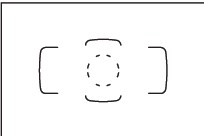
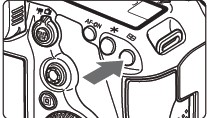
  2. 合理测光: 我们在逆光拍摄时最好使用点测光功能,对拍摄主体适当部位进行精确测光。
  3. 逆光拍摄:光线被虚化形成斑驳的光斑,非常漂亮,但由于拍摄这样的逆光时会造成面部较暗,所以用反光板做一些补光会让效果更好。
  4. 尽可能不要让阳光直接照射到镜头里面,不然就出现了上面照片上的鬼影(眩光),这样影响照片的清晰度。
  5. 在测光的时候选择点测光模式对照片中人物的受光部点测光(比如人物受光轮廓、受光发丝等)。
  6. 用反光板(或闪光灯加散射板)对人物暗部(脸部)进行补光。
  7. 尽量选择深色的背景,这样才能突出轮廓光的精彩。
  8. 使用反光板或者闪光灯对前景适当补光可以得到更多的细节。
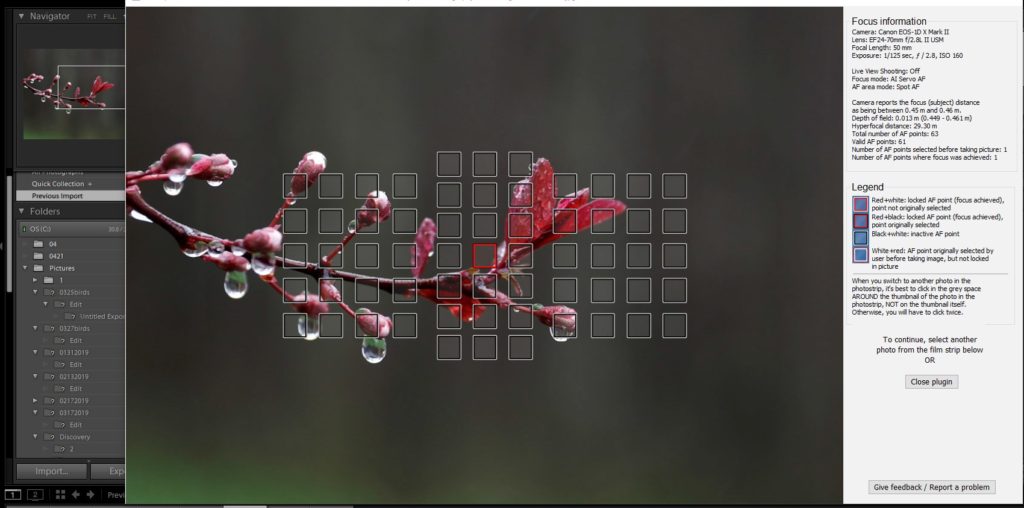
  9. 逆光拍摄时会对影响自动对焦准确性,可以改用手动方式精确调焦。
  10. 单点测光:避免阳光直射完全进入画面中,长时间通过取景器直视阳光可能会造成视力损伤,人物和背景建议单独测光,根据实际光比选择曝光值!
  11. 使用大光圈。

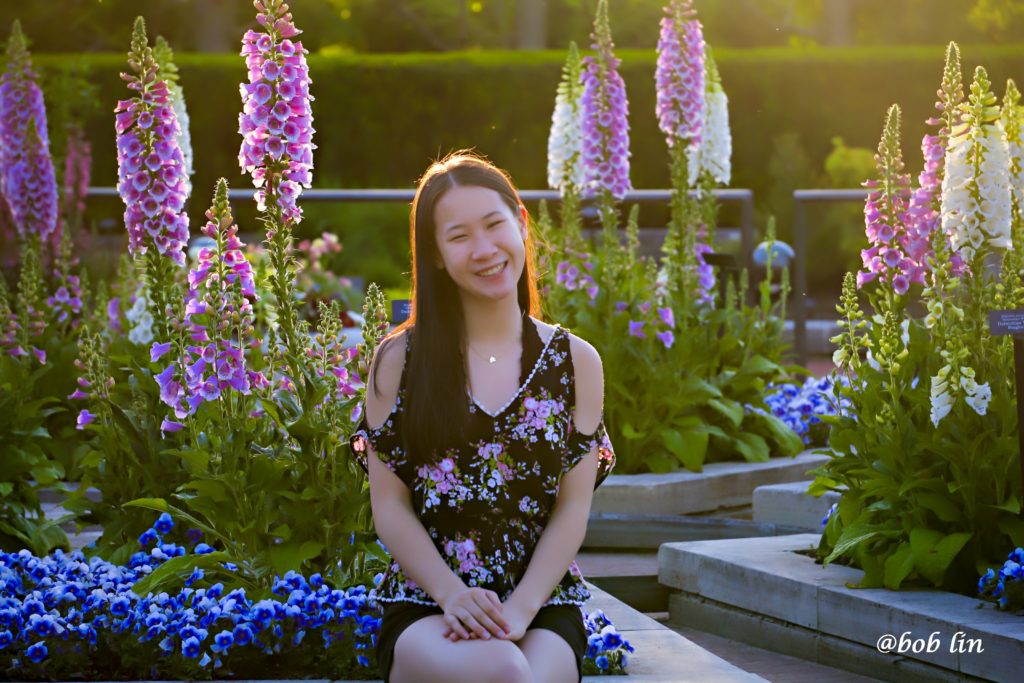
实例一:阳光从侧面打在头发上,对焦脸部。

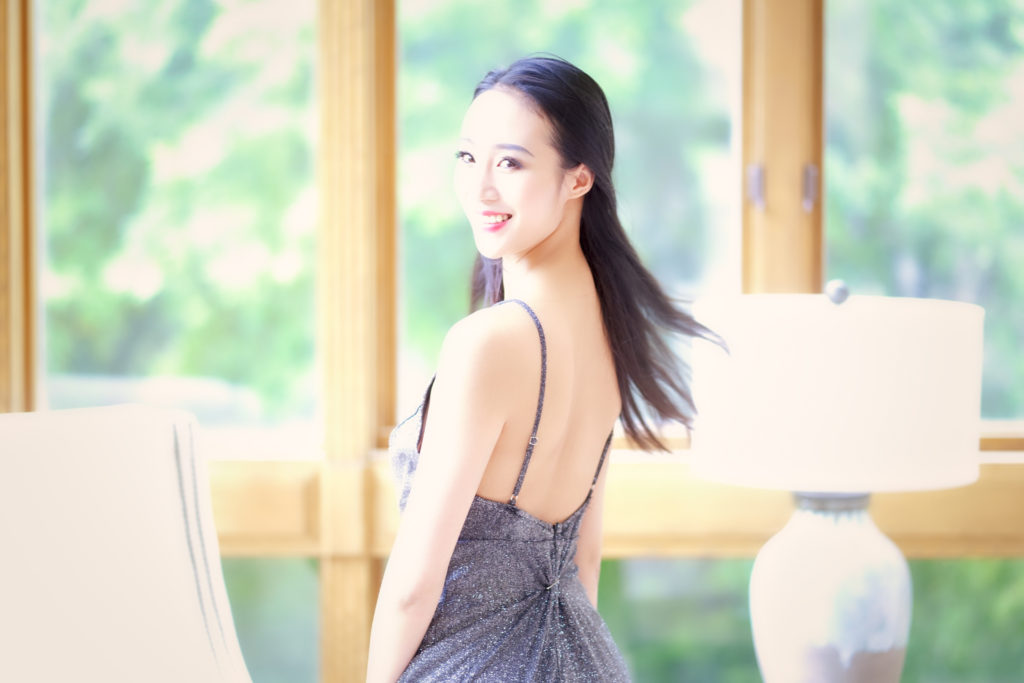
实例二:室内面对窗口,用闪光灯或者反光板补光。


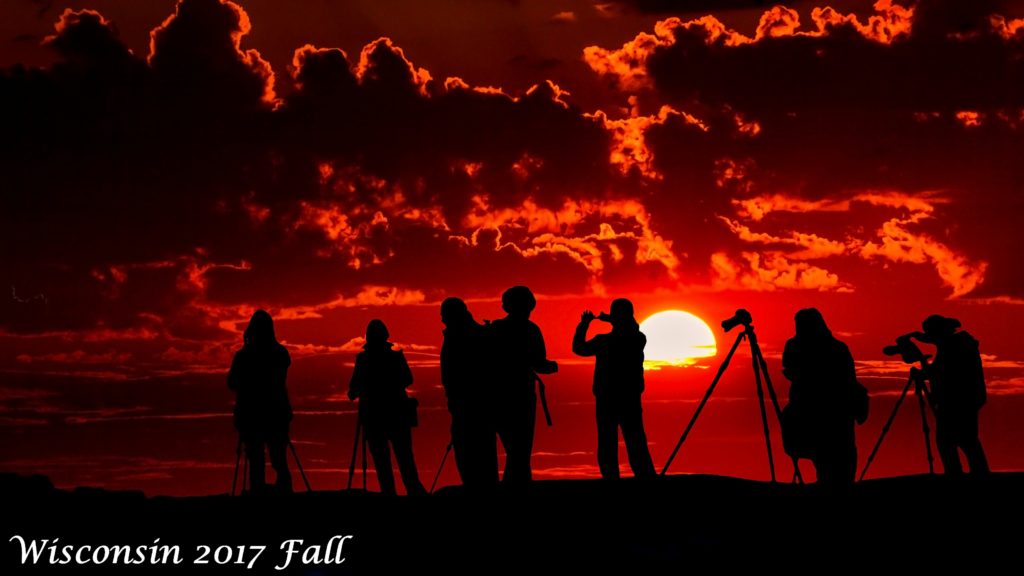
实例三:逆光剪影,以晚霞为背景测光,不要过曝,剪影要突出轮廓。

Bob Lin, MS-MVP, MCSE & CNE
Data recovery, Windows OS Recovery, Networking, and Computer Troubleshooting on
http://www.ChicagoTech.net
How to Install and Configure Windows, VMware, Virtualization and Cisco on
http://www.HowToNetworking.com

照片不清晰的原因和解决办法

  1. 对焦不准确。
  1. 手持相机拍摄产生抖动 。 使用三脚架和快门线或开启防抖。
  2. 使用三脚架时未关闭防抖功能,反倒造成轻微抖动,导致图像模糊。建议在使用三脚架时关闭防抖。
  3. 快门速度太慢。建议使用安全快门。安全快门就是在一定的快门速度范围内拍摄出来的图像会保证清晰,安全快门等于等效焦距,比如200MM的镜头至少设置1/200 Second的速度。
  4. 拍摄对象移动速度过快。建议高速度,比如拍鸟时用1/1600 Second。
  5. 光圈太大。为了保证 清晰锐利建议用小光圈, 比如F8。
  6. 做好镜头清洁,避免霉菌灰尘。

Bob Lin, MS-MVP, MCSE & CNE
Data recovery, Windows OS Recovery, Networking, and Computer Troubleshooting on
http://www.ChicagoTech.net
How to Install and Configure Windows, VMware, Virtualization and Cisco on
http://www.HowToNetworking.com

How to use Focus Points Plugin for Lightroom

  1. Make sure you are in the Library Module of Lightroom.
  2. Select any photo from your catalog made with any Canon or Nikon DSLR camera. Make sure you select a photo (RAW, JPG, DNG) which comes directly out of the camera and has not been exported/saved in another format (photo which have changed Develop settings in Lightroom are OK), as that will often destroy the focus information metadata.
  3. Now, start the plugin by going to the „Library“ Menu. Select the last menu entry, „Plug-In Extras“, and there „Show Focus Points“. Important: Note that you need to use the submenu “Plug-In Extras” in the “Library” menu, not the submenu “Plug-In Extras” in the “File” menu. The plugin dialog opens (as in the screenshots above). When you are finished with looking at the information for a particular image, you can select another photo from the photo strip below, or from another catalog directory. The plugin dialog will load and process the new photo (which takes a moment).

Bob Lin, MS-MVP, MCSE & CNE
Data recovery, Windows OS Recovery, Networking, and Computer Troubleshooting on
http://www.ChicagoTech.net
How to Install and Configure Windows, VMware, Virtualization and Cisco on
http://www.HowToNetworking.com

How to replace color using Pencil tool in Photoshop

  1. Use selection tool to select the area you want to be changed the color.

2. Choose Pencil tool.

3. Open Color Picker. Choose the color you would like to use and paint over the image. The color will replace the selected area color. The color doesn’t change the unselected area.

Bob Lin, MS-MVP, MCSE & CNE
Data recovery, Windows OS Recovery, Networking, and Computer Troubleshooting on
http://www.ChicagoTech.net
How to Install and Configure Windows, VMware, Virtualization and Cisco on
http://www.HowToNetworking.com

Selecting focusing area in Sony A7R

There are eight focus area selections in Sony A7R.

  1. Wide: the whole screen is active, so the subject can be anywhere. The camera determines focus by picking the object that is either closest to the camera, in the center of the frame, or a face if there is one resent. Focuses automatically on a subject in all ranges of the image. When you press the shutter button halfway down in still image shooting mode, a green frame is displayed around the area that is in focus.
    Wide could be used in situations where your subject is by itself like portraits of one person or product photography. It is not recommend to use for multiple subjects or objects in the frame.
  2. Zone: With Zone area selected, you can now select a large chunk of the frame to focus on, but the camera will still help select focus in that area. There are 9 different areas or zones, so you can have more control over where to focus. The Zone is good because you don’t have to move the spot around a lot, but it’s bad in that you still don’t have complete control.
  3. Center: The Center Focus Area leaves the focus point in the middle of the frame, and that’s about it. You just have to put your subject matter in the center, and you will get it in focus.
  4. Flexible Spot: you have a dot or square that you move around the screen and put on your focus point. With Flexible Spot, you control exactly where the focus goes.
  5. Expand Flexible Spot: takes Flexible Spot M, but it allows the camera to try to help. When you’ve got your focus point on your subject, the Expand Flexible Spot will “expand” if needed outside of the focus point to grab focus.
  6. Lock-On AF Expand Flexible Spot: This focus area takes Expand flexible spot, but then it will lock-on and follow the subject once you have started focusing. It could be used for tracing birds and sport objects.
  7. It does what Lock-On AF Expand Flexible Spot does but in a different way. The first big difference is you have to activate this every time. You have to turn it on, put the subject in the center of the frame, and then select it. This makes it more involved than Lock-On AF Expand Flexible Spot. The other big difference is the way it works. Once you choose the subject, you don’t have to hold down the focus button. The camera just keeps following that subject.
  8. Eye AF Eye AF goes even further into autofocus and face detection and will automatically find a subject’s eye, focus on it, and follow it!

To select focus area, go to MENU → (Camera Settings) → [Focus Area] → desired setting. Or press Fn.

Bob Lin, MS-MVP, MCSE & CNE
Data recovery, Windows OS Recovery, Networking, and Computer Troubleshooting on
http://www.ChicagoTech.net
How to Install and Configure Windows, VMware, Virtualization and Cisco on
http://www.HowToNetworking.com

Selecting the AF Area in Canon

There are six AF area selection modes. They are

  1. Single-Point Spot AF (manual selection) for pingpoint focusing.

2. Single-point AF (manual selection) for one point focusing.

3. AF point expansion (Manual selection) for using 4 surrounding AF points to focus.

4. AF point expansion (Manual selection) for 8
surrounding AF points to focus.

5. Zone AF (manual selection of zone) for 12
surrounding AF points to focus. The 61 AF points are divided into none zone for focusing.

6. 61-point automatic selection AF. This is the default settings and all the AF points are used to focus.

To select the AF Area mode,

  1. Press the AF Area mode button.

2. Look through the viewfinder and press the M-Fn button to switch the AF area selection mode.

To select the AF Point manually,

  1. Press the AF area mode button.
  2. Move the points by pressing Multi-controller button or Main Dial or Quick Control Dial.

Bob Lin, MS-MVP, MCSE & CNE
Data recovery, Windows OS Recovery, Networking, and Computer Troubleshooting on
http://www.ChicagoTech.net
How to Install and Configure Windows, VMware, Virtualization and Cisco on
http://www.HowToNetworking.com