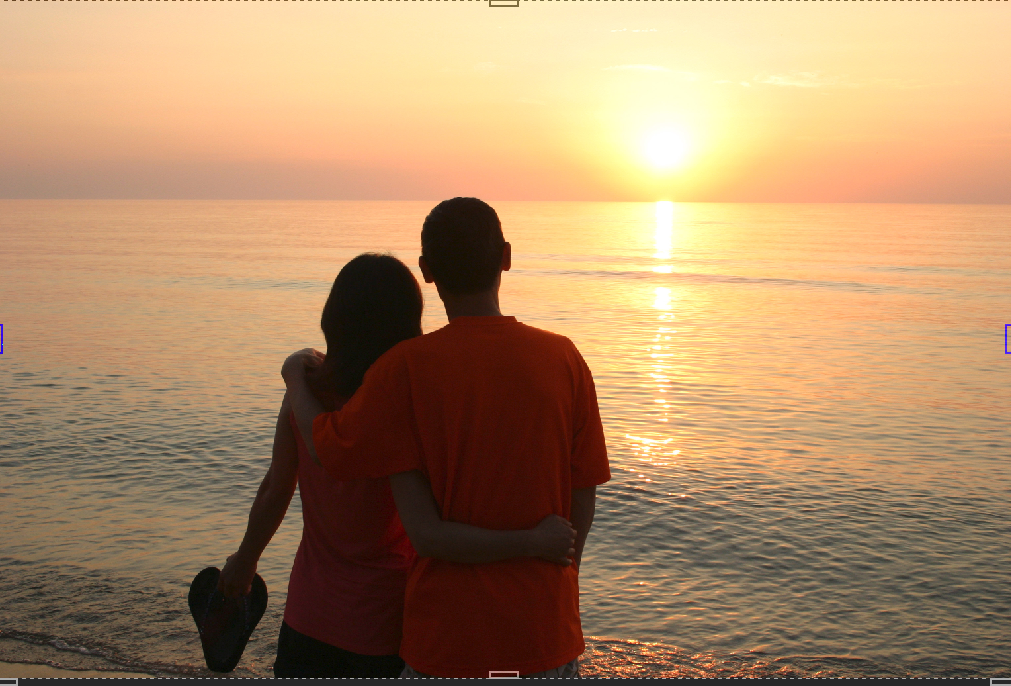
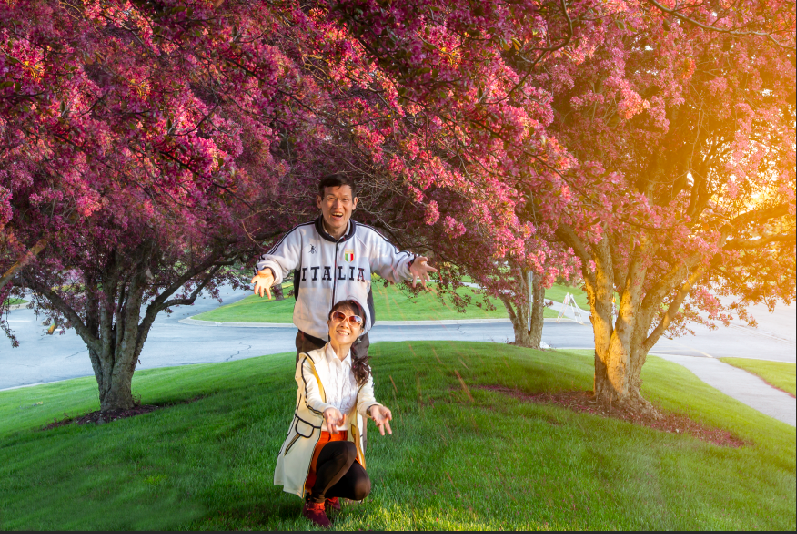
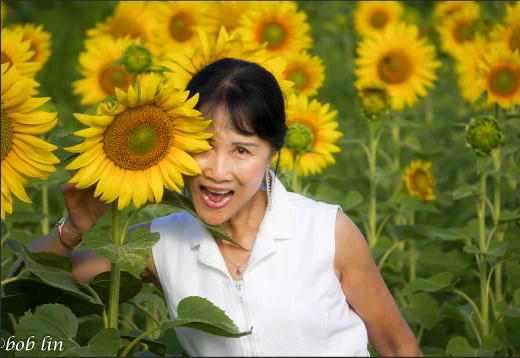
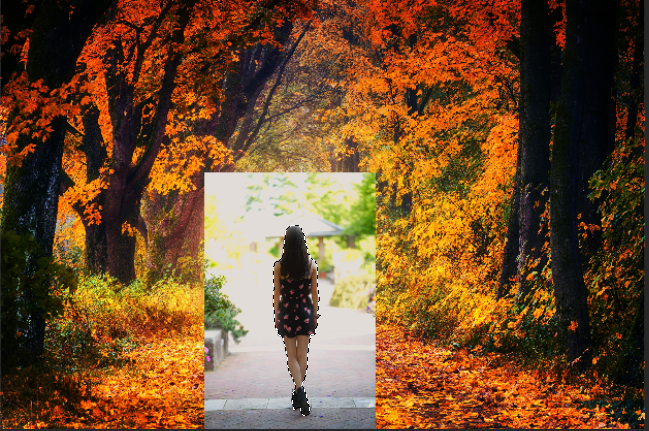
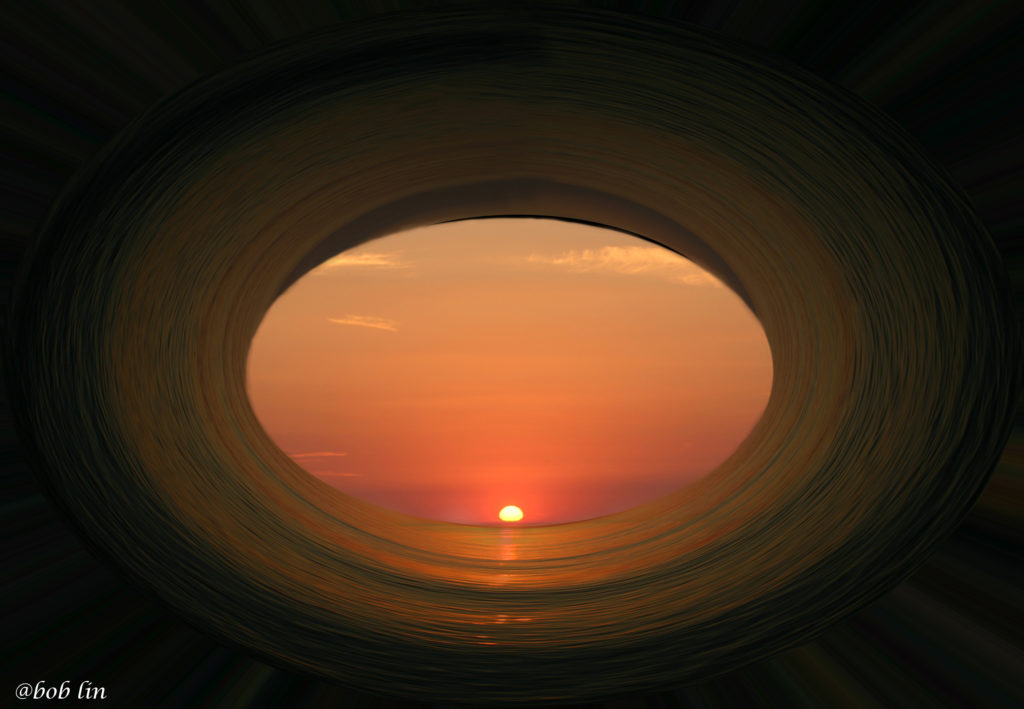
Before

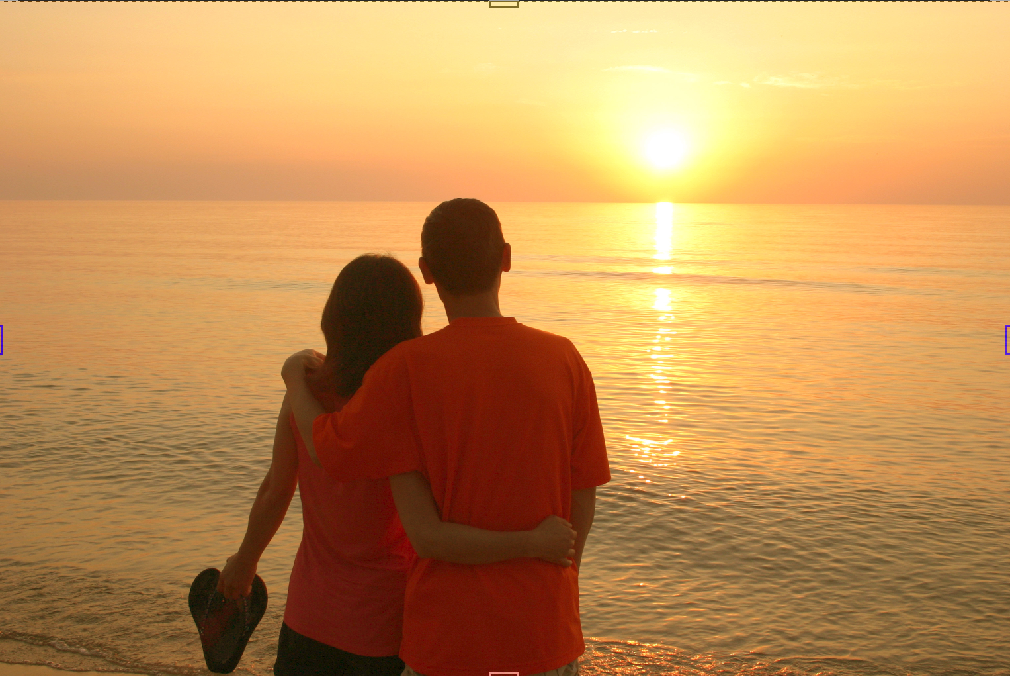
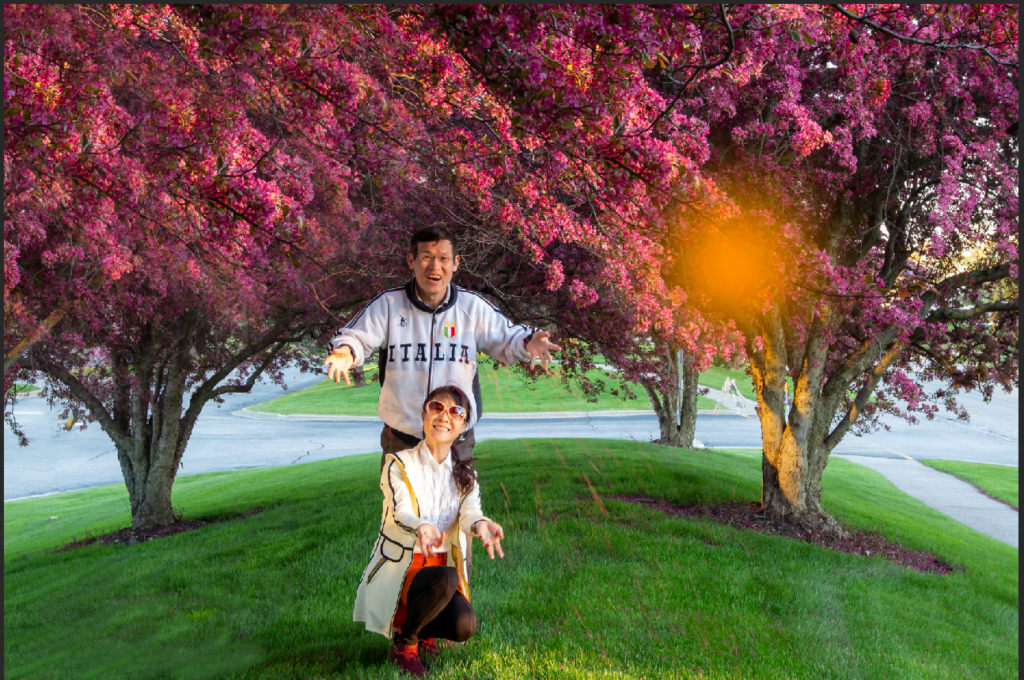
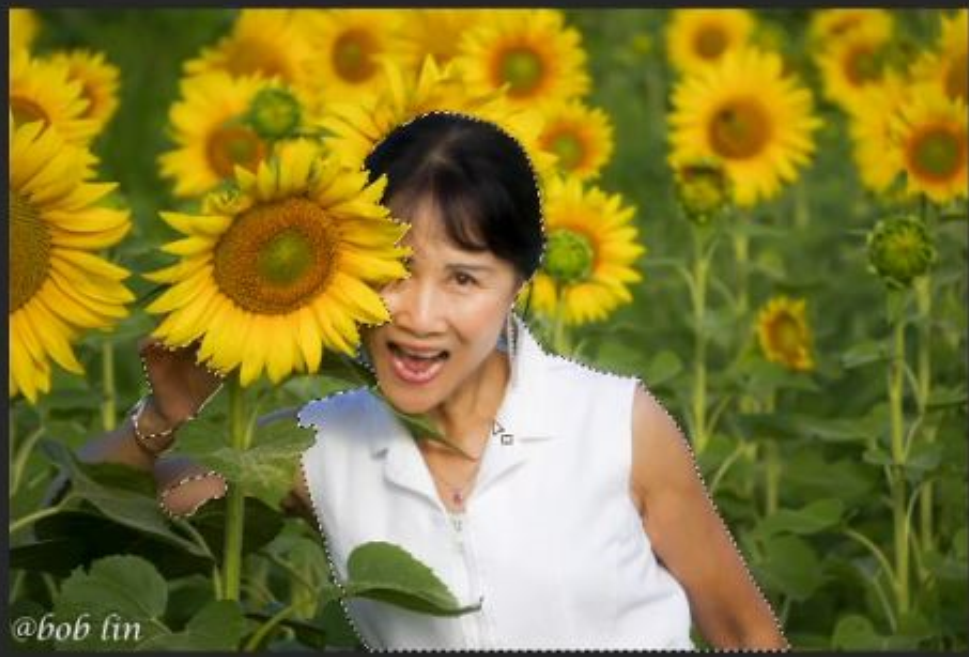
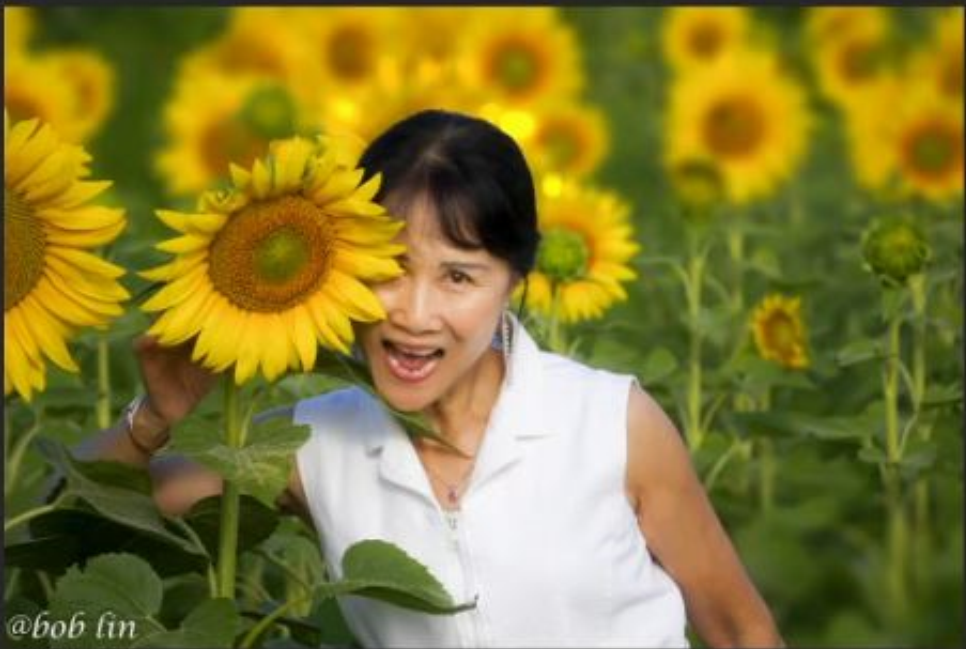
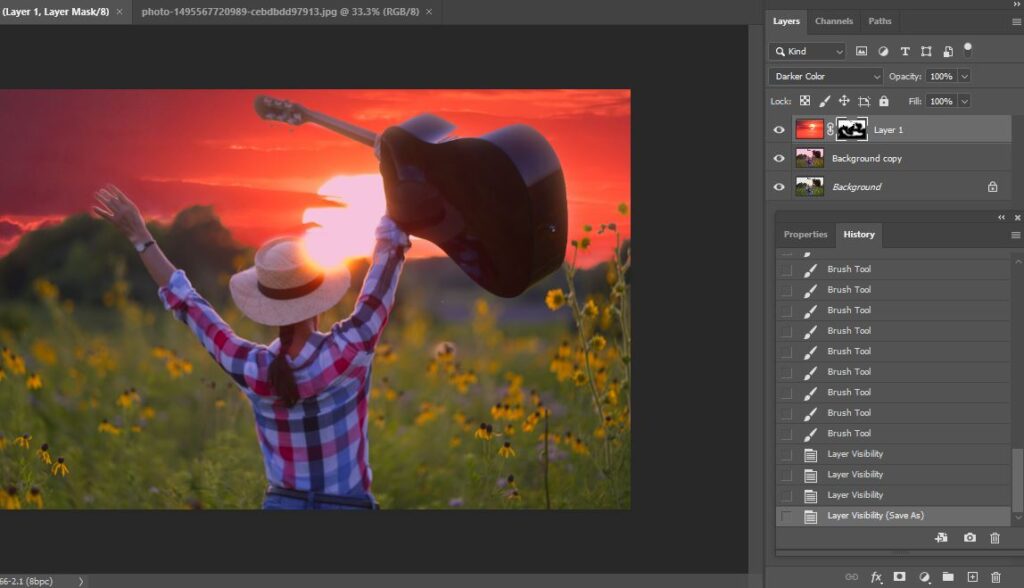
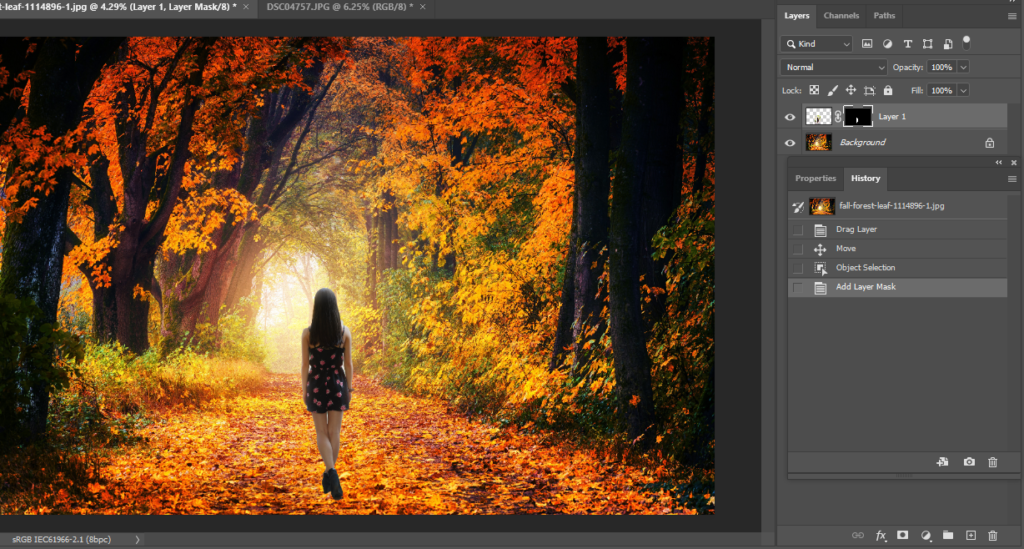
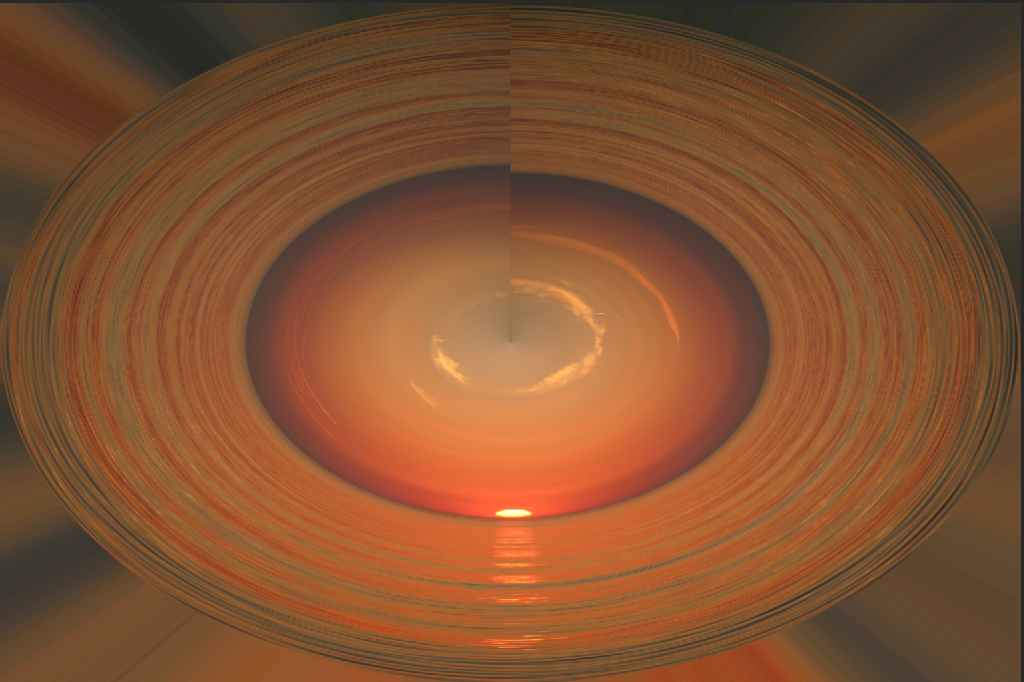
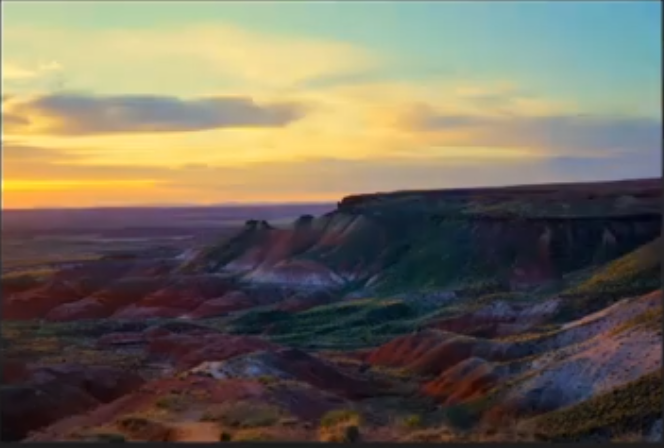
After
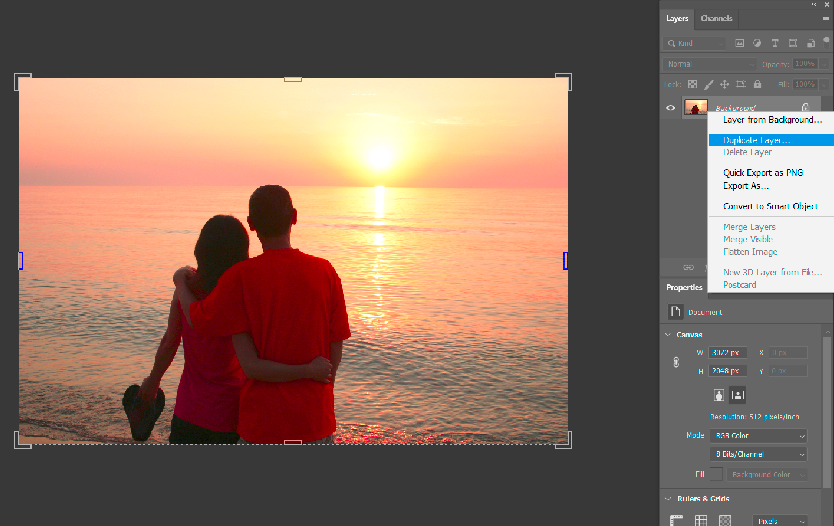
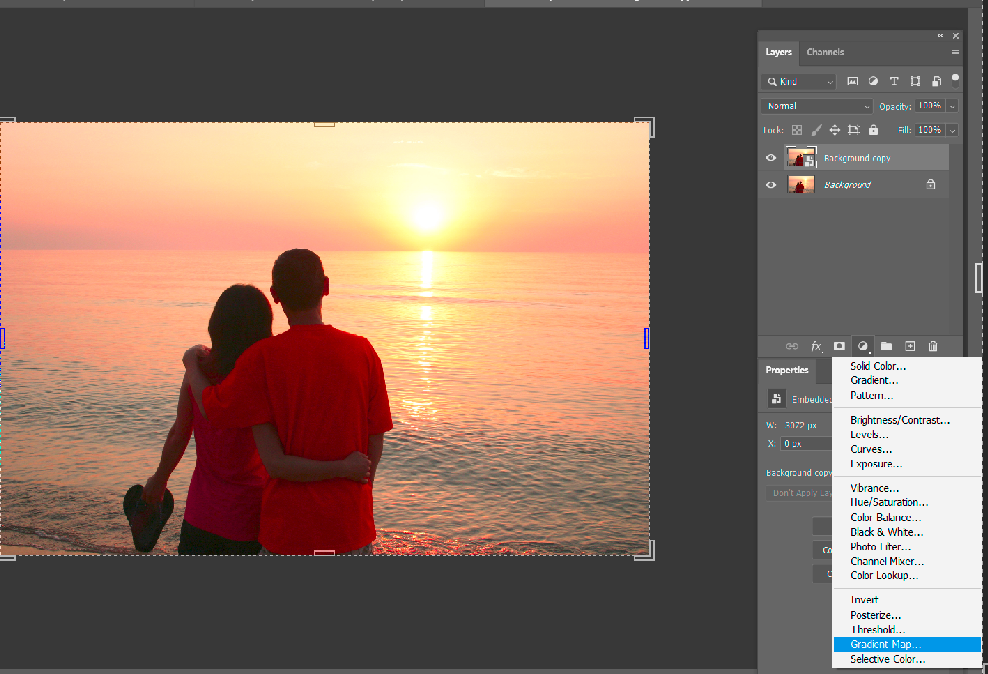
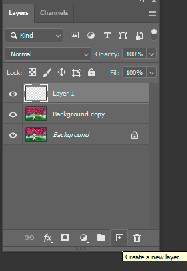
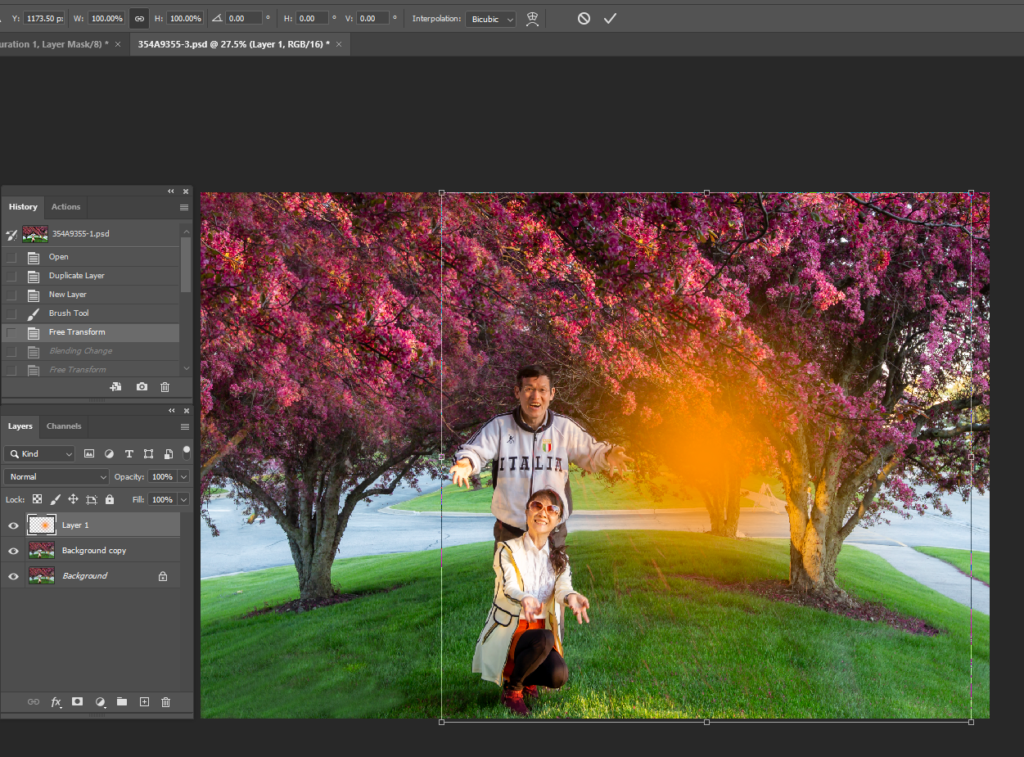
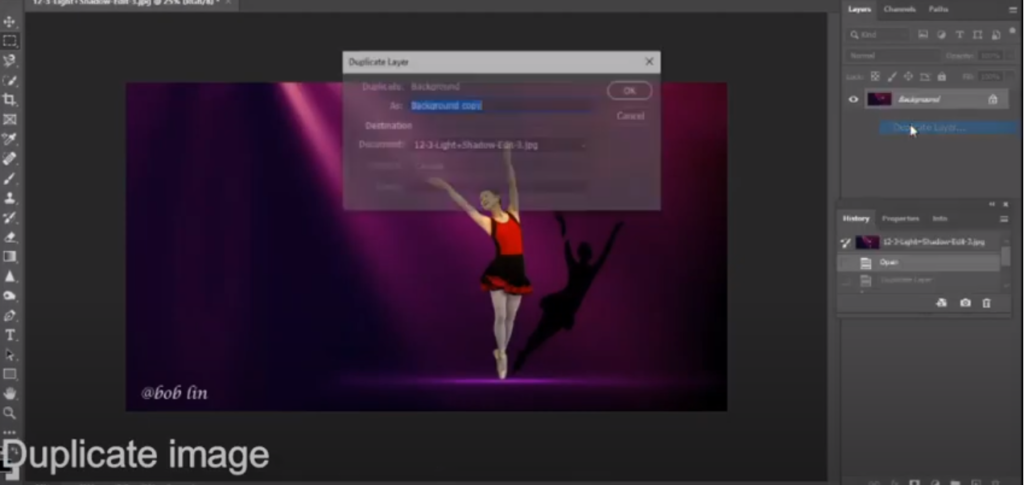
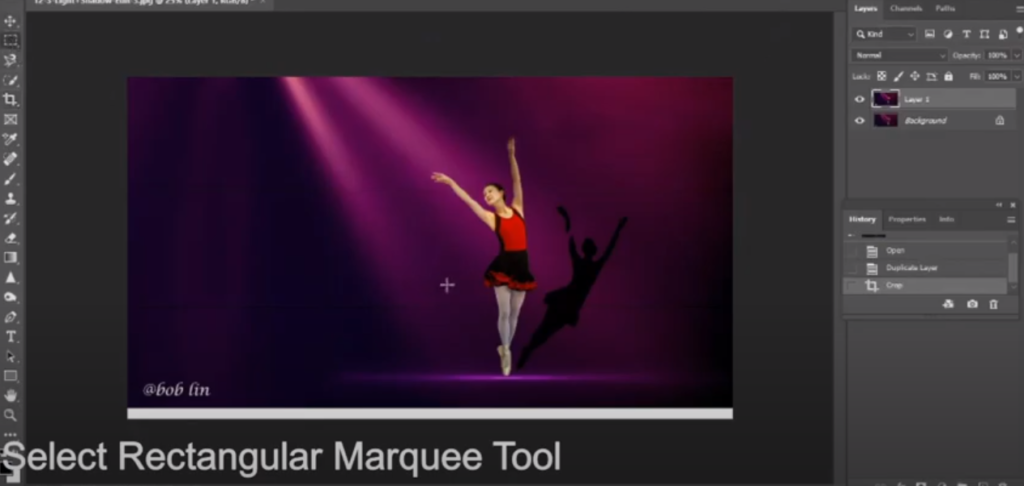
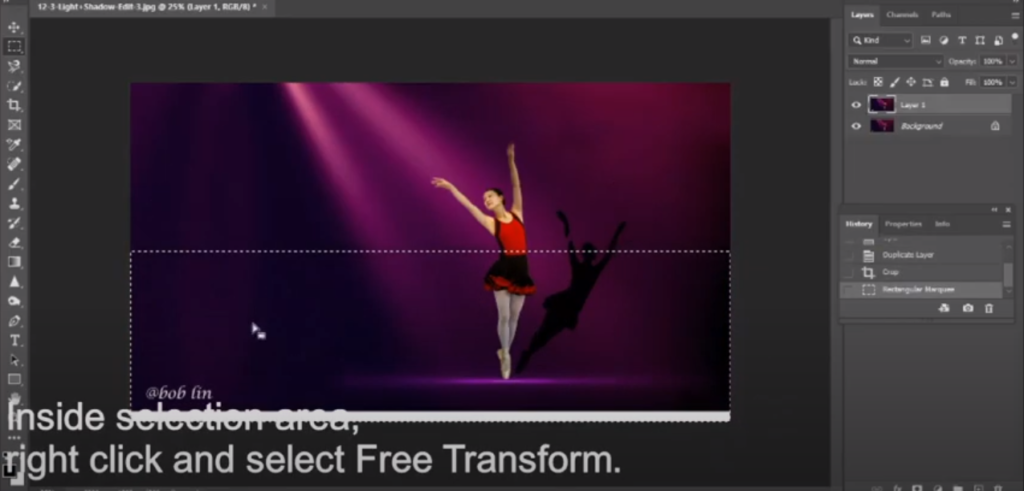
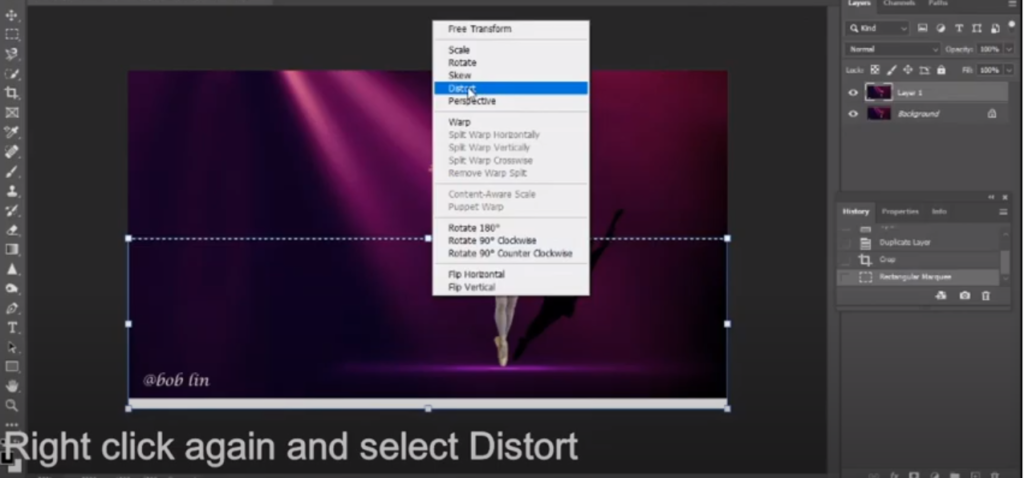
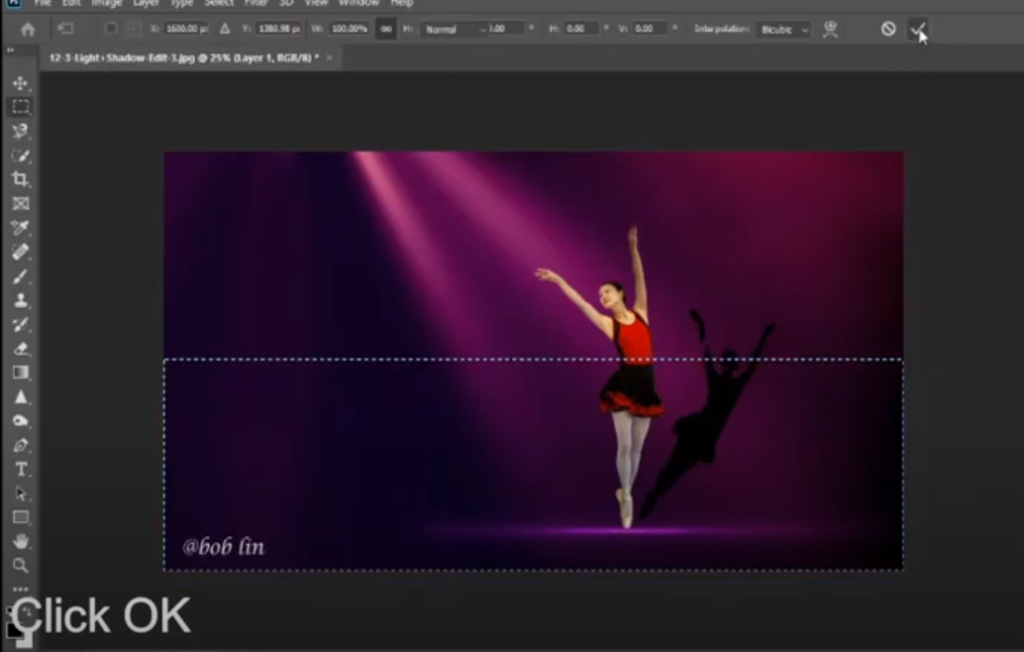
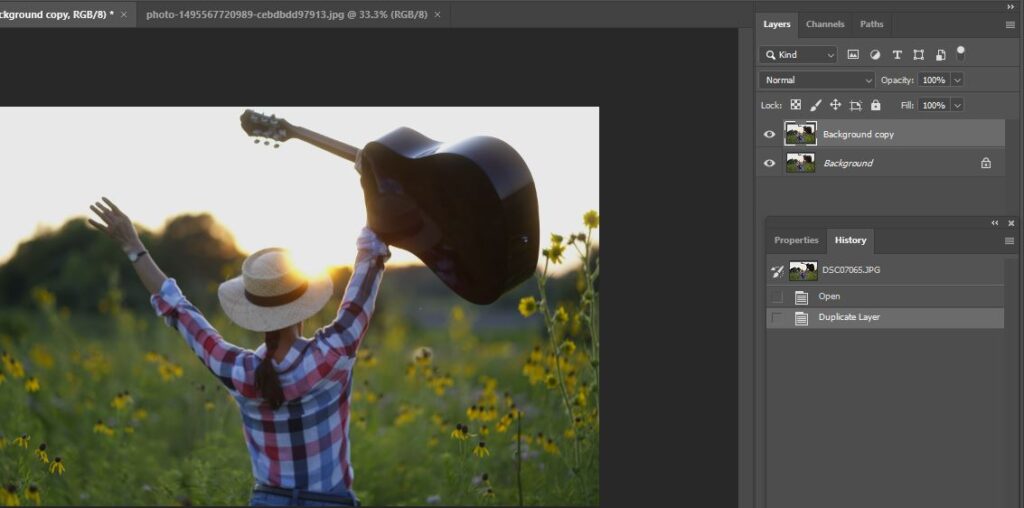
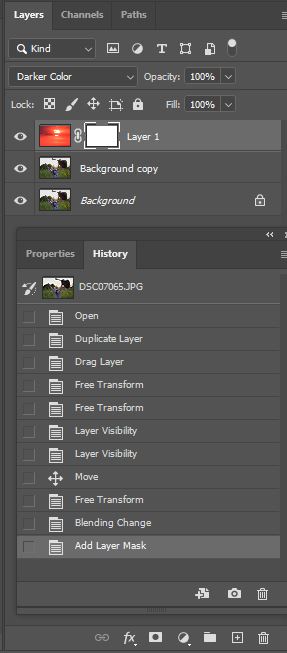
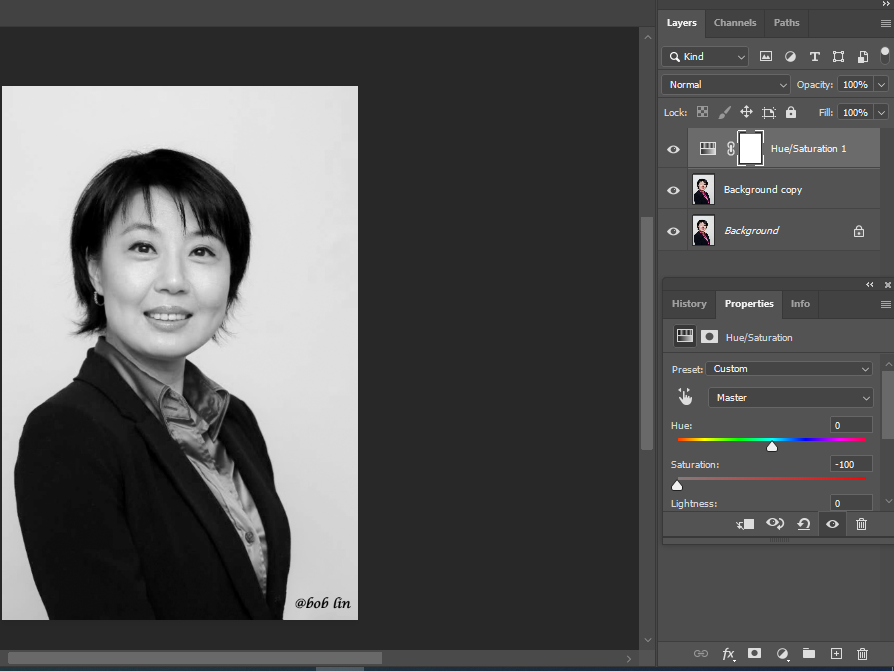
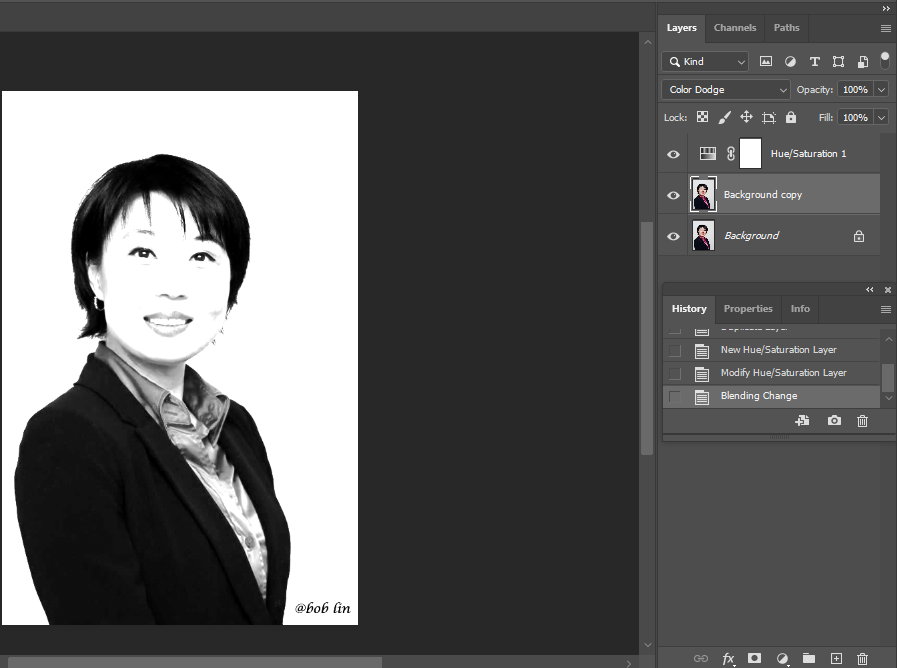
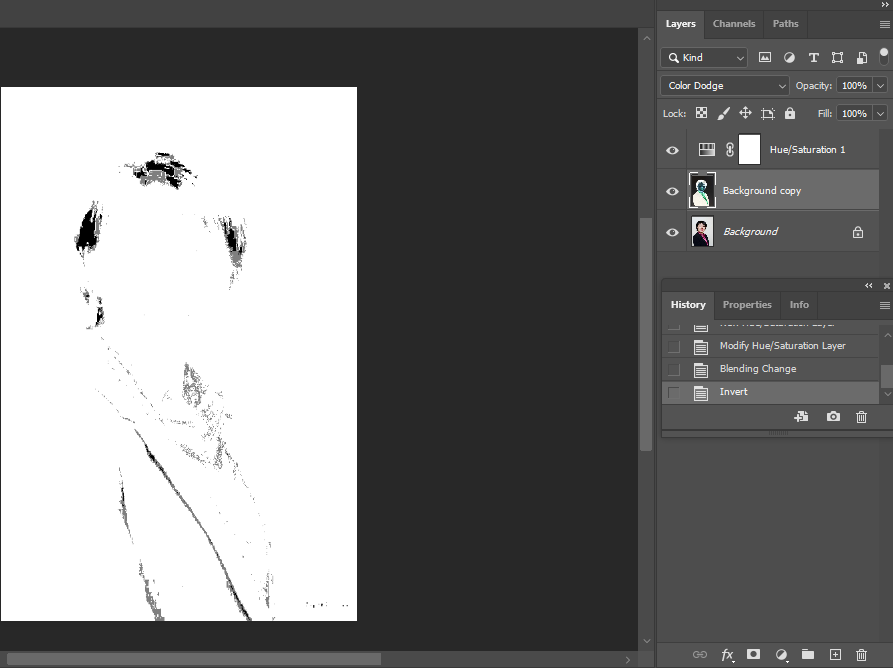
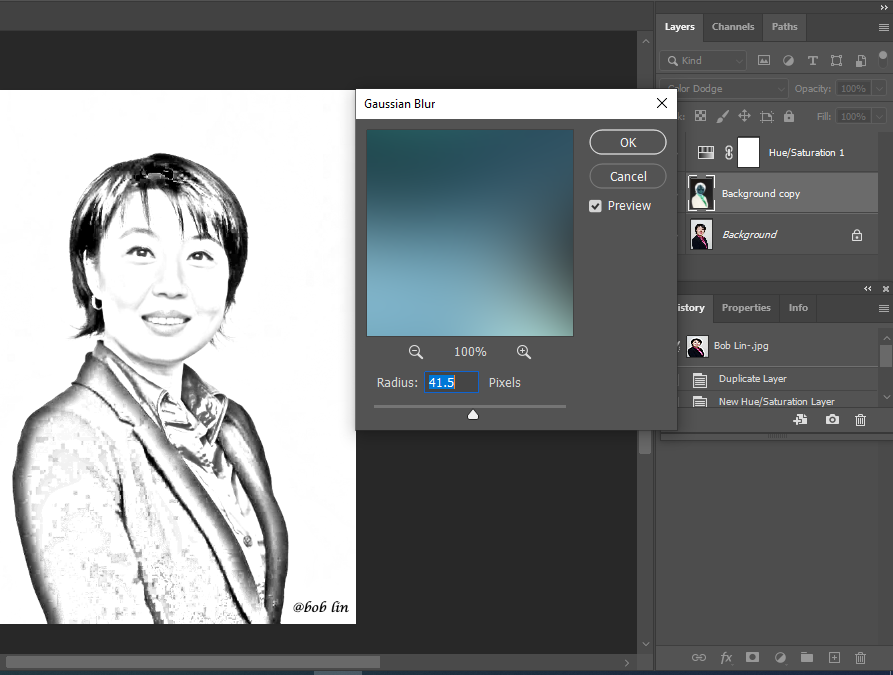
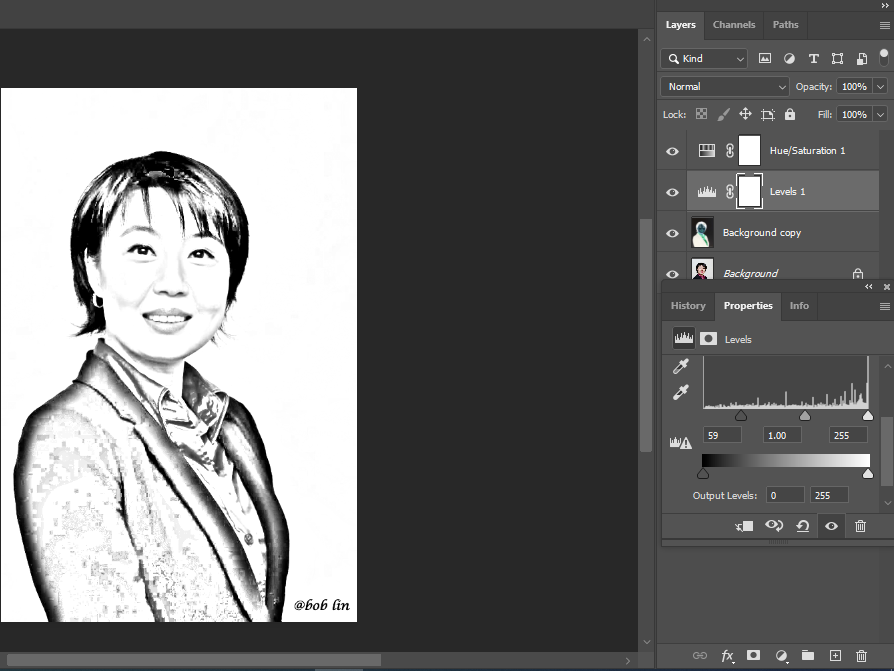
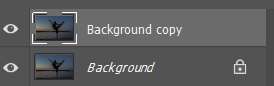
- Duplicate the image.
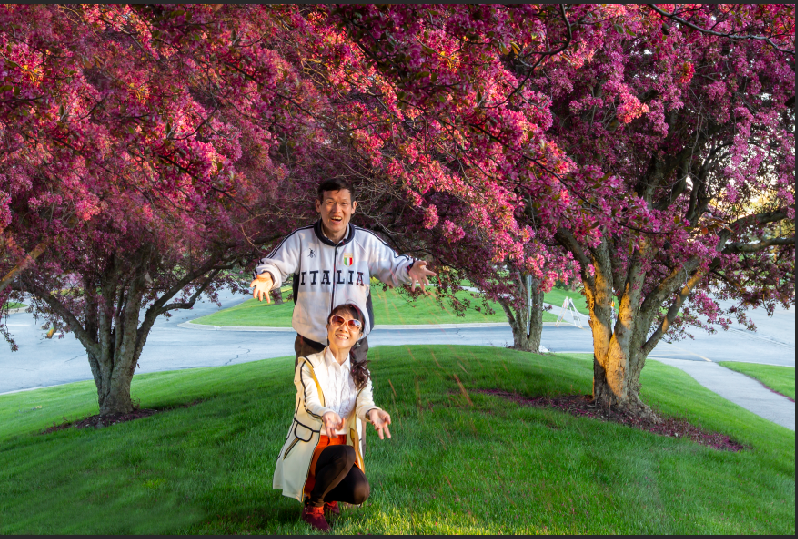
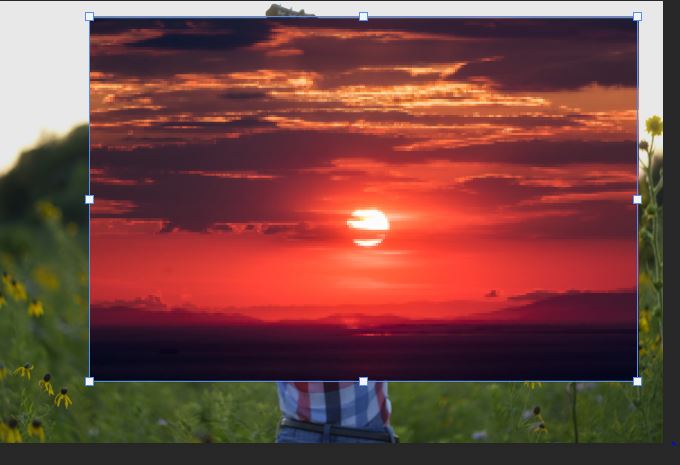
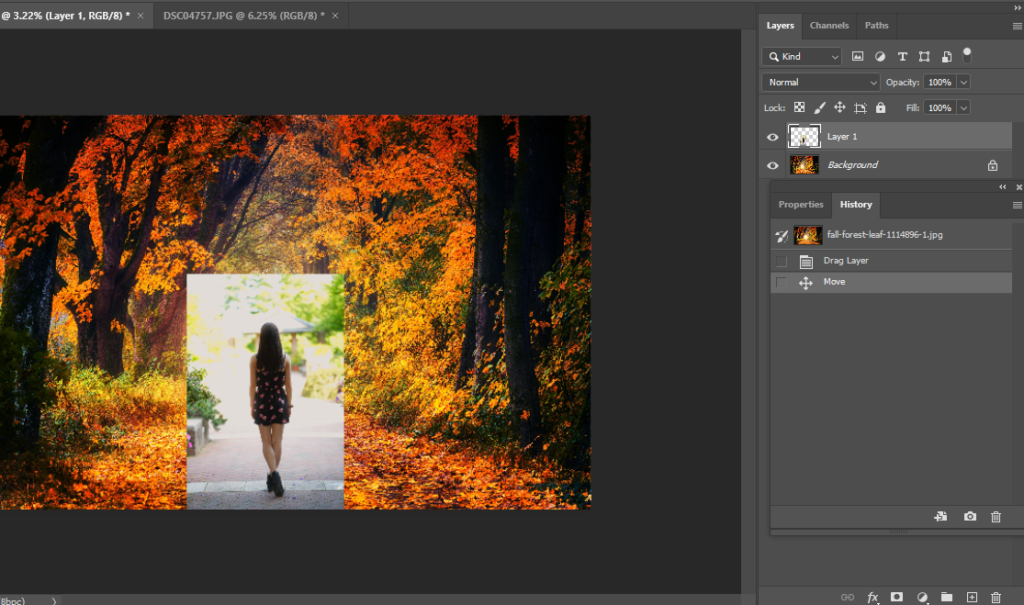
2. Also open another image you would like to match the color.

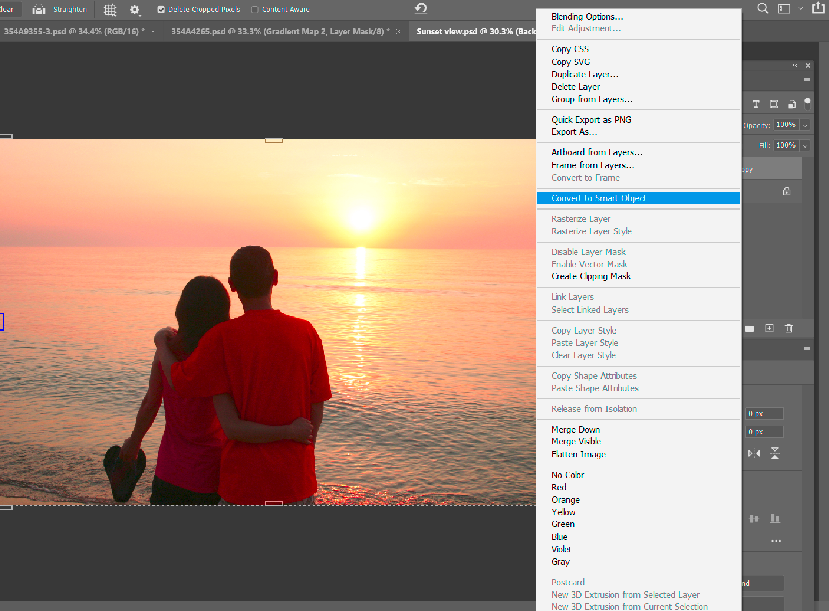
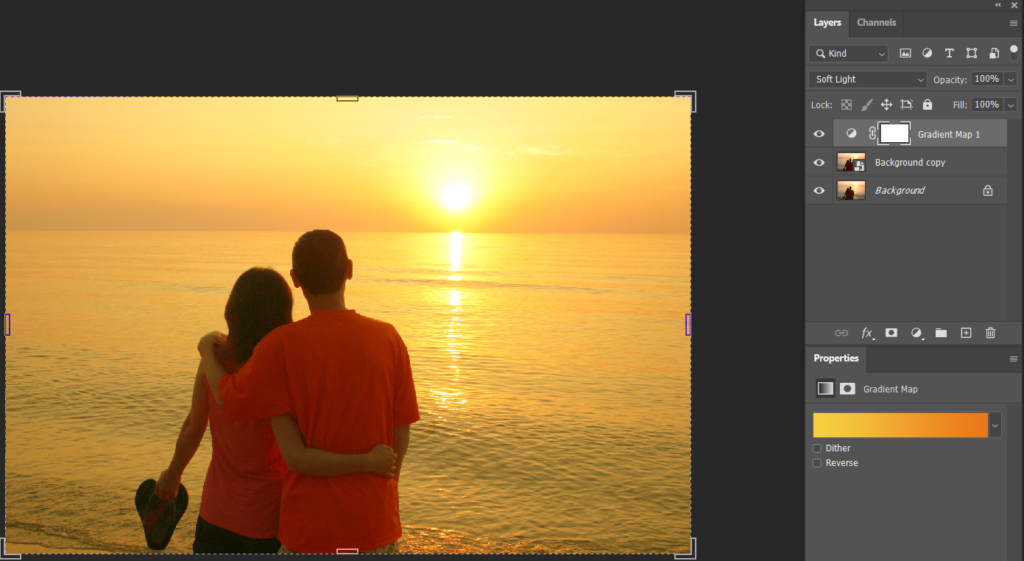
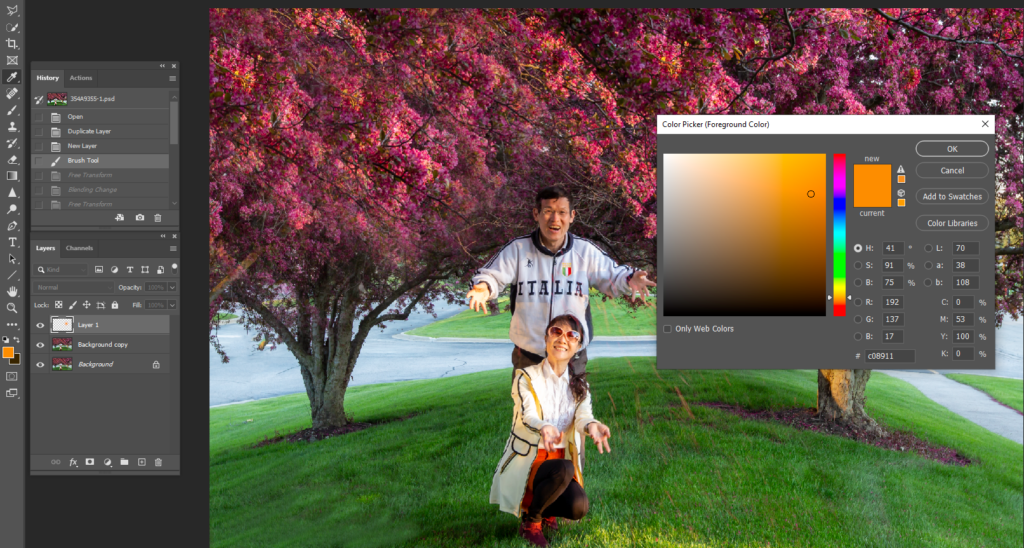
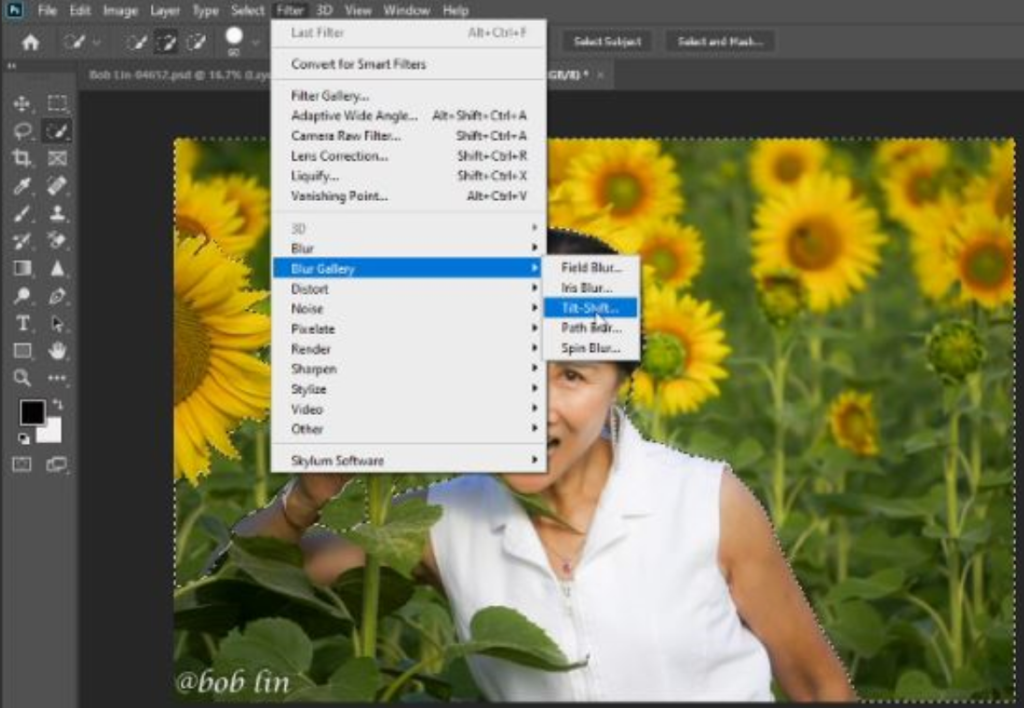
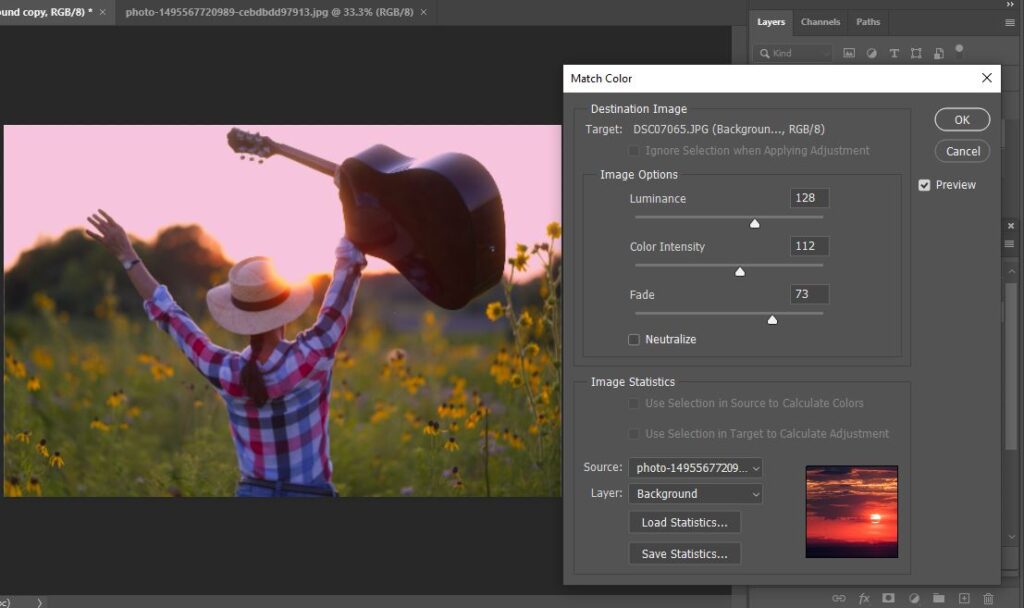
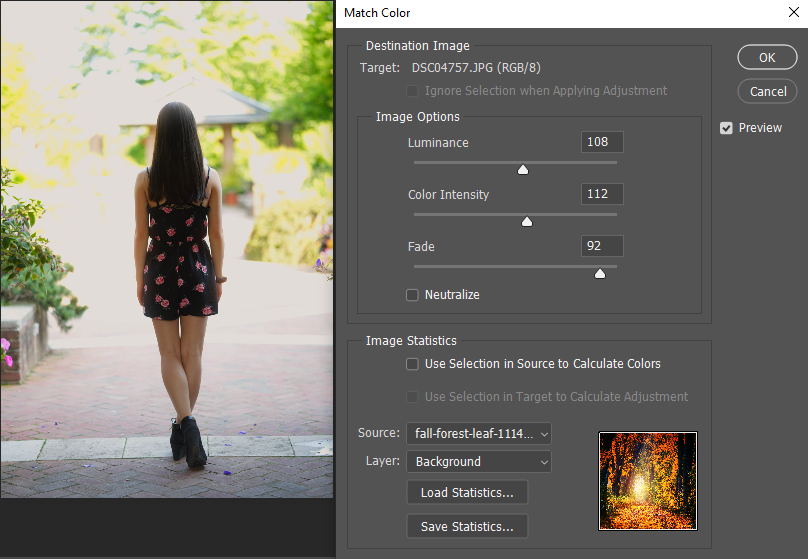
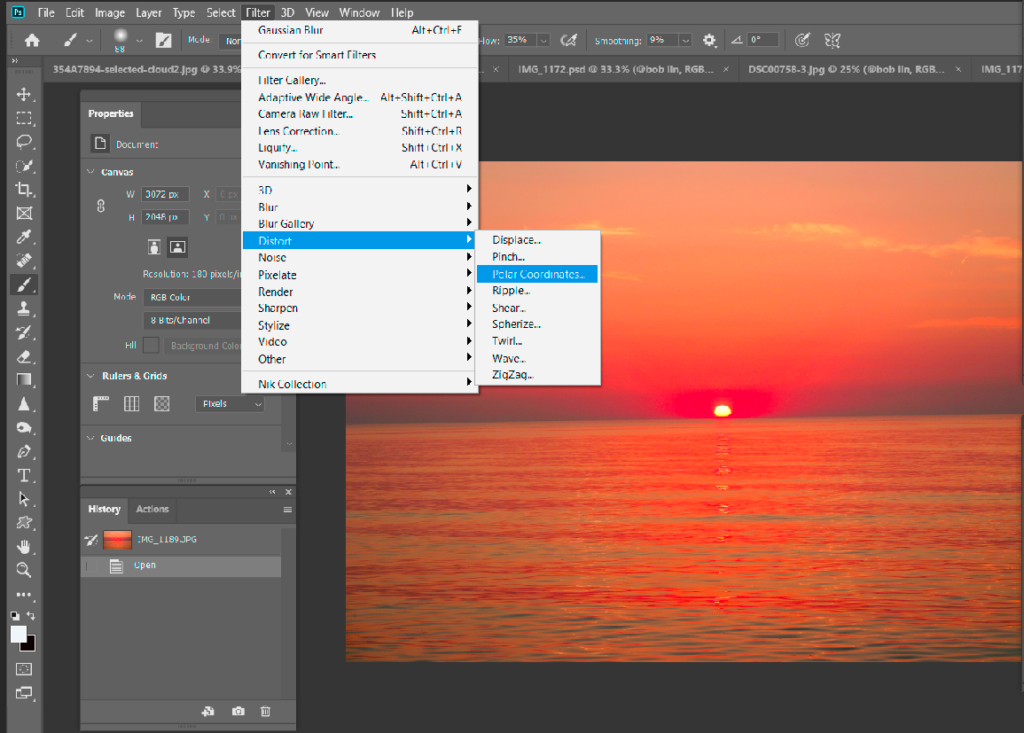
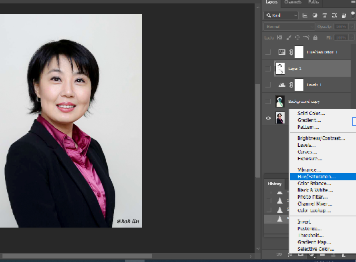
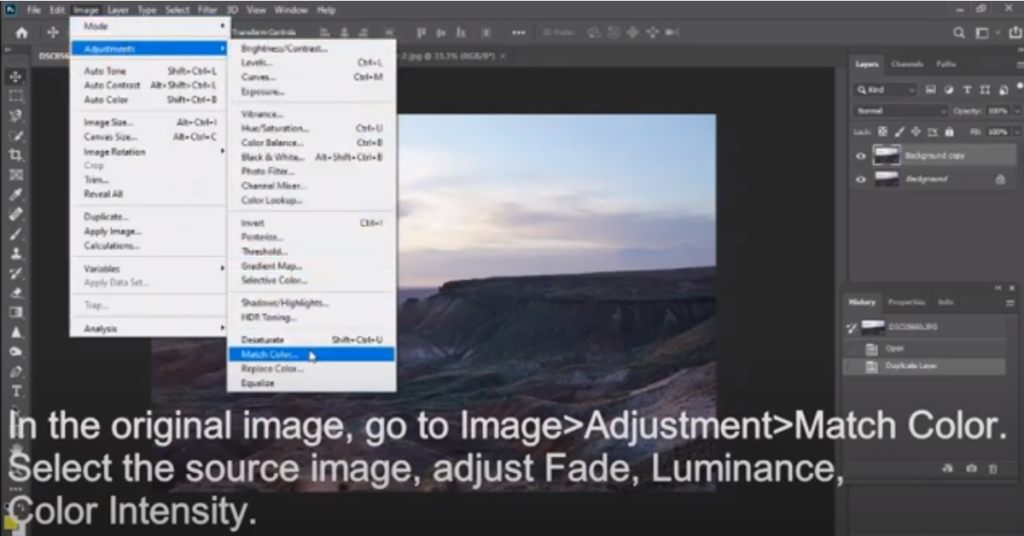
3. In the original image, go to Image>Adjustment>Match Color. Select the source image, adjust Fade, Luminance, Color Intensity.
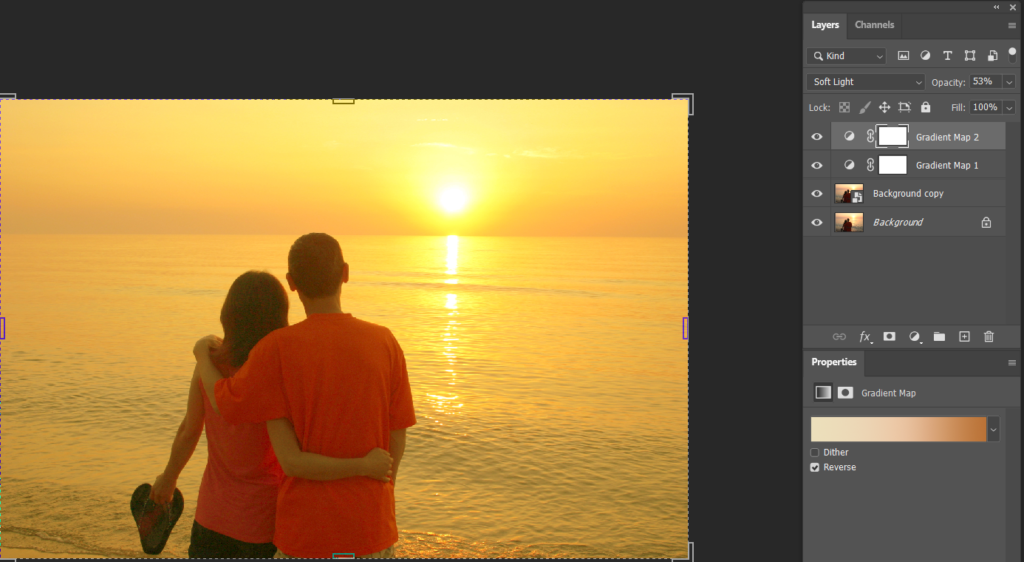
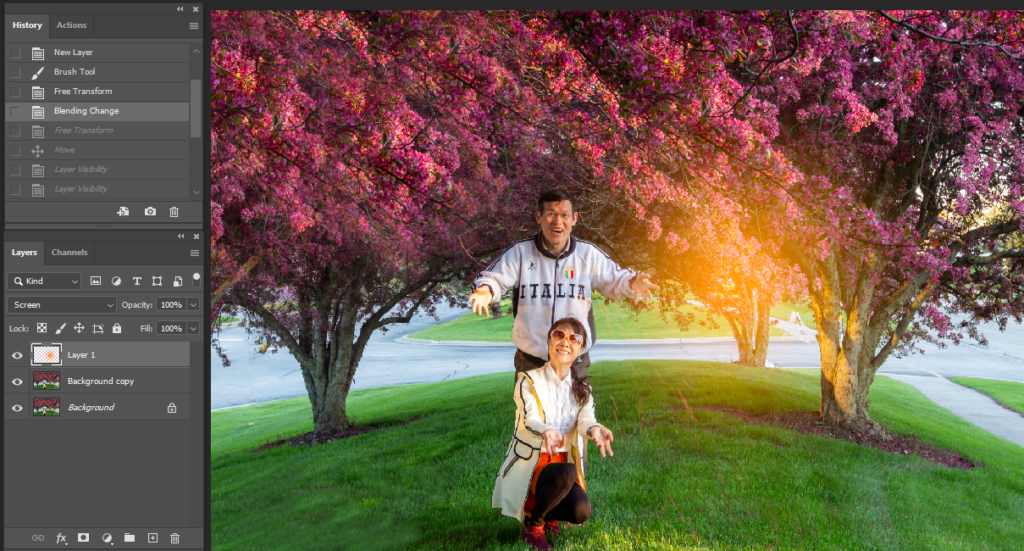
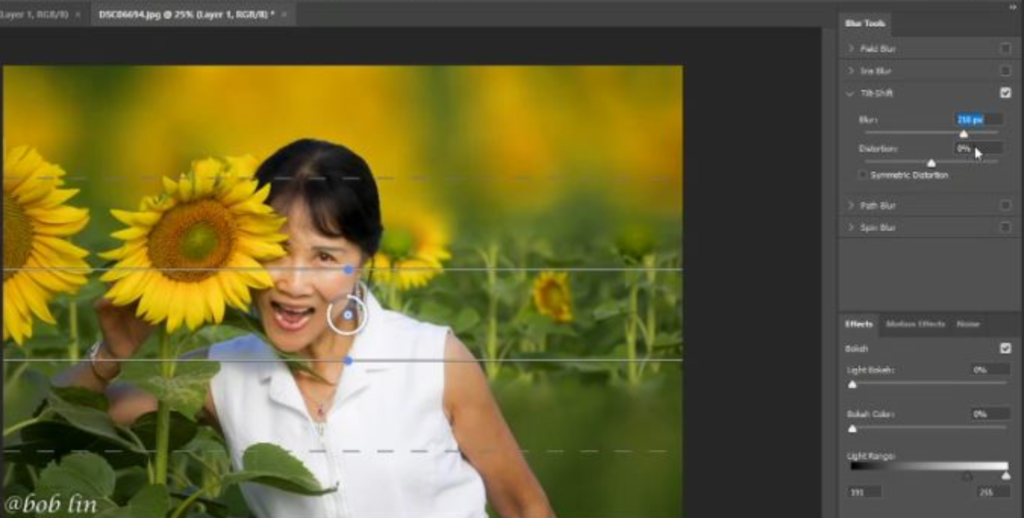
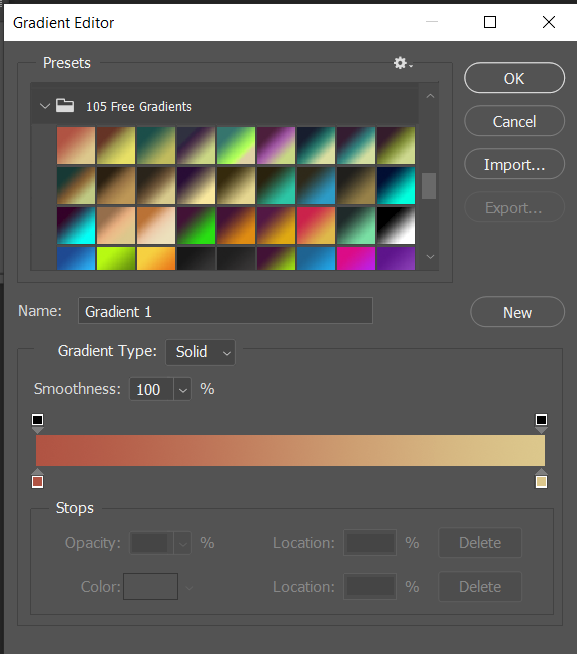
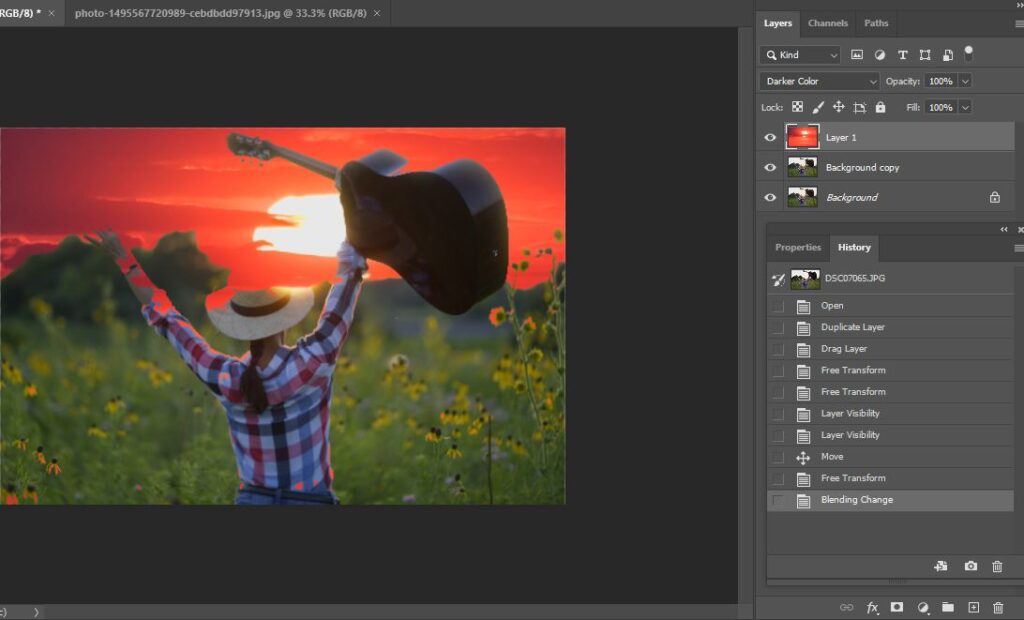
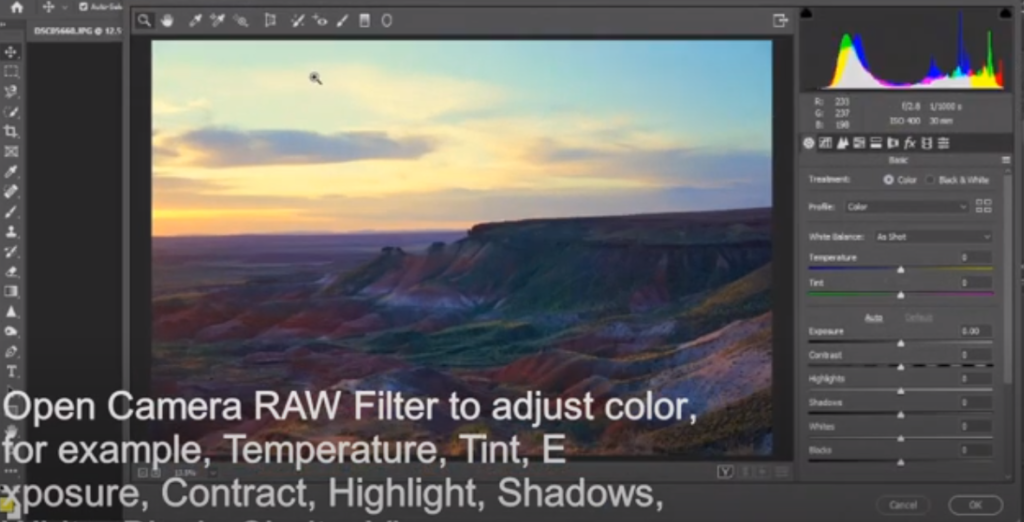
4. Open Camera RAW Filter to adjust color, for example, Temperature, Tint, Exposure, Contract, Highlight, Shadows, White, Black, Clarity, Vbrance.
Please review the step by step video:
Please view 5 minute step by step video: