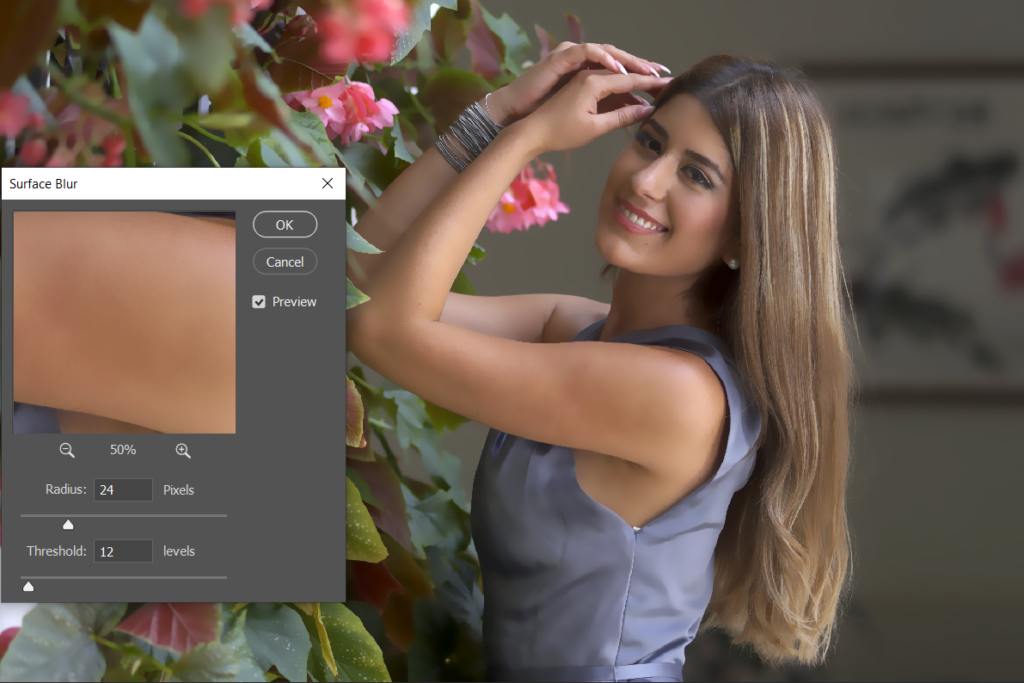
Surface Blur in Adobe Photoshop can denoise images, while preserving edges. We can use it to fix noisy photos or smooth out areas with a similar color.
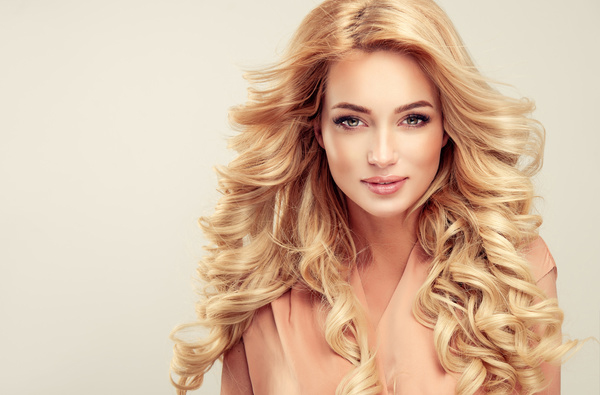
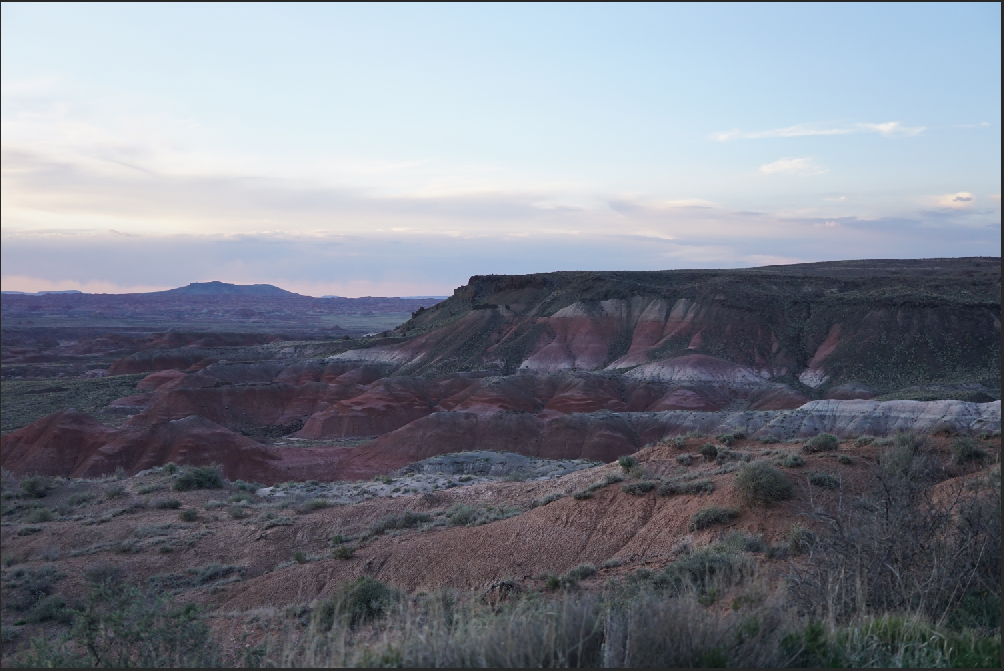
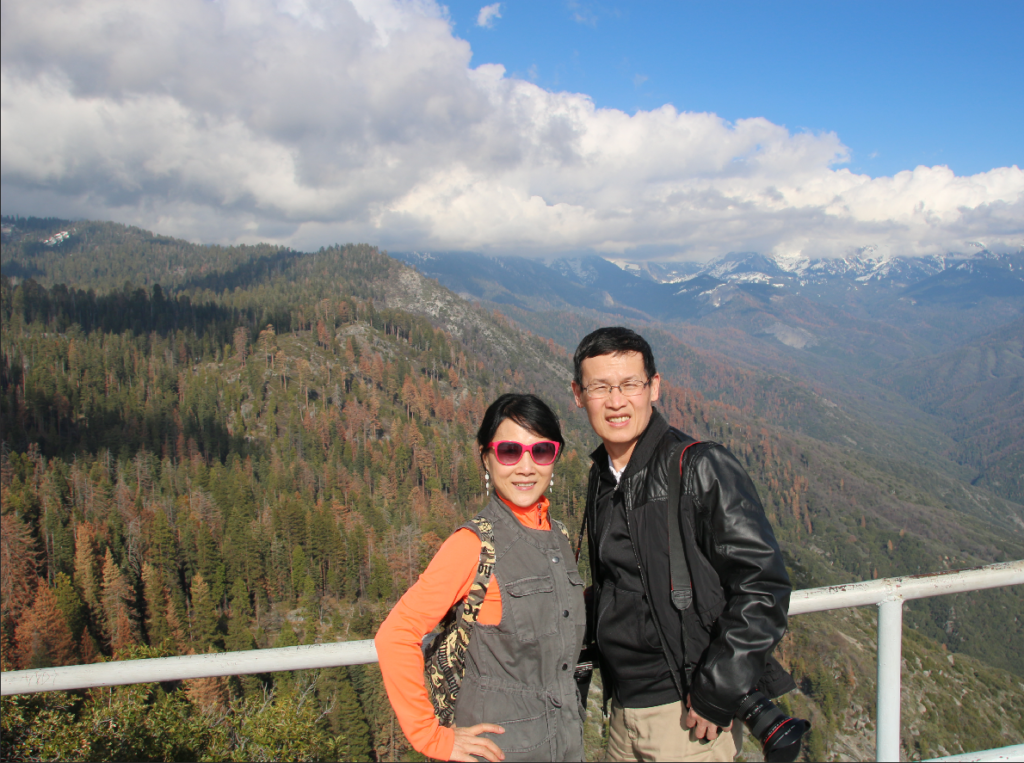
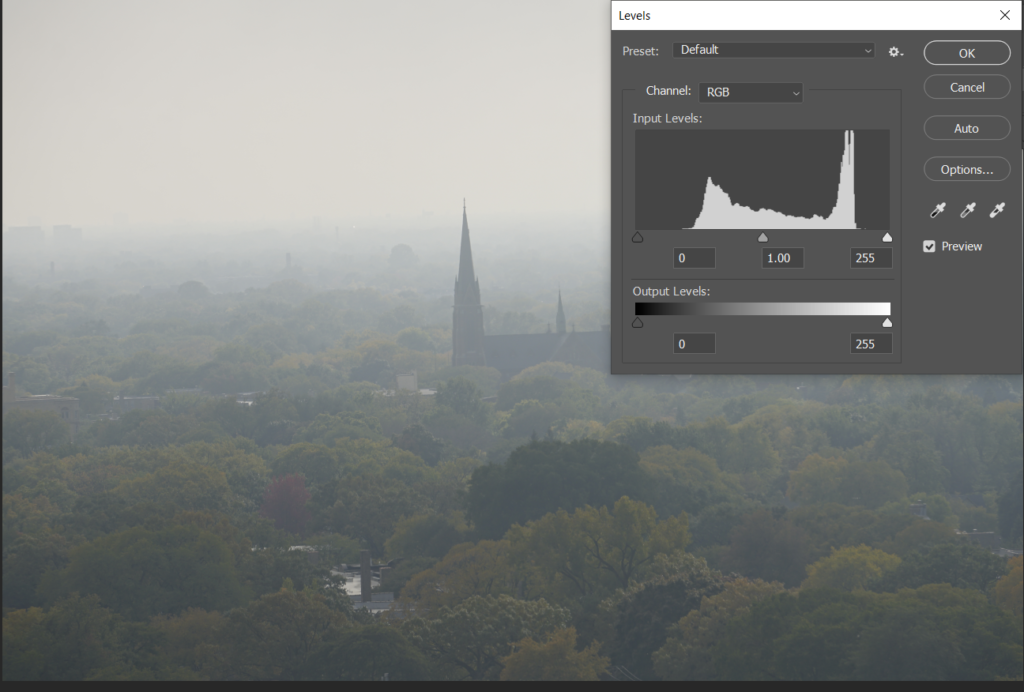
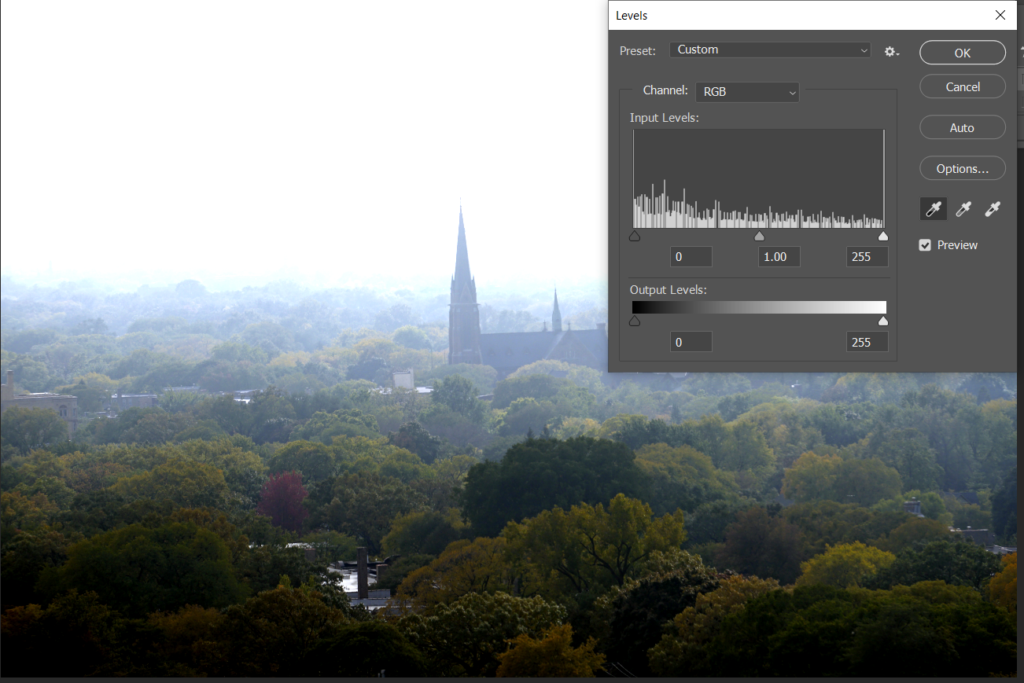
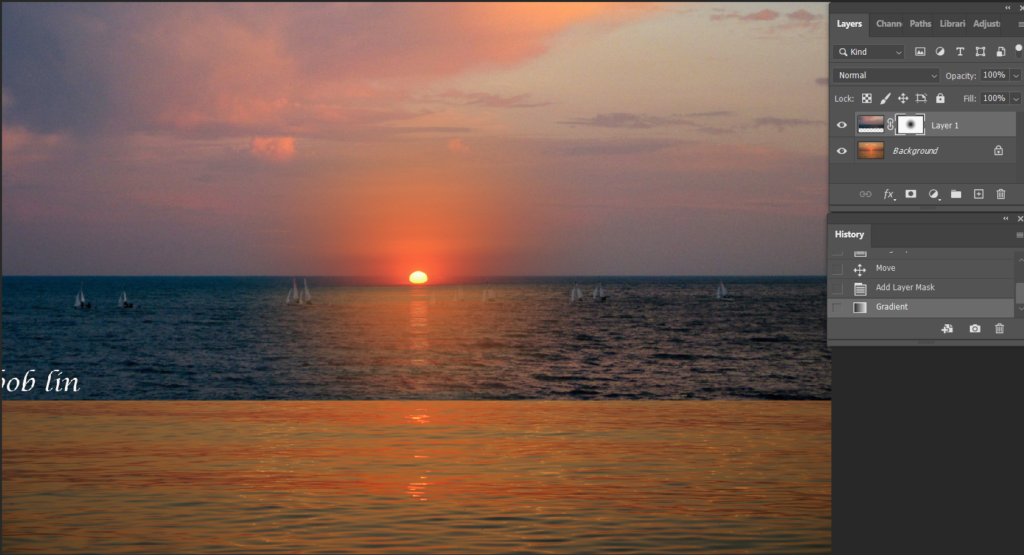
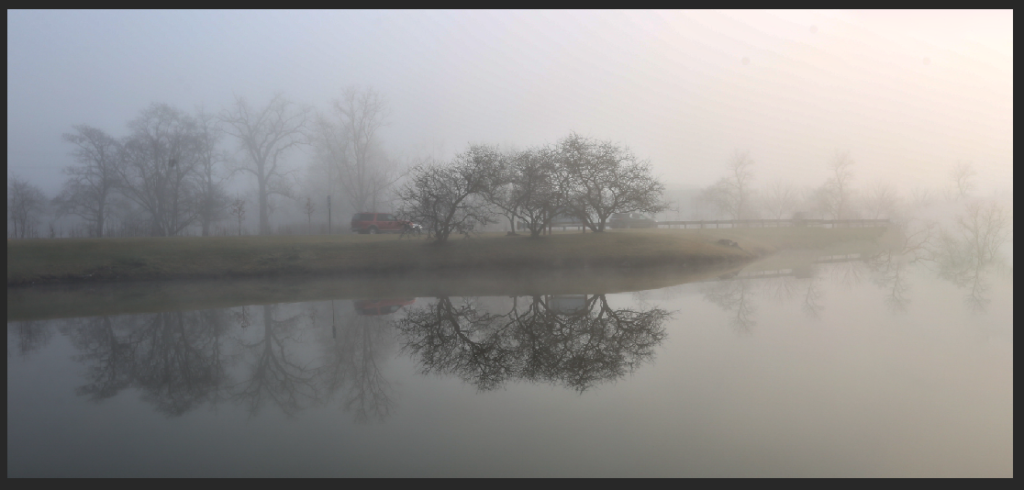
This is before
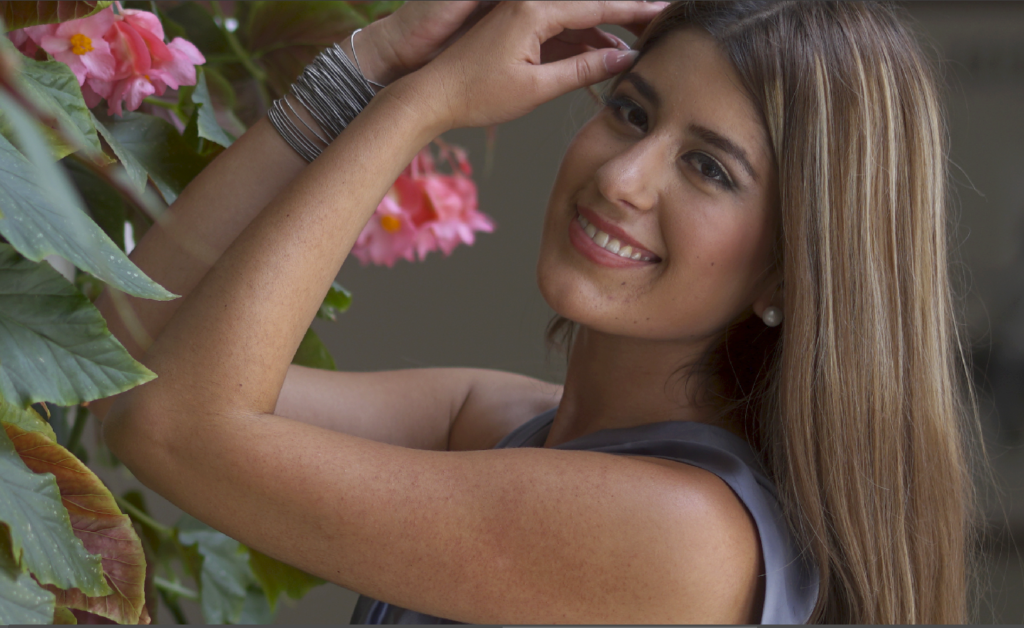
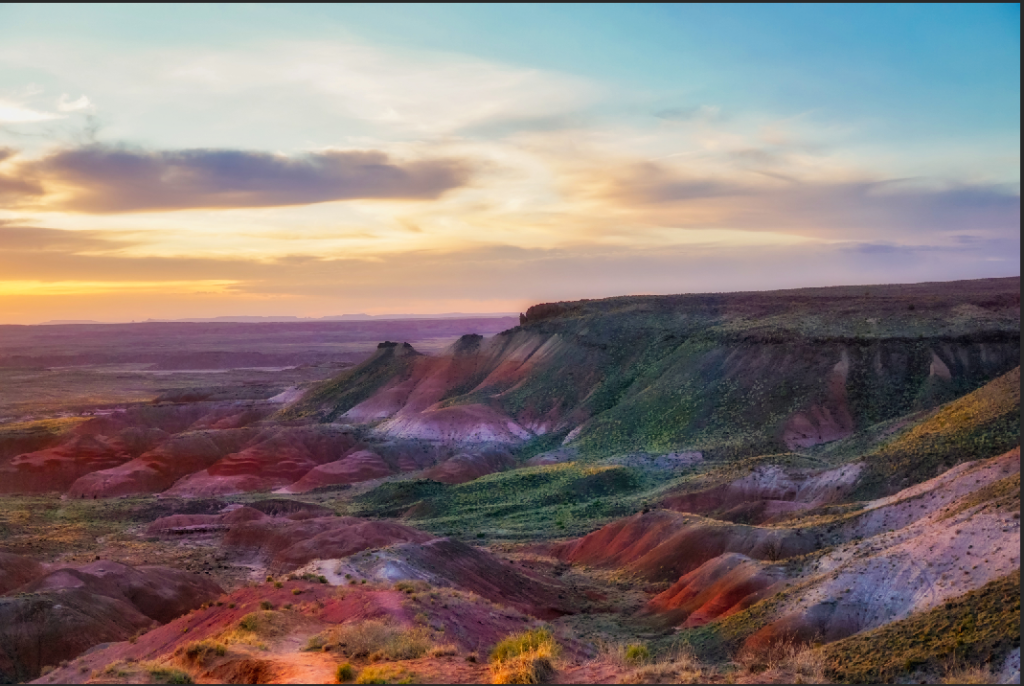
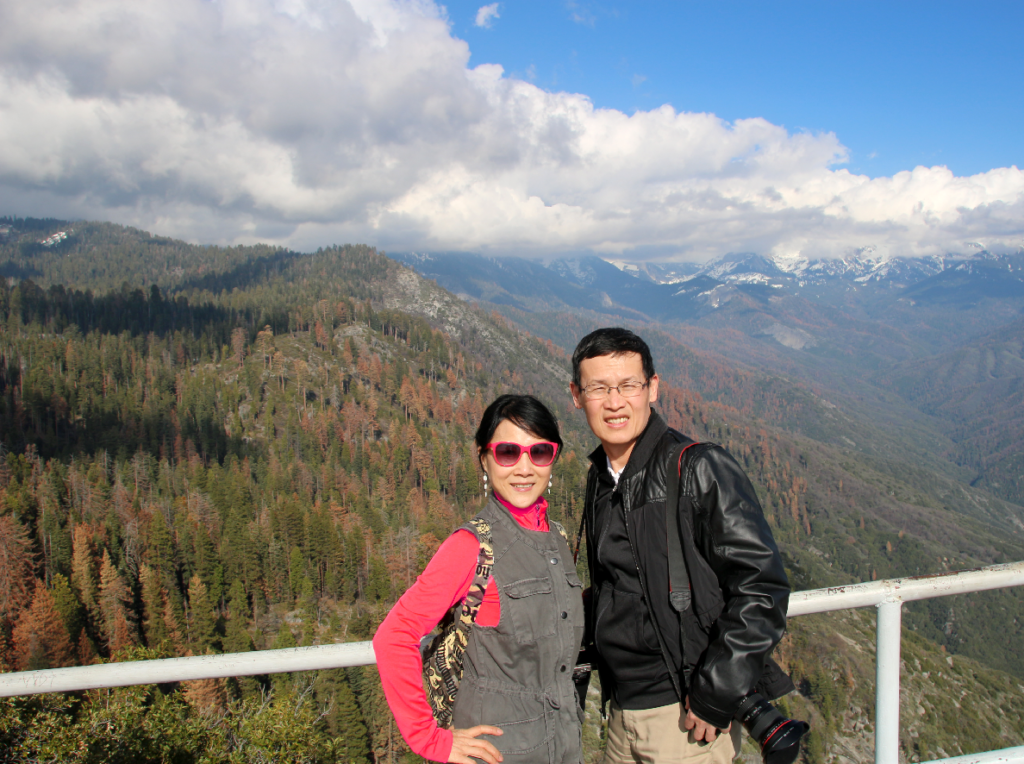
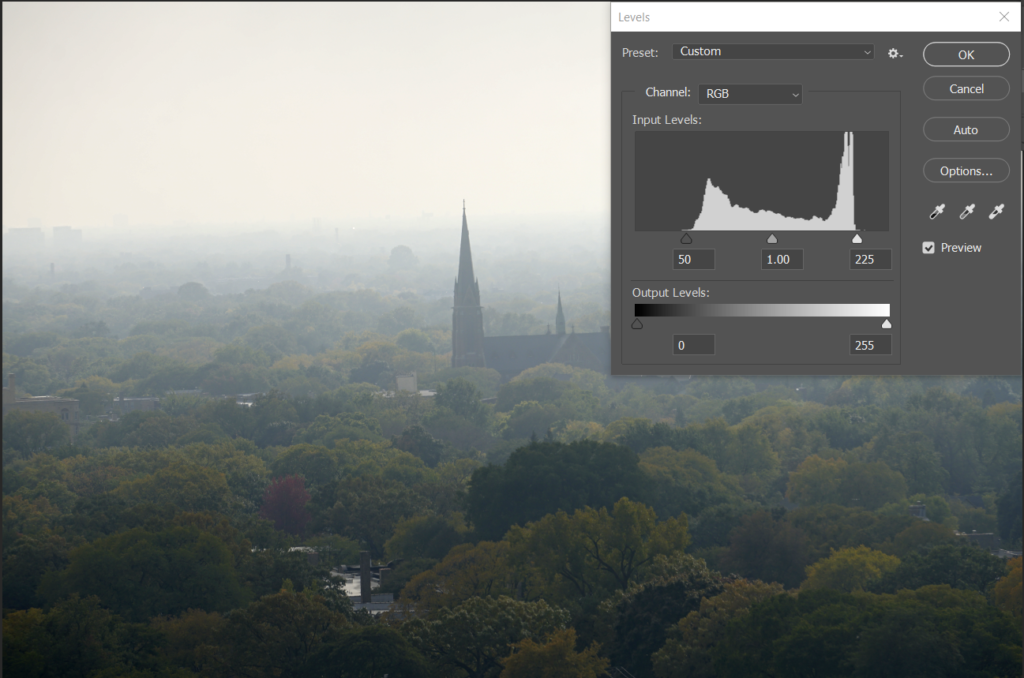
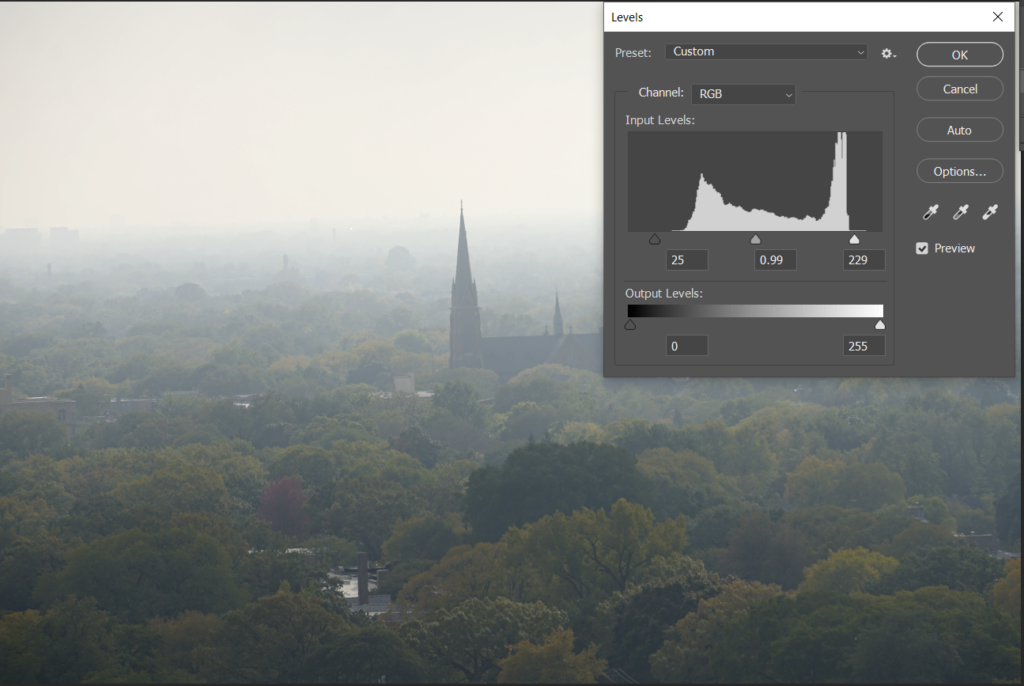
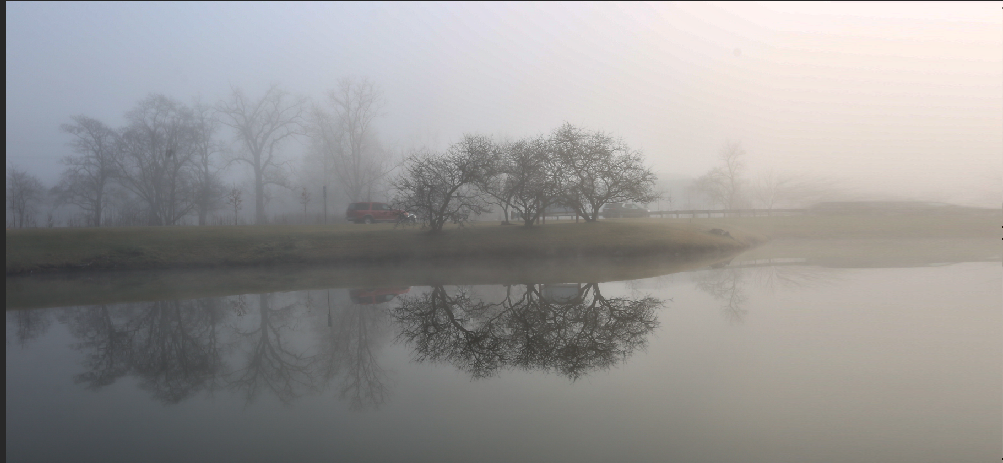
After

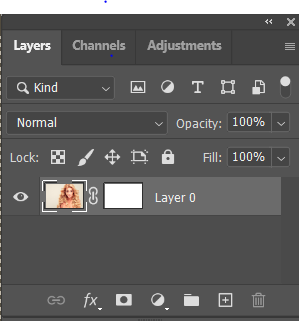
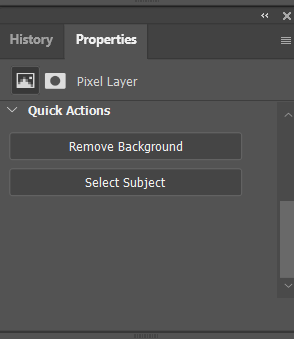
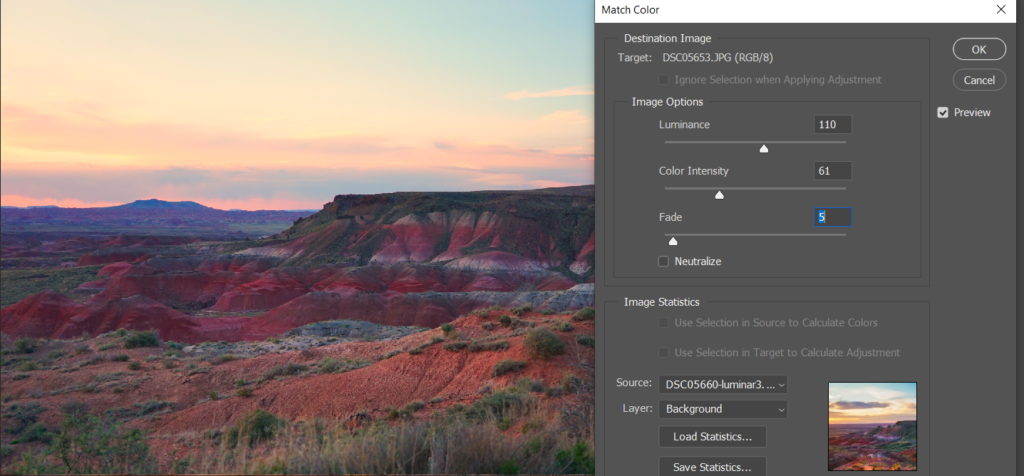
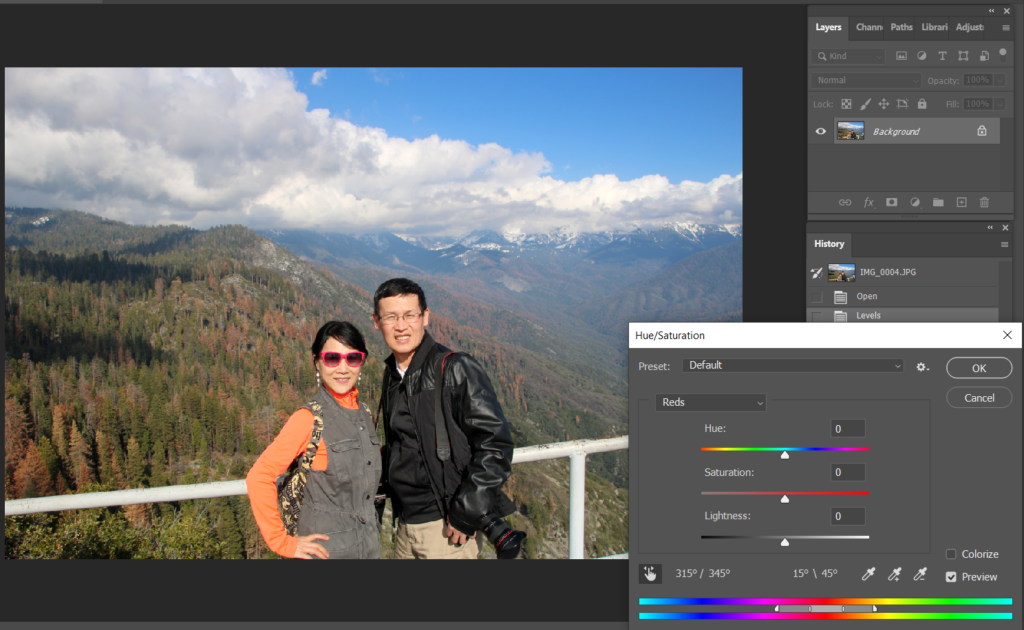
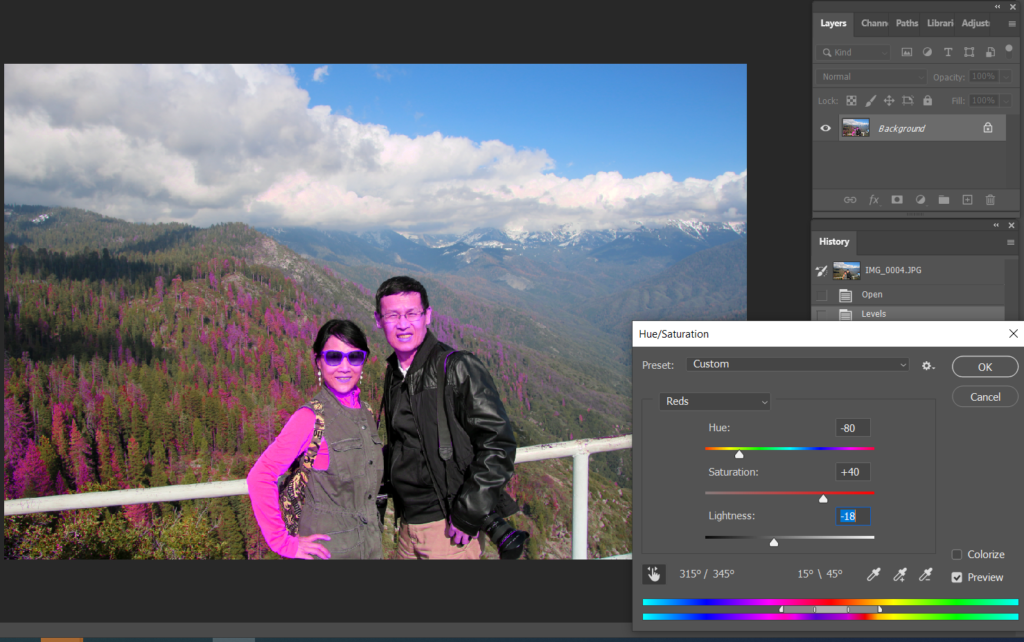
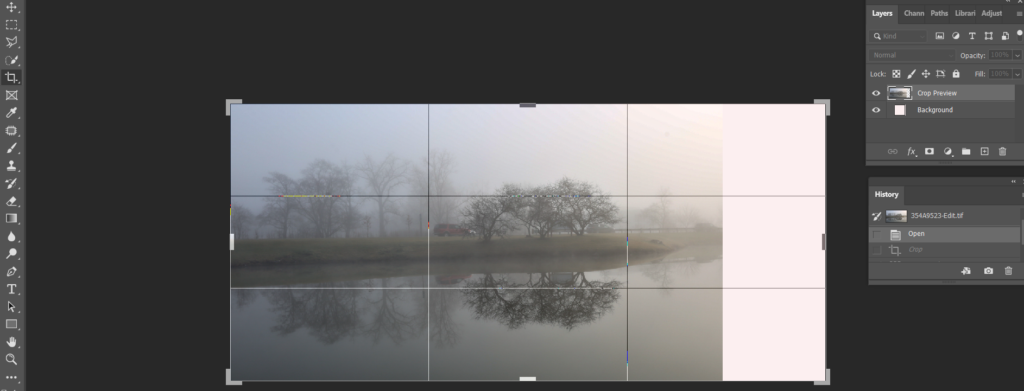
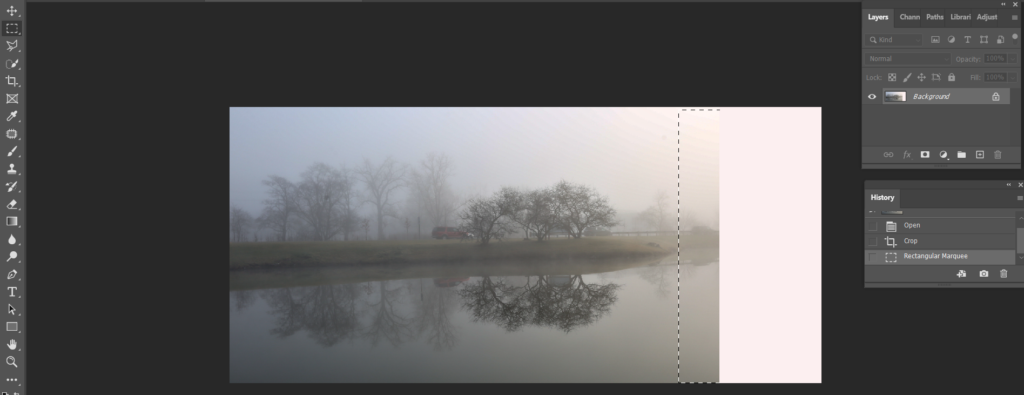
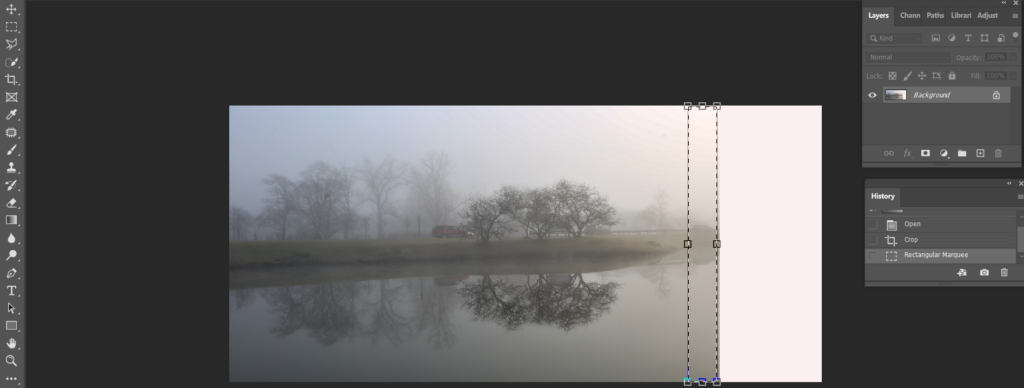
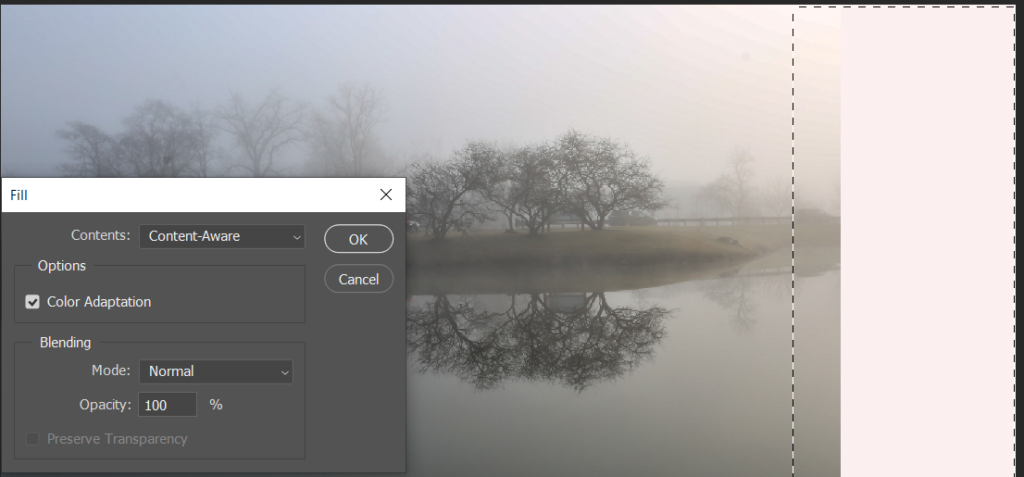
With the image open, go to Filter>Blur>Surface Blur. Adjust Radius and Threshold.
Please view the step by step video: