Levels is the simple method for making tonal and colorful adjustment.
Or it corrects the tonal range and it corrects the color balance
in an image. It works with histogram.
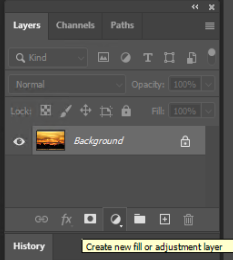
- With the image open, go to Levels Properties.
You can do it from Create new fill or adjustment layer in Layer panel.
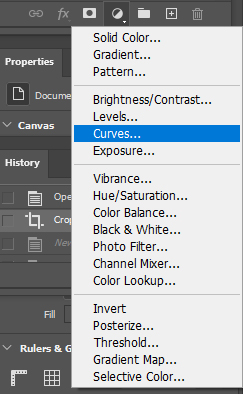
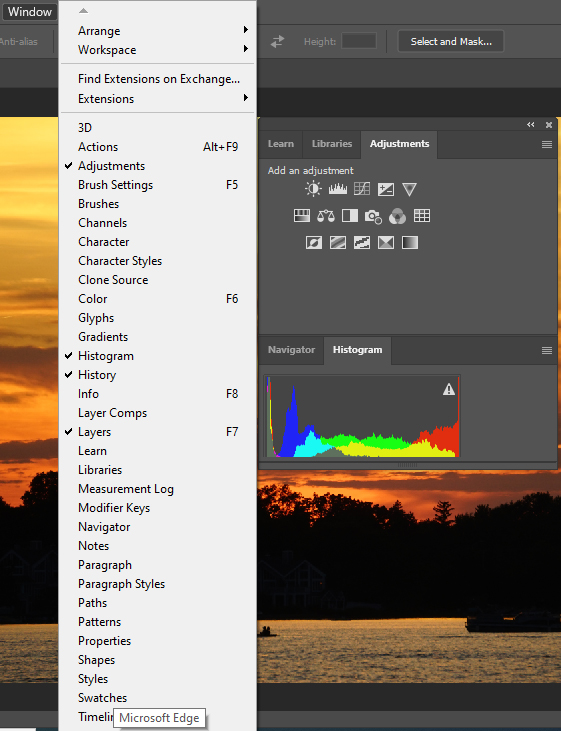
Or from Windows>Adjustment. Then select Levels icon.
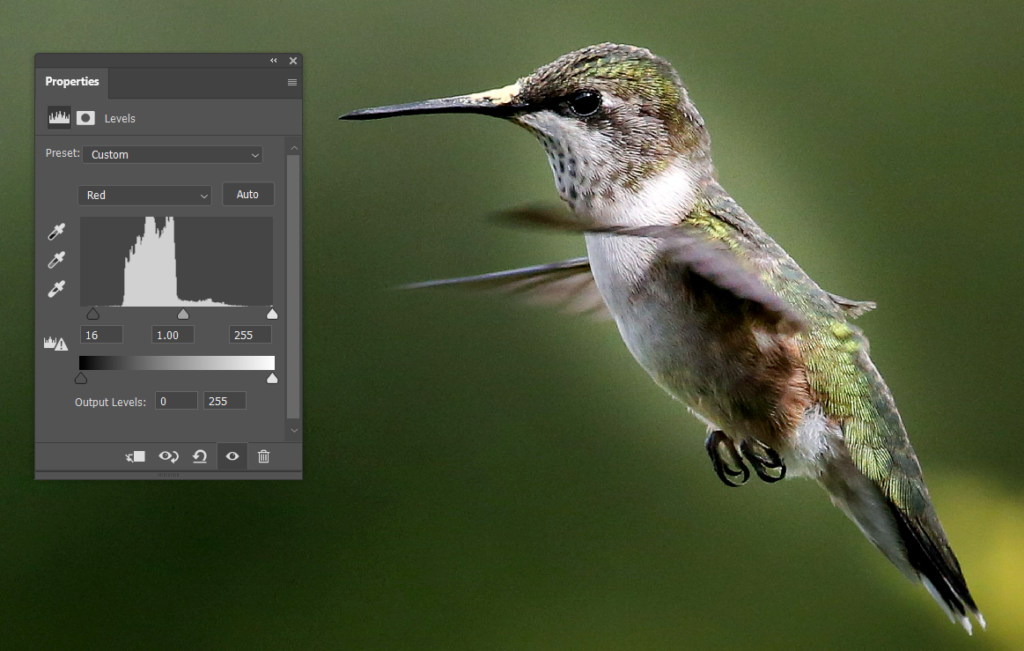
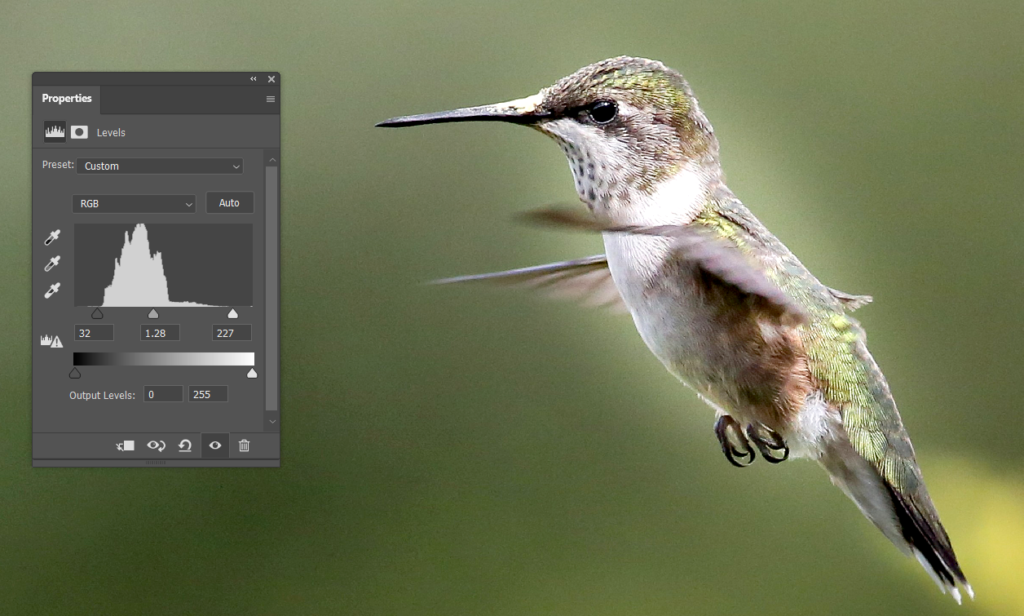
2. There are three sliders under the Levels graph. The shadow slider on the left determines how dark the image becomes. The highlight slider on the right establishes the highlights. The Gamma slider in the center lightens or darkens the midtones and is important in establishing the overall mood of the image.
3. The graph represents the darkest part of the image through to the lightest on a scale of 0-255. For maximum contrast, the graph should span the entire tonal range from 0 to 255. To adjust the contrast, make sure it is in RGB channel. Move the white slider in from the right to the edge of the histogram. Do the same for the black slider, adjusting it in to the edge of the histogram on the left. The important tip here is to make sure that you don’t overexpose the highlights and underexpose the shadows. Once you have those two sliders adjusted, you can adjust the mid tone slider to add some contrast to the scene.
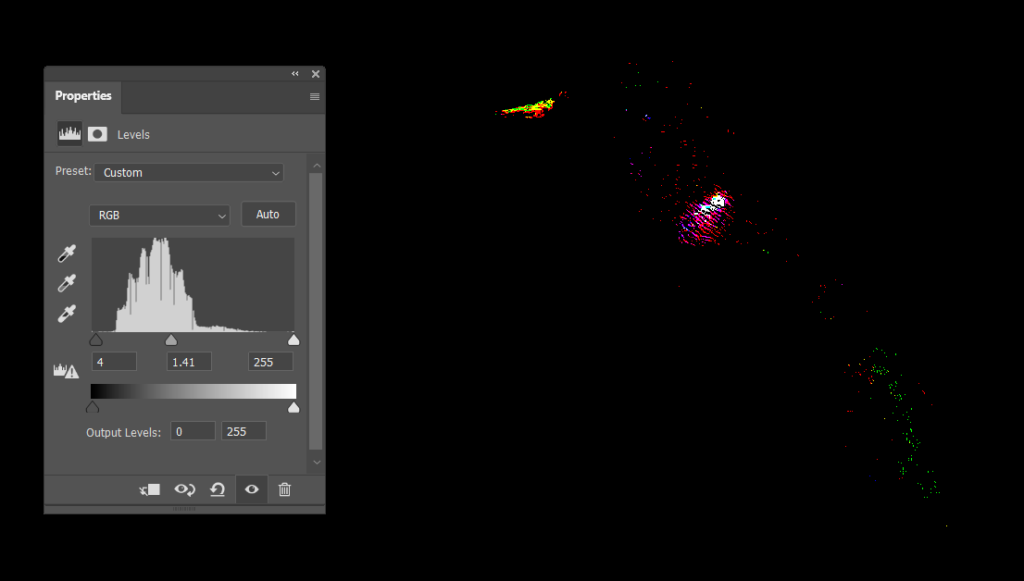
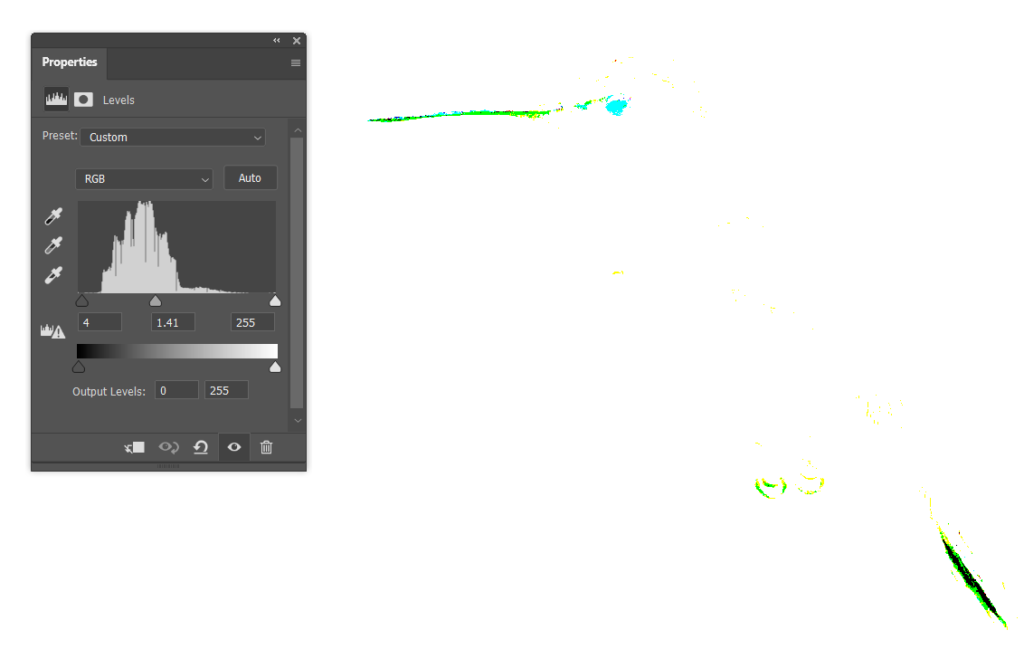
Note: To make sure you aren’t losing detail in the shadows and the highlights, you can hold Alt key when you move slide.
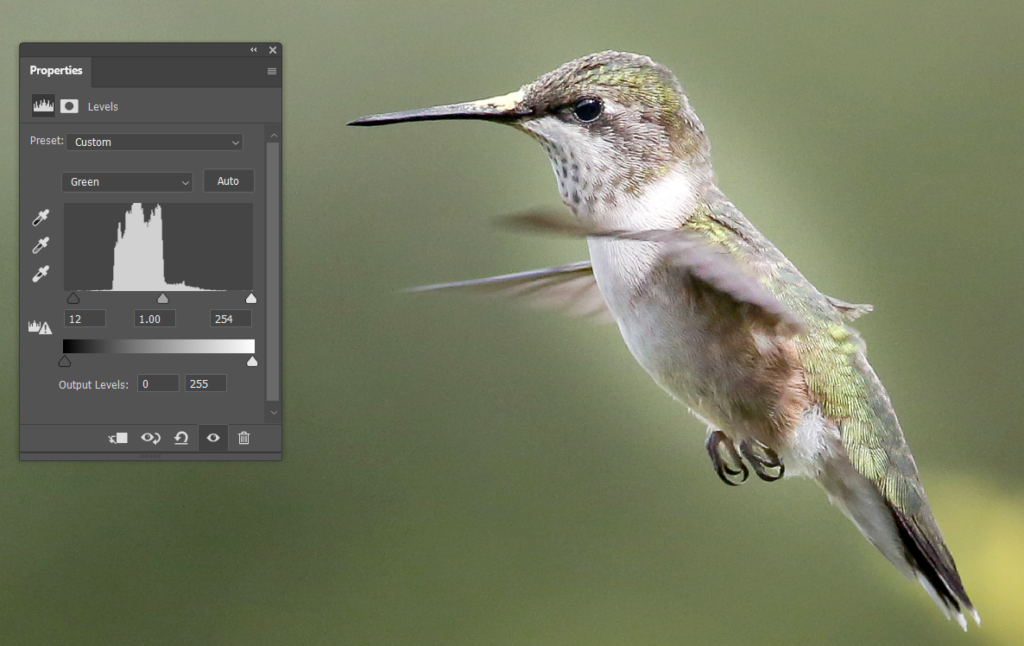
4. You can also adjust color channels.