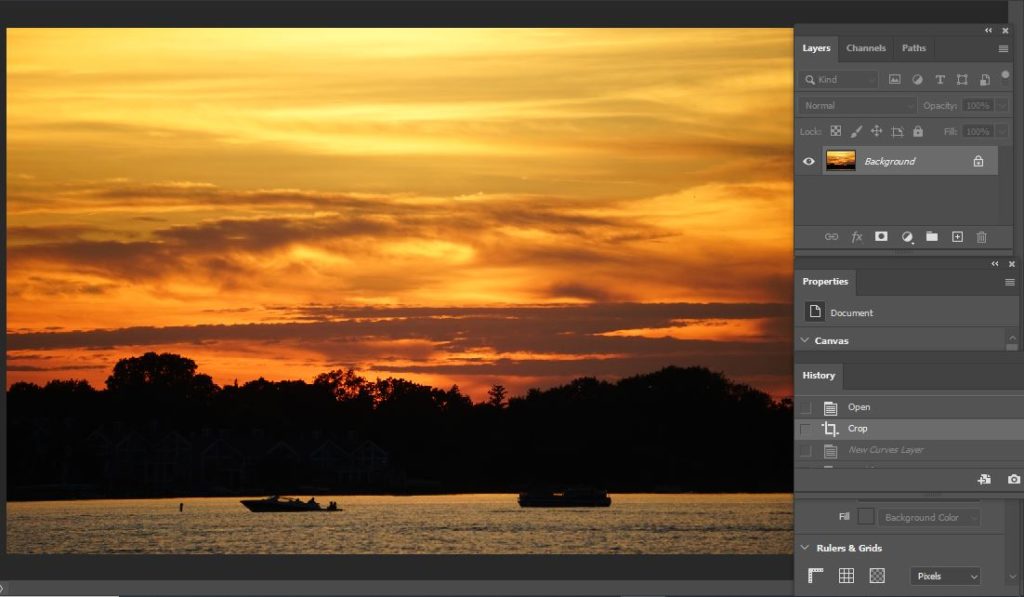
In this example, we will work on Curve Layer Adjustment. This is before

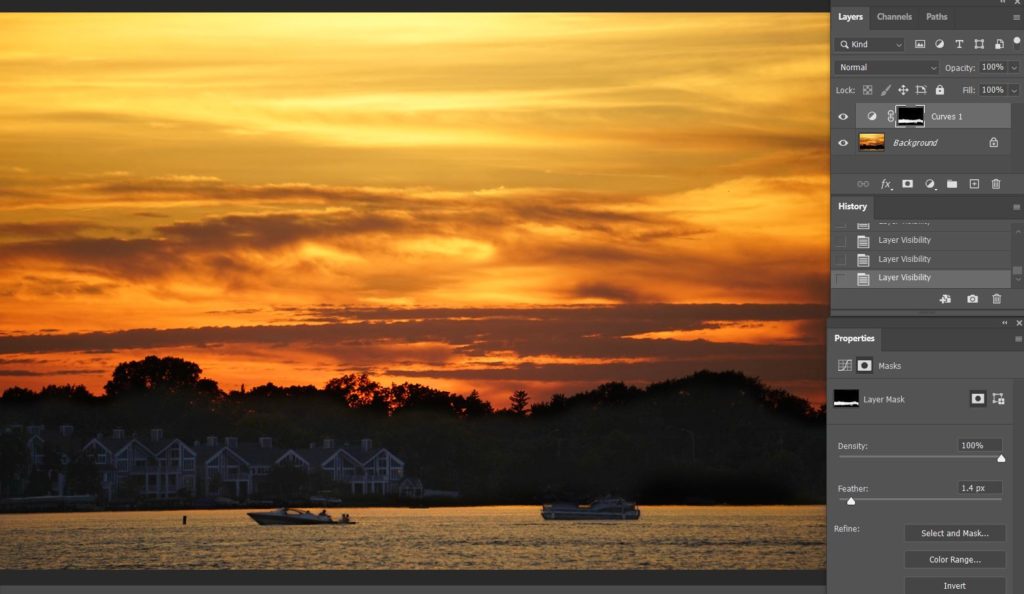
This is after.
- Open and edit the image.
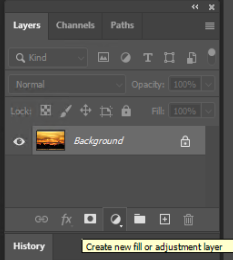
2. Create Curve layer. You can do it from Create new fill or adjustment layer in Layer panel.
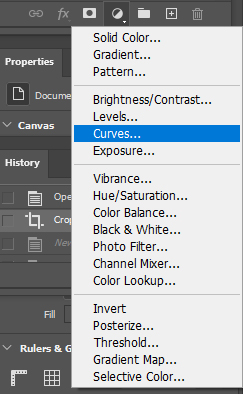
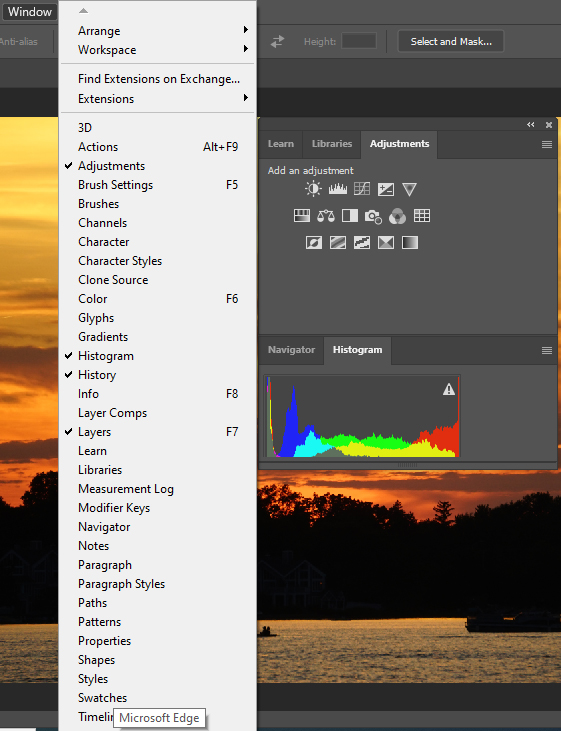
Or from Windows>Adjustment. Then select Curve icon.
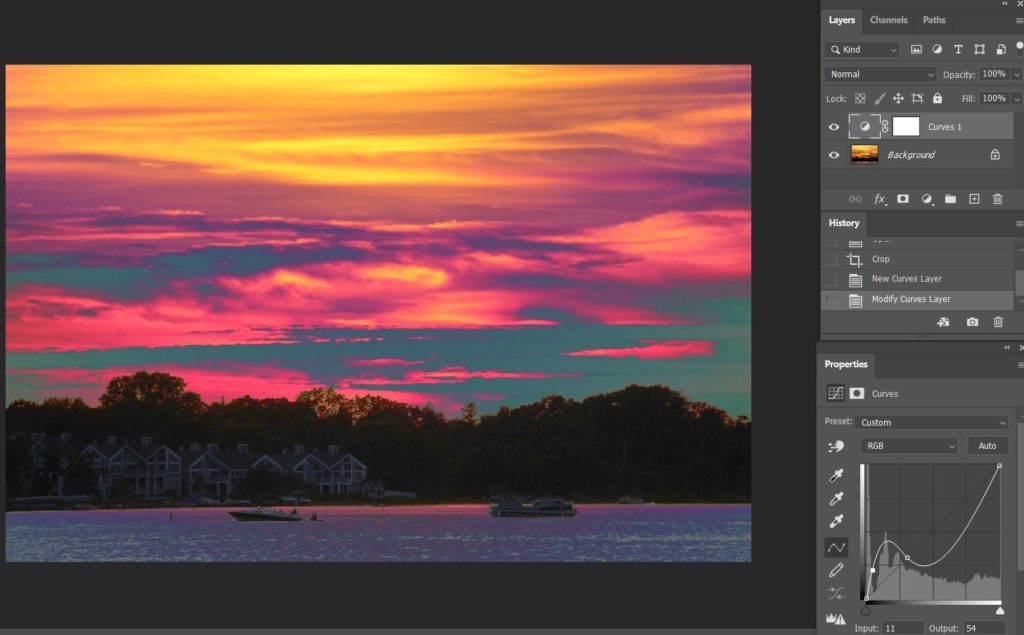
3. Our goal is highlighting the dark background. So adjust the Curve as shown this screenshot.
4. To highlight the dark background and keep other areas are the same as the original, you will use Brush Tool.
Make sure the the Front background is black, then use the brush to pain the areas you want to adjust.
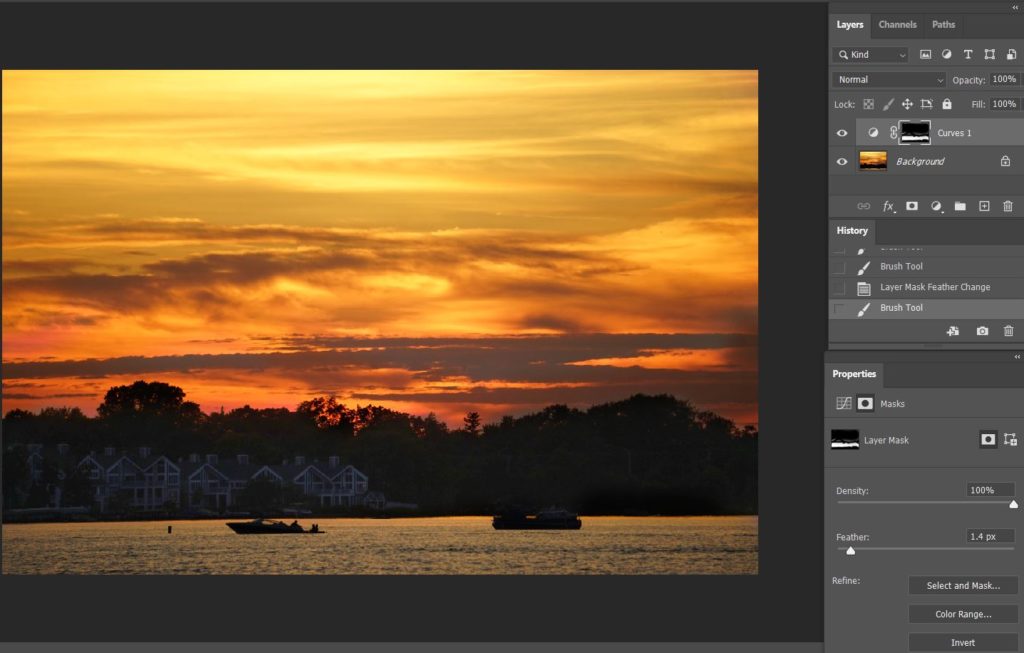
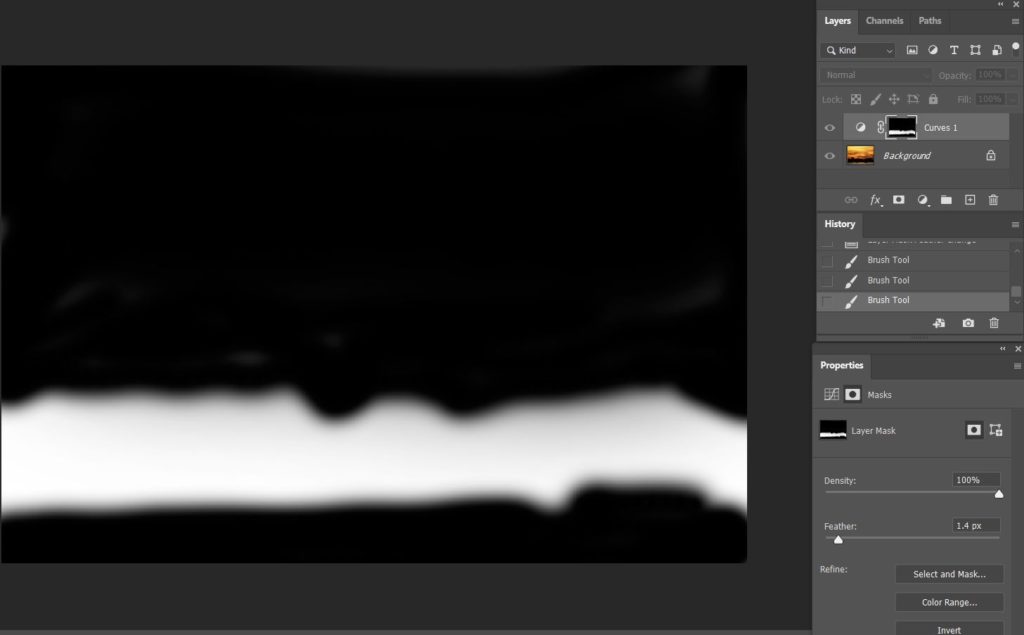
5. You can check the paining area by hold Alt and click on Curve layer.
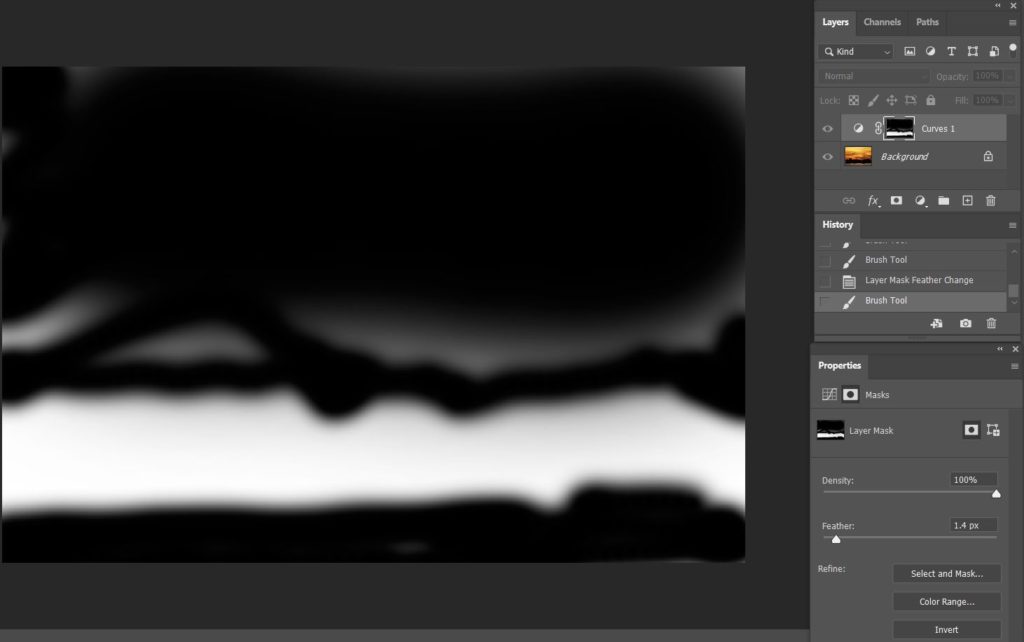
In the Properties (if you don’t have the Properties open, you can open it from Windows), you can continue to pain and adjust Density and other refine. Here is the result.
6. This is the result.
