Making selections of scattered hair in Photoshop is not easy. with a uniform background are perfect to start with. Here is how.
- Use a select tool to select background or subject. In our example, I use Magic Wand Tool.
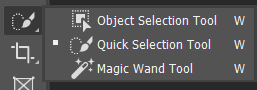
2. After using Magic Wand tool select all white background, use Quick Select Tool deselect subject.
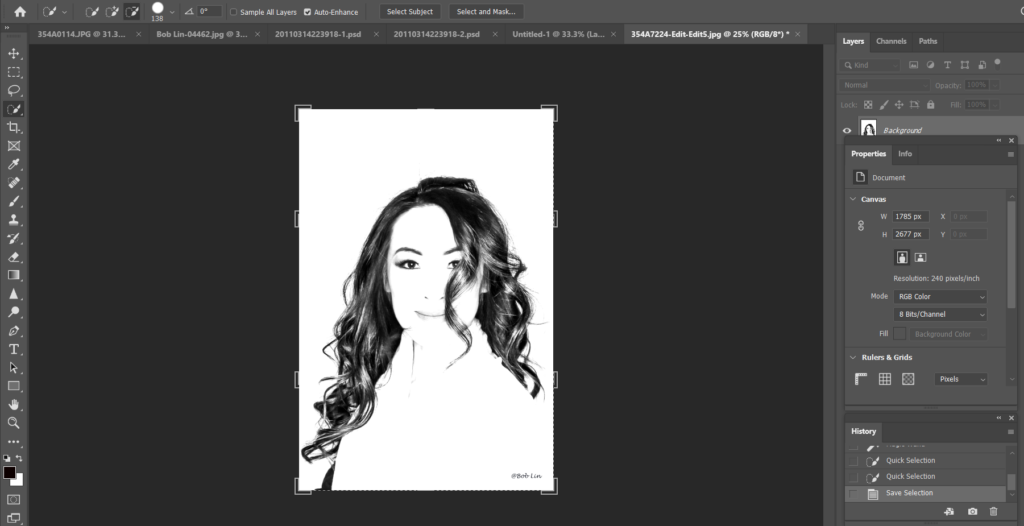
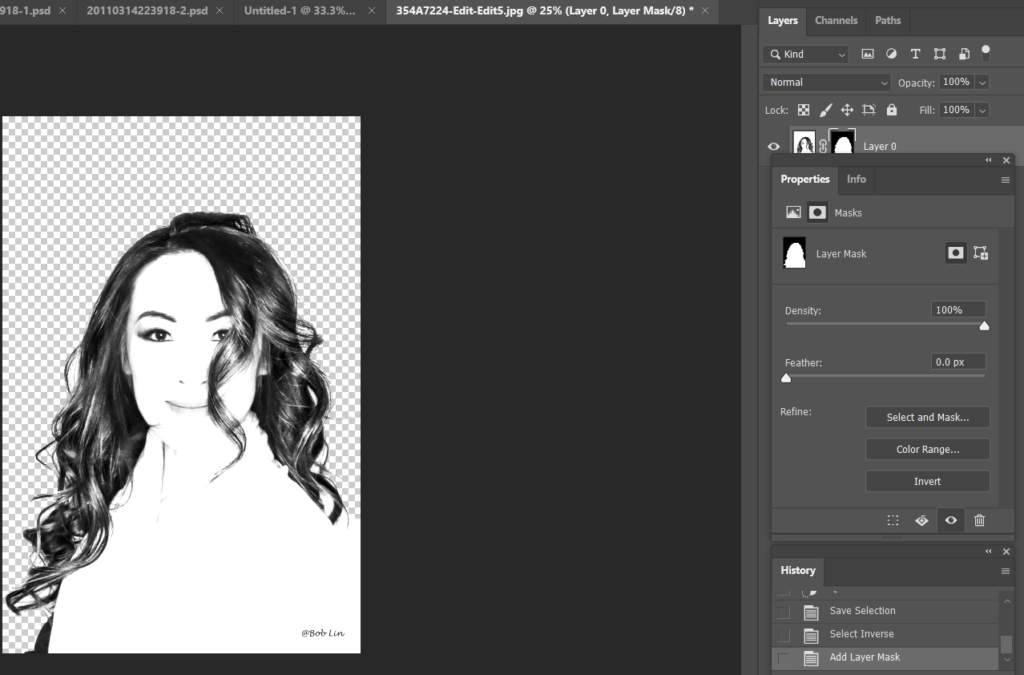
3. Go to Select to Inverse from background selection to object selection. Now, click Add layer mask icon
4. Click Select and Mask on the top or Go to Select>Select and Mask.
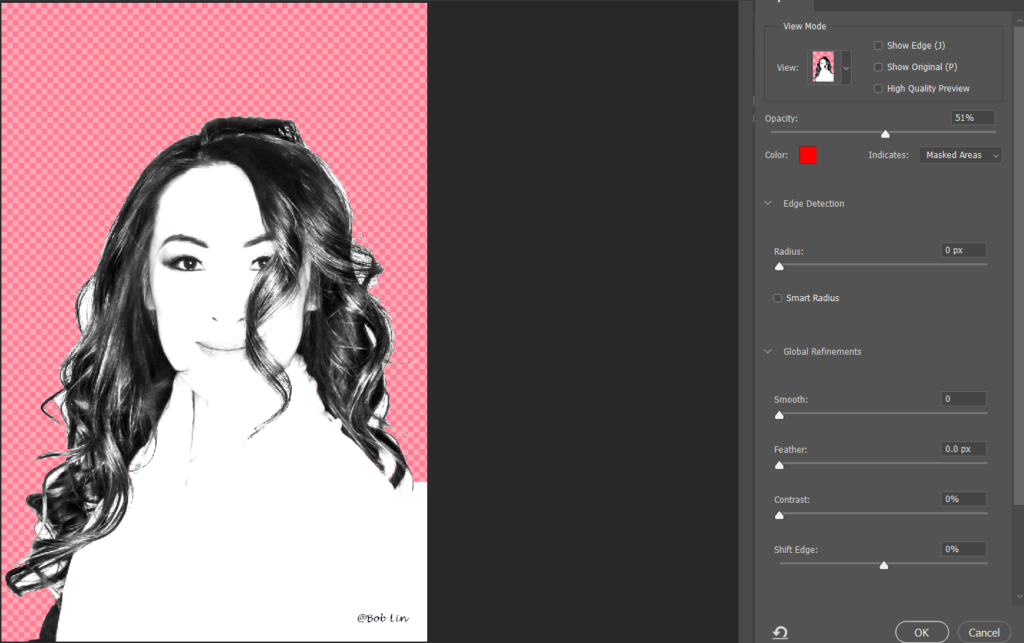
5. Select Refine Edge Brush Tool (R)

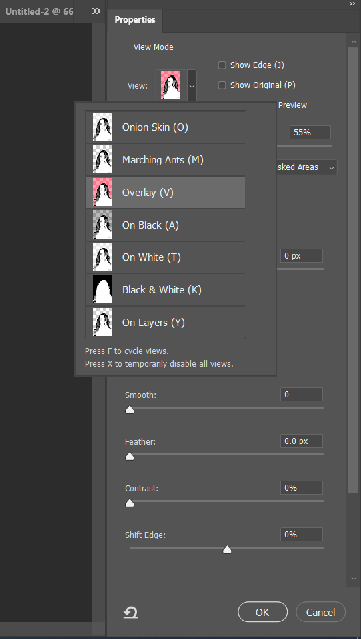
6. In the properties of Select and mask, you have these options: Show Edge, Show Original, View Mode. Normally, I start Opacity at 50%, check Smart Radius. Adjust Global Refinements such as smooth, feather, contrast and shift edge for the perfect result.
Decontaminate Color helps you to reduce the edge of the leftover colored pixels around the edges of a selection.
Output To drop-down menus has these options:
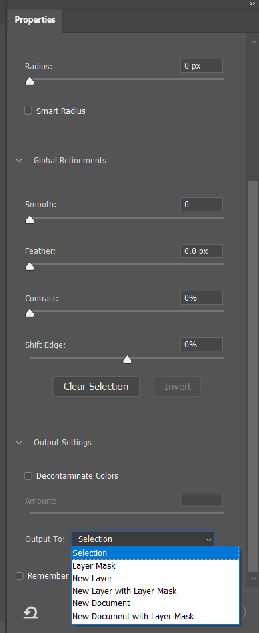
- Selection: When you press OK after refining the edge, then your output will be just a selection. It leaves you with marching ants.
- New Layer: Creates a new layer which contains only the selection. It deletes the background.
- New Layer with Layer Mask: Creates a new layer with a layer mask.
- Layer Mask: Add a layer mask to the selection. One of the most used output by me.
- New Document: Create a new document/file which contains only the selected pixels.
- New Document with Layer Mask: Creates a new document with a layer mask which only contains the selected image.
7. Click to output the result.