How to add foggy using a cloud image in Photoshop

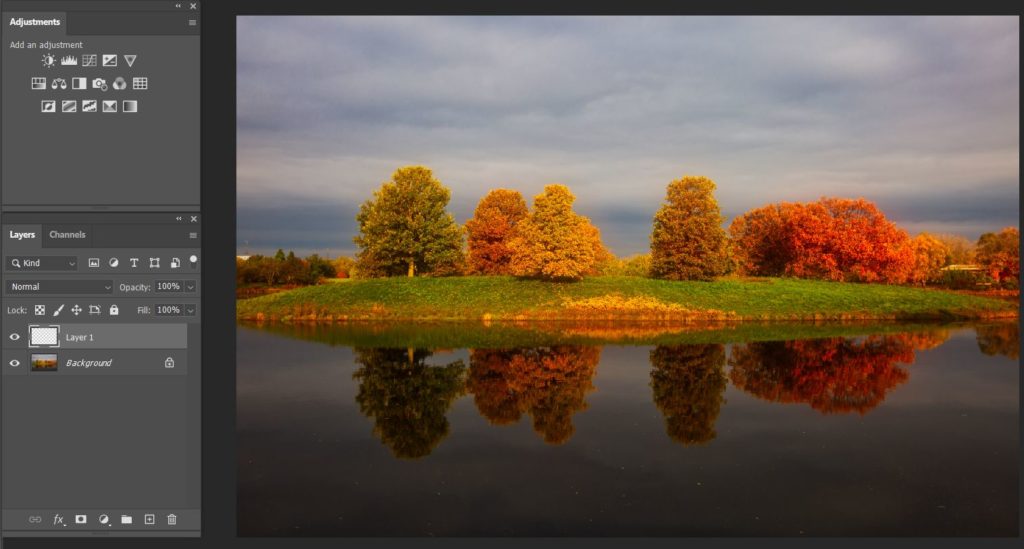
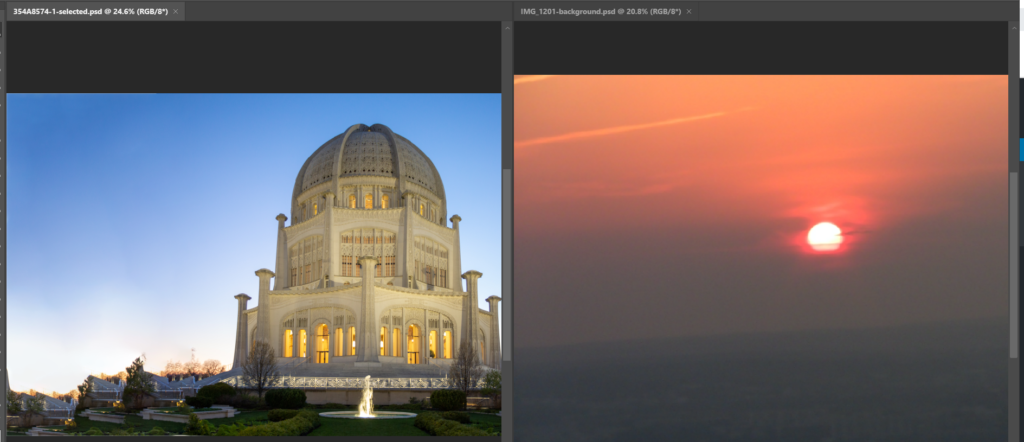
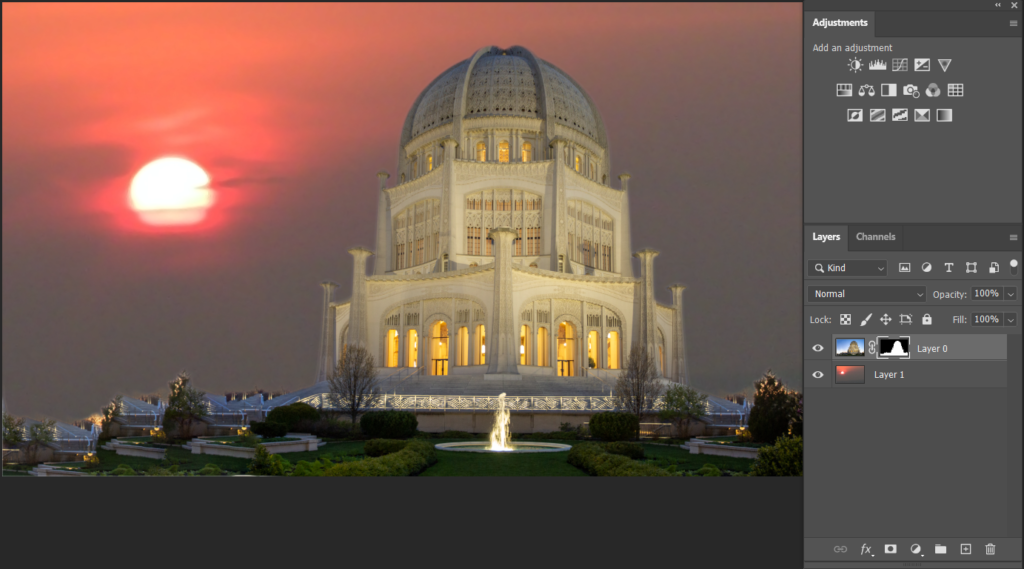
These are two images.
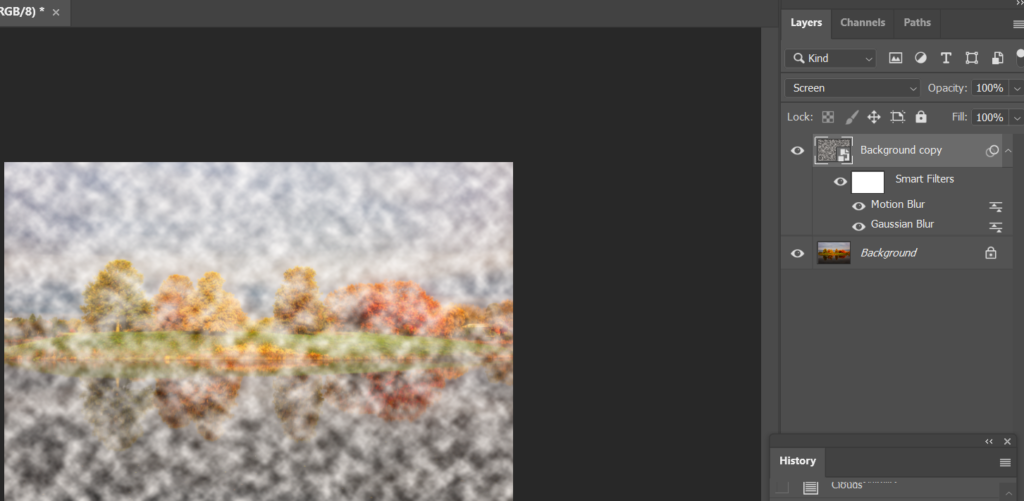
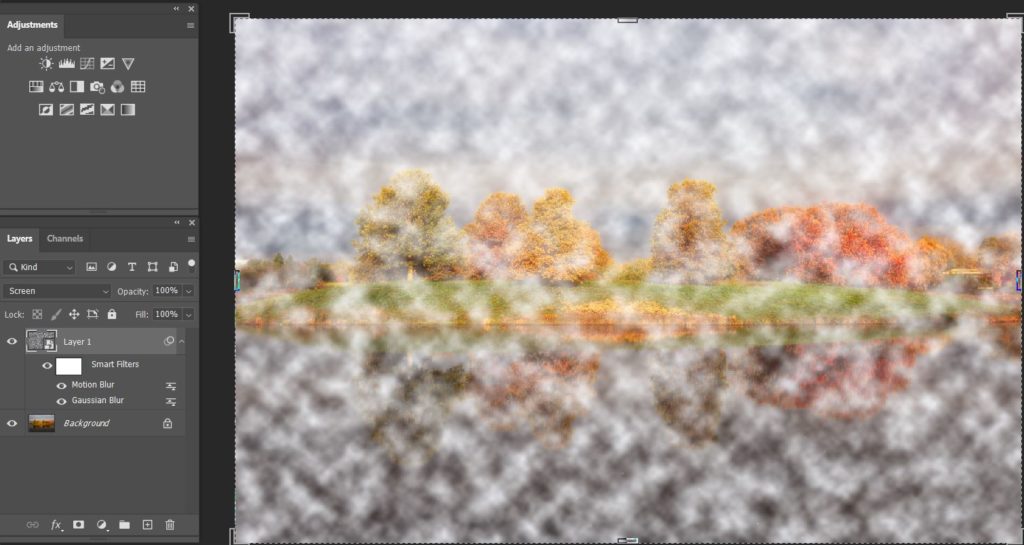
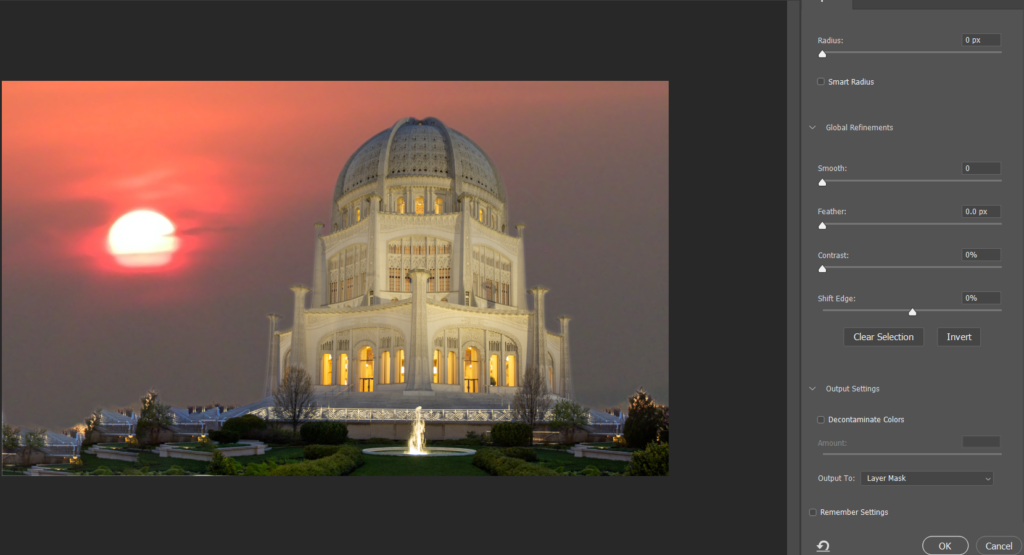
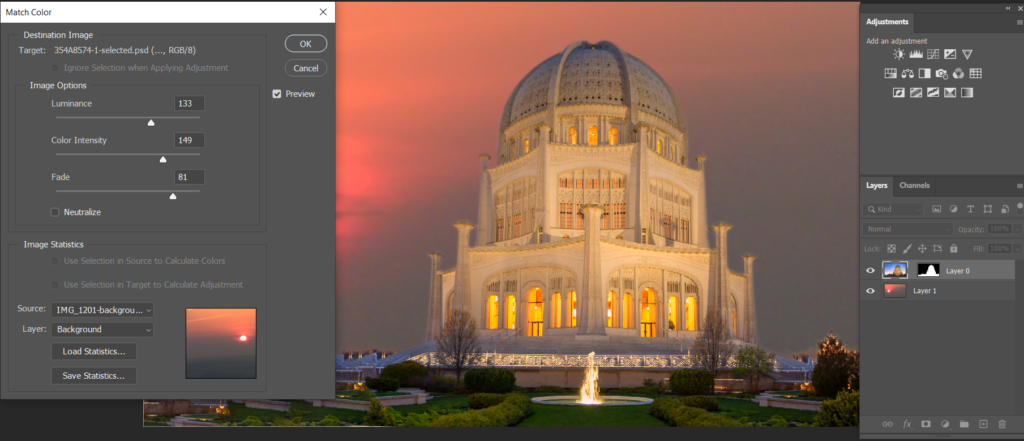
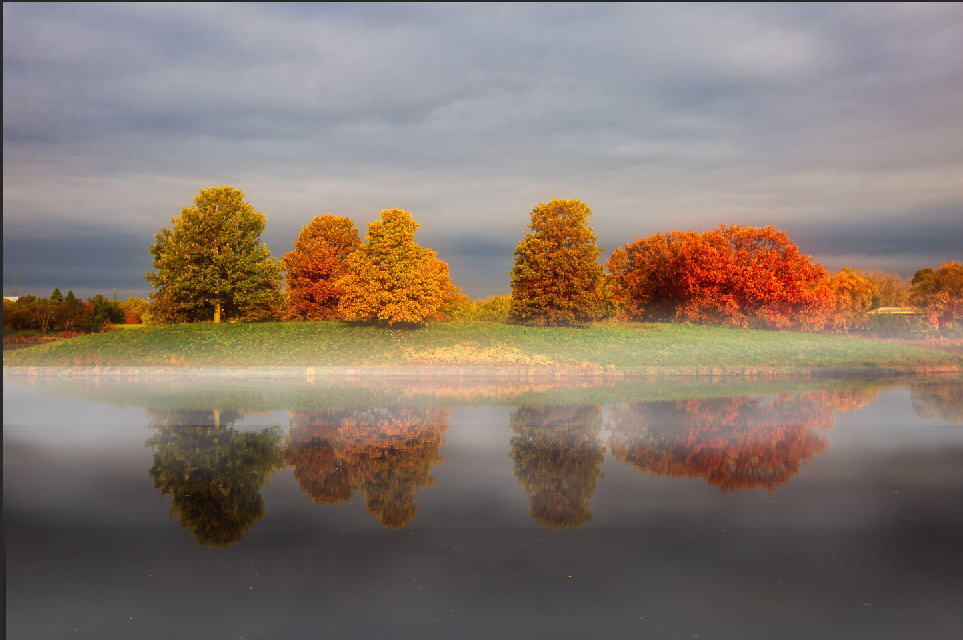
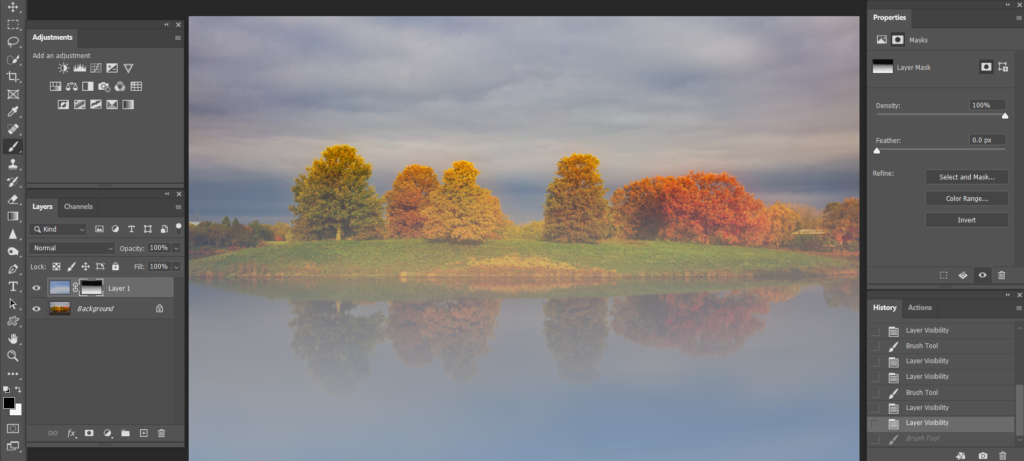
This is the result.

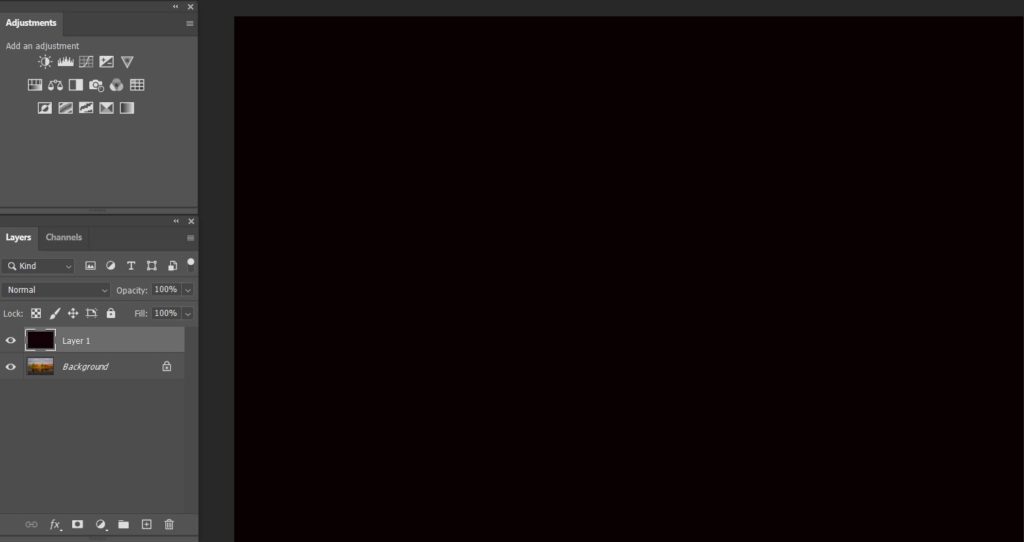
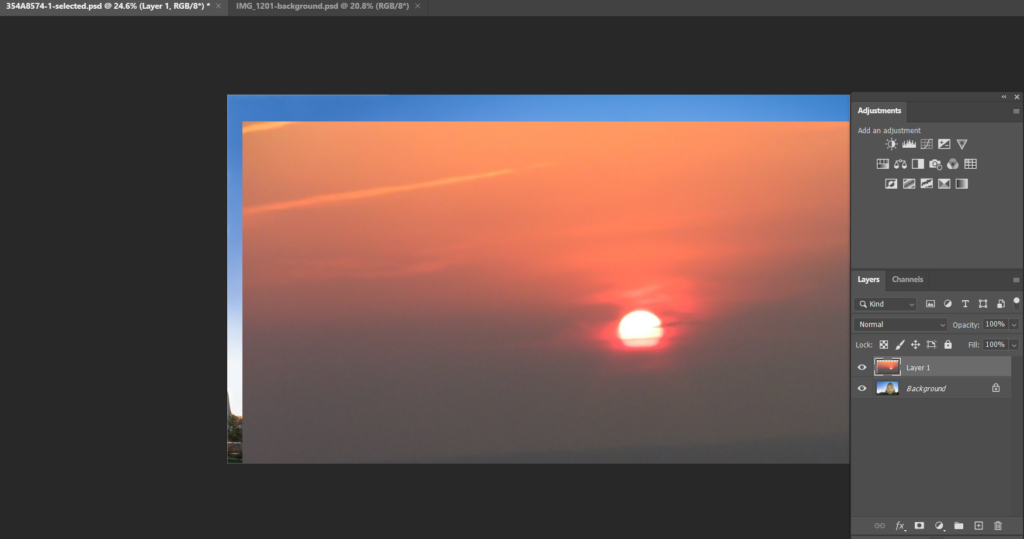
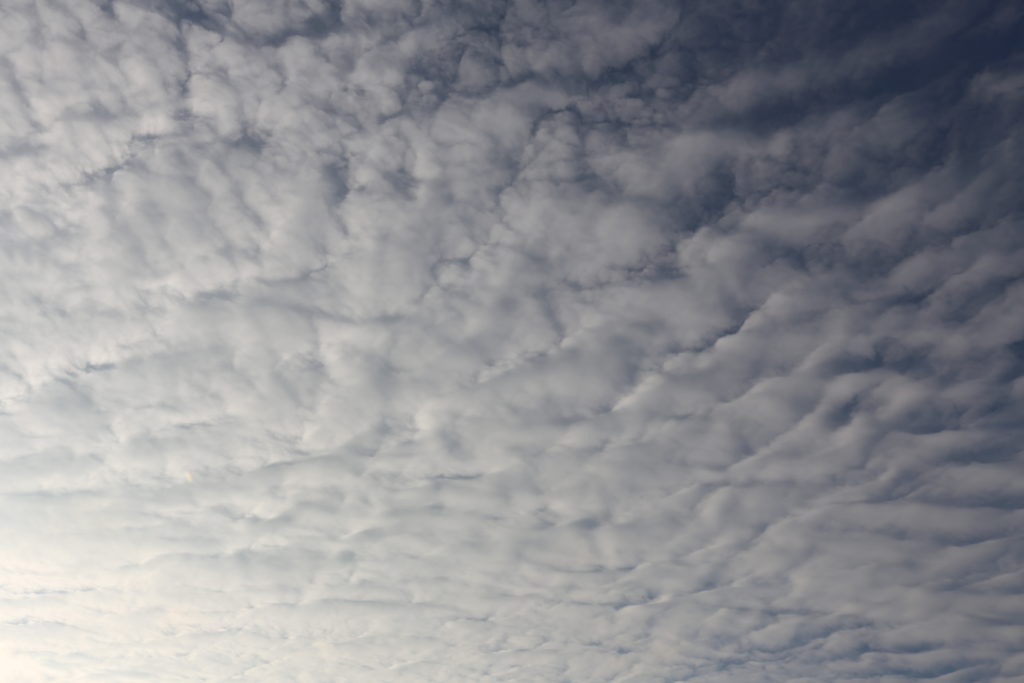
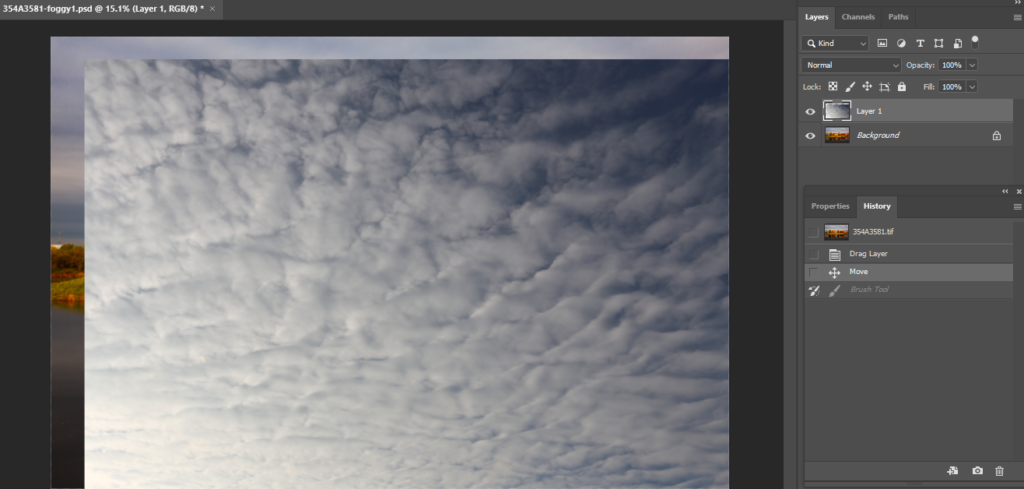
  1. With both images open, move the foggy image into original image.

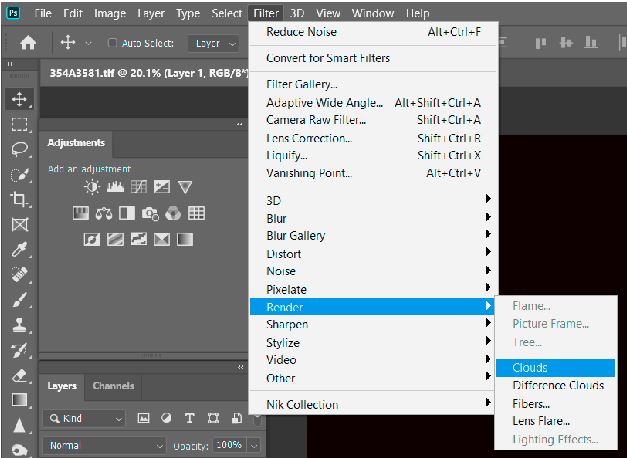
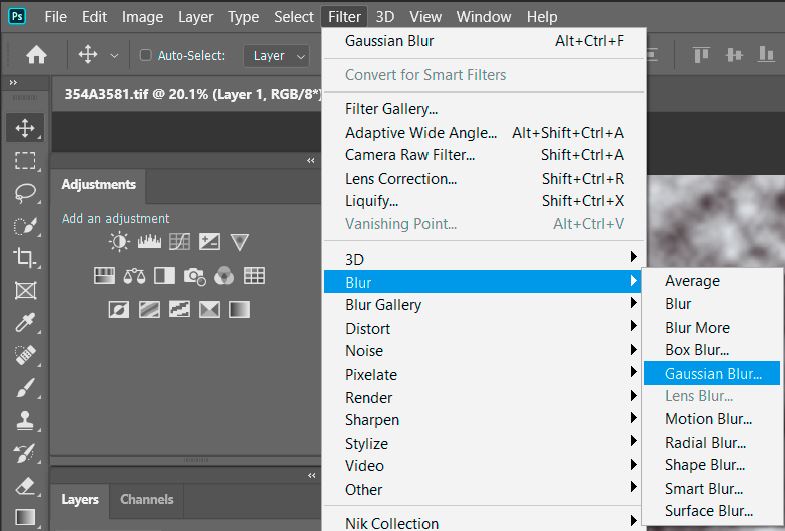
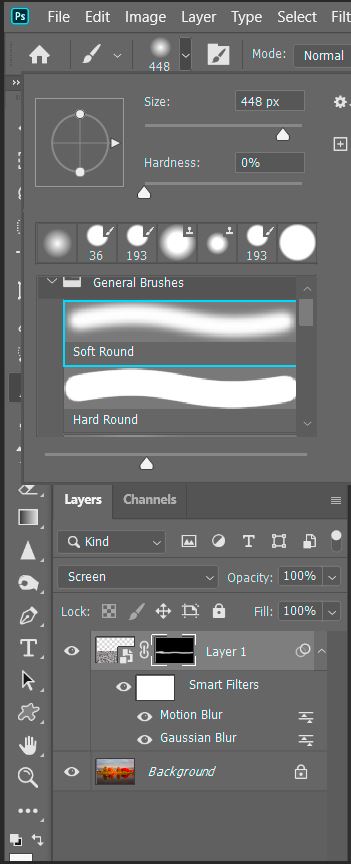
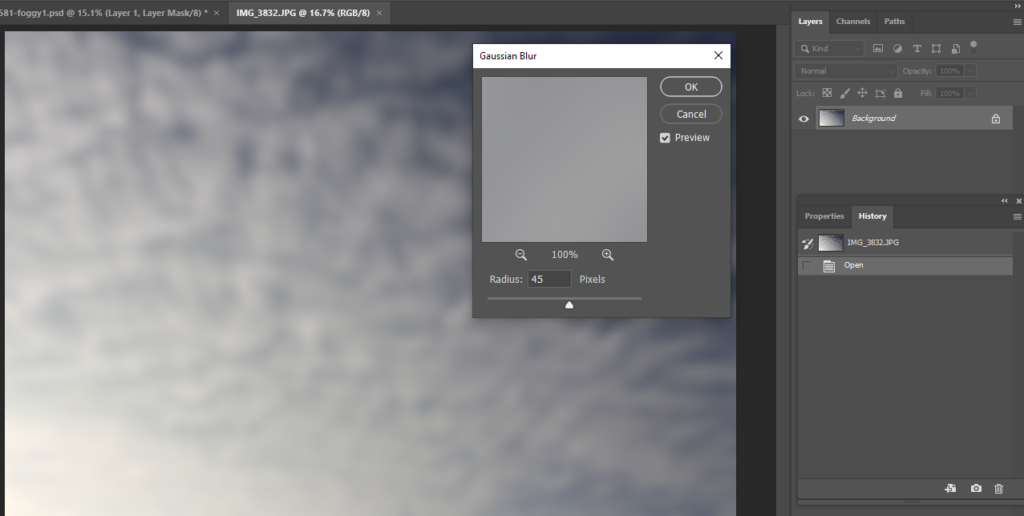
2. Blur foggy image using Gaussian Blur, Radius 45 in our example.

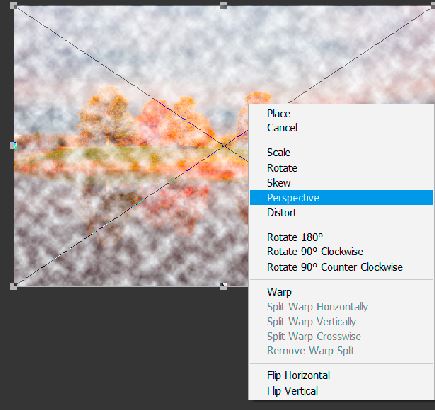
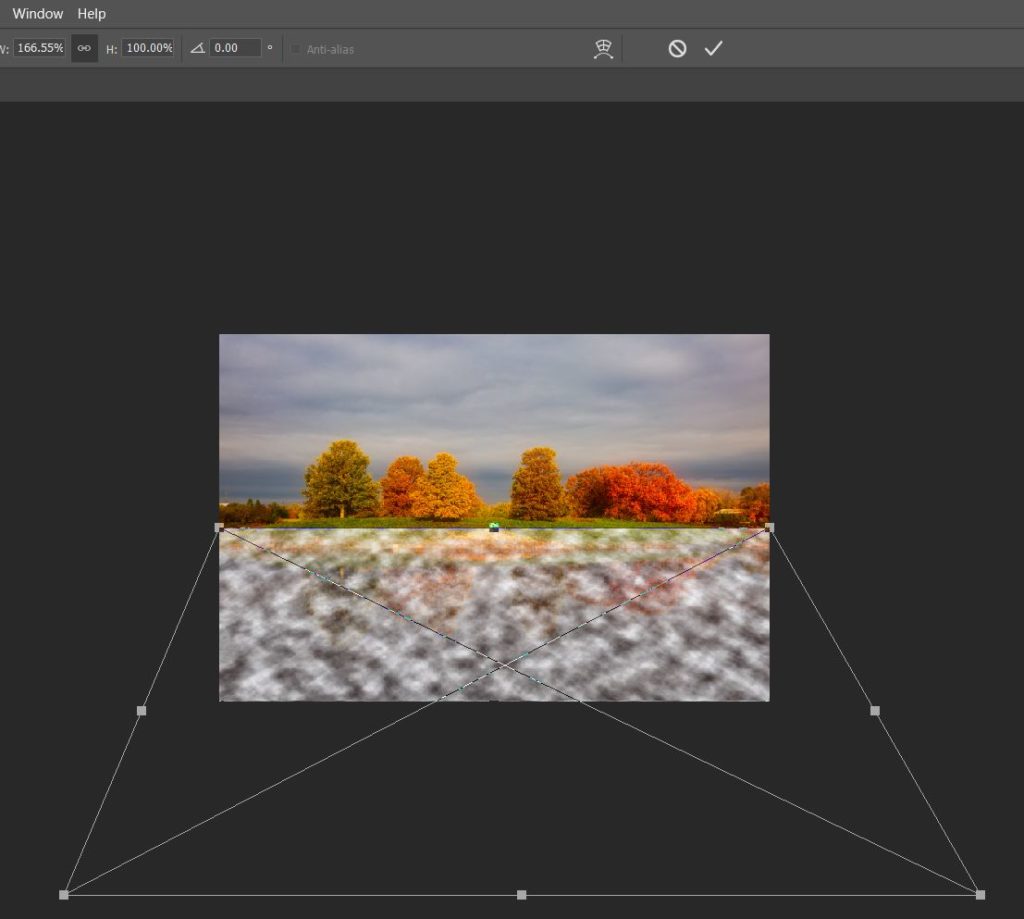
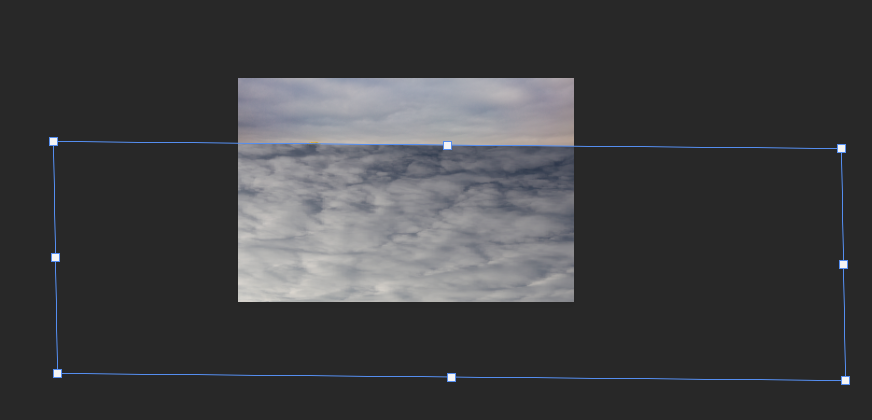
3. Hold Ctrl+T to select foggy image and adjust the size.
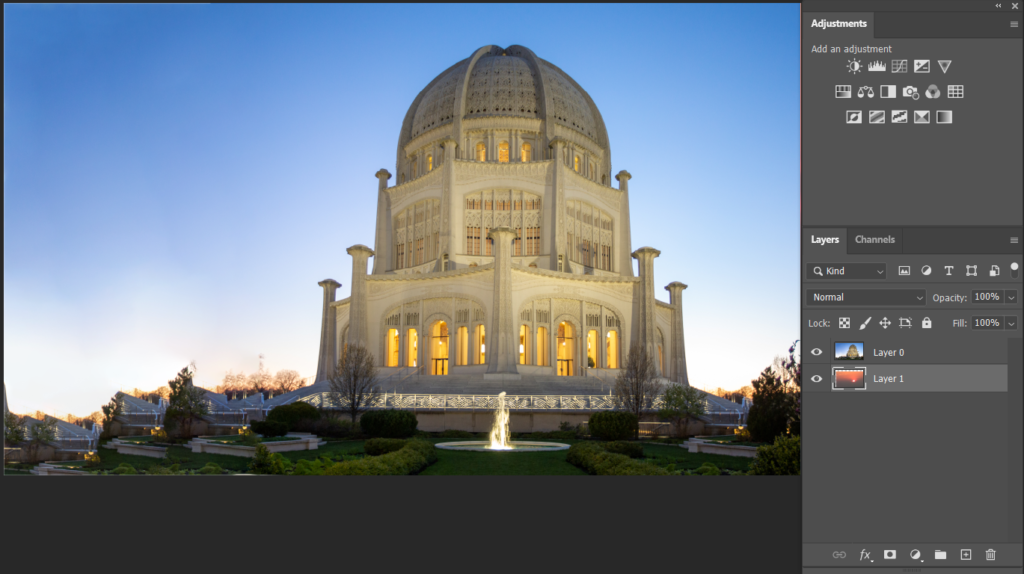
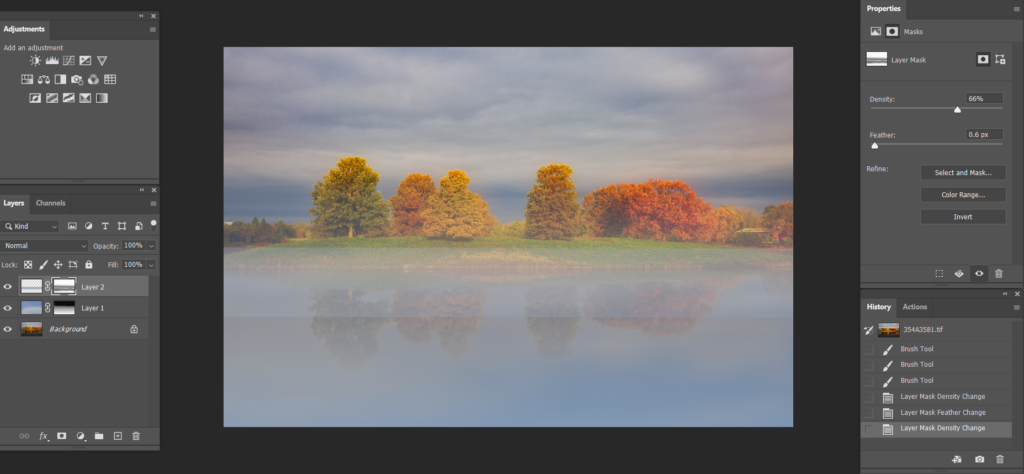
3. Add a Mask.

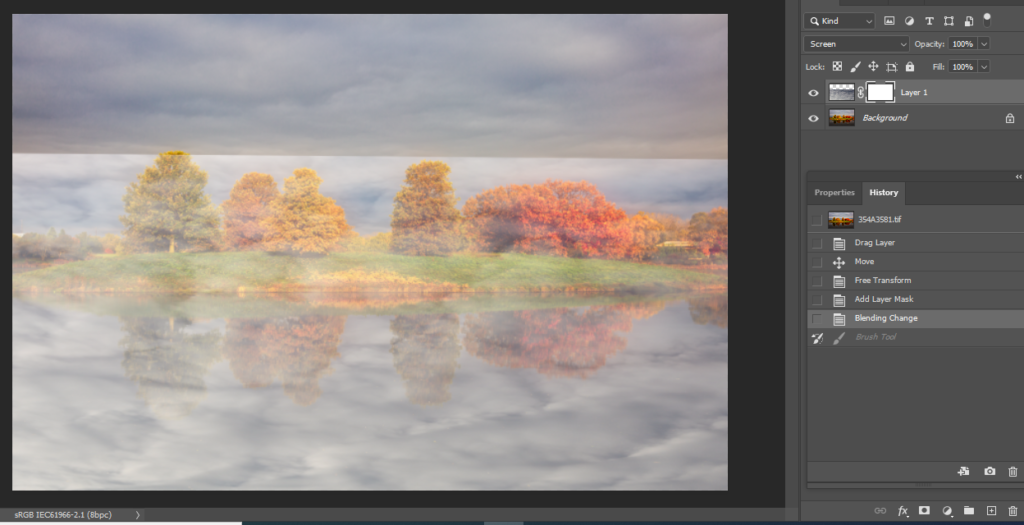
4. Use Gradient Tool>Linear Gradient to gradient the foggy.

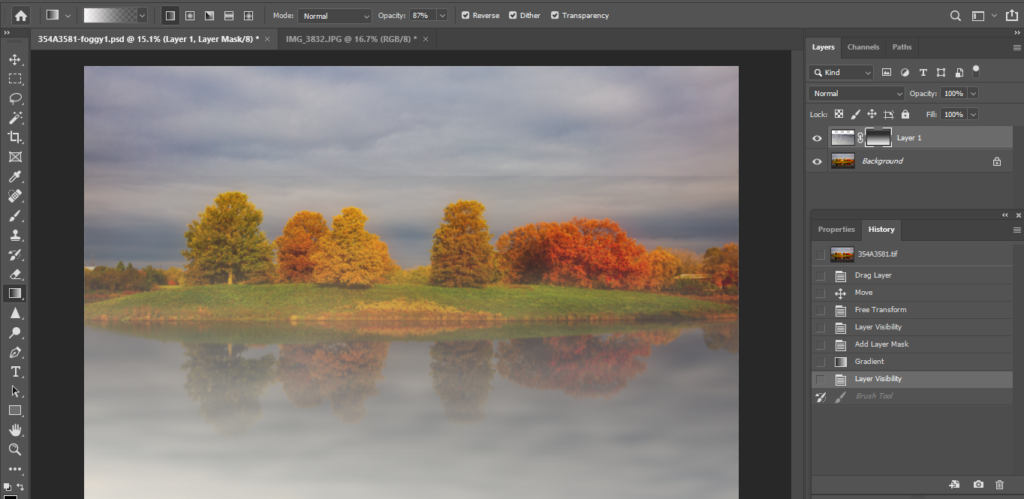
5. Use the Brush to add or remove the foggy. Note: highlight the Mask, use black for removing the foggy and use white to add more foggy. Start with 15% both Opacity and flow. Then add more.

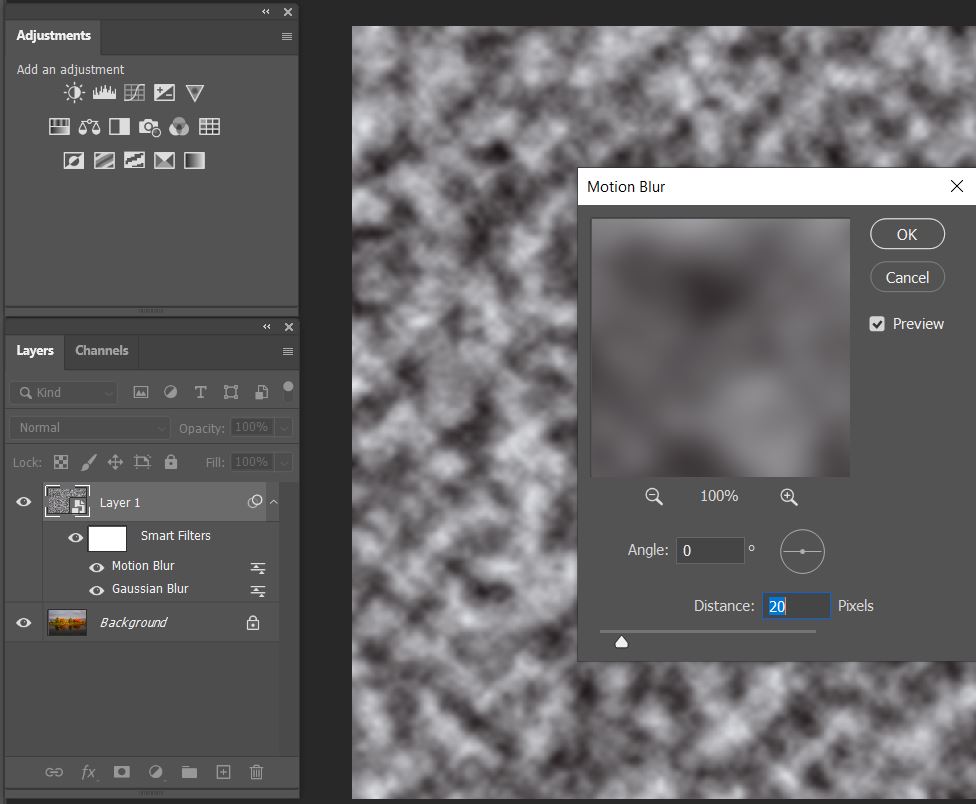
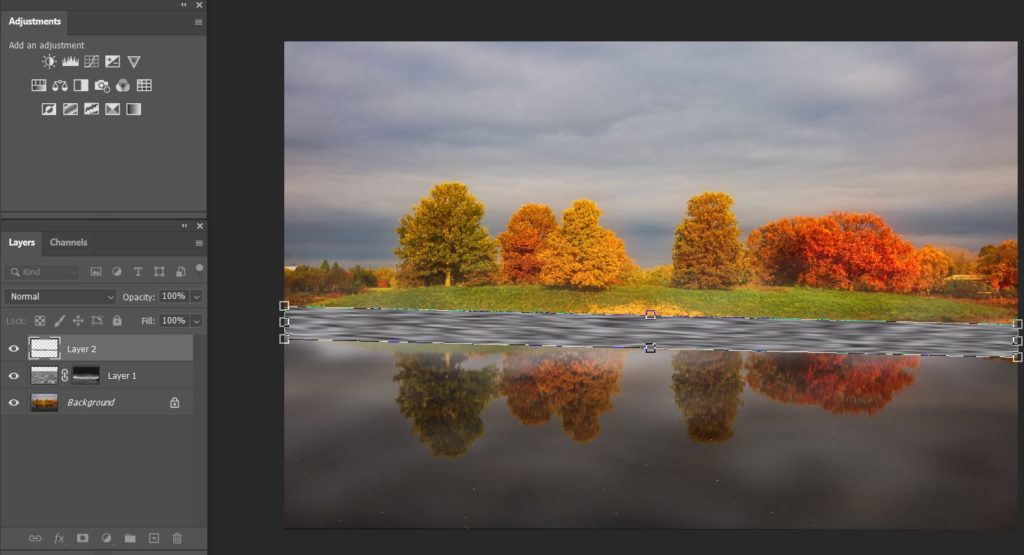
6. Add another foggy image layer. This time make it line.

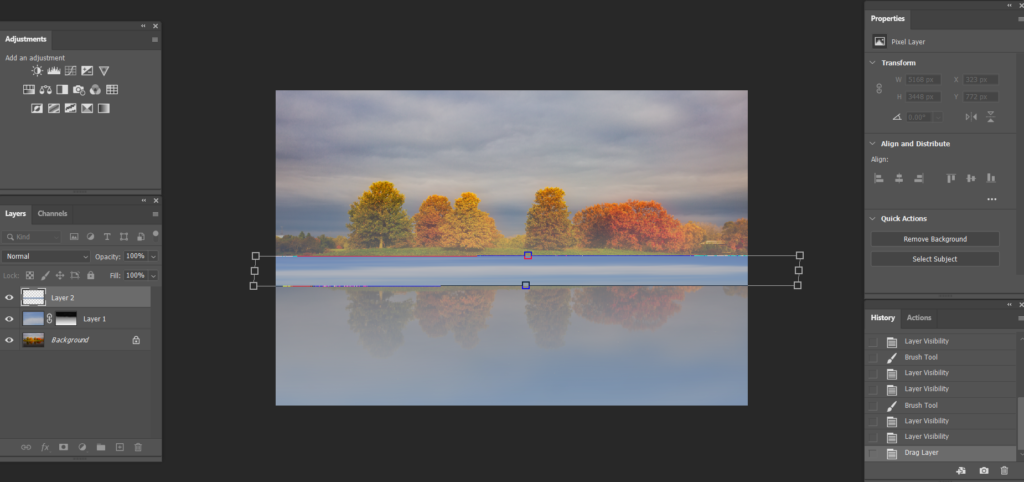
7. Add a Mask. Then use Reflected Gradient.

8. Use the Brush to add or remove the foggy. Note: highlight the Mask, use black for removing the foggy and use white to add more foggy. Start with 15% both Opacity and flow. Then add more.

please review the step by step video:

How to add foggy to an image using Photoshop Filter Cloud

  1. With the image open, create a Layer.

2. Hold Alt+Delete to convert it to black background.

3. Go to Filter>Render>Cloud.

4. Go to Filter>Convert to Smart Filter.

5. Go to Filter Blur>Gaussian Blur.

6. Setup Radius to 8.

7. Go to Blur>Motion Blur and set Distance 20.

8. Change Blending Mode to Screen.

9. Hold Ctrl+T select the foggy image.

10. Right click and select Perspective.

11. Make the bottom width and move top lower because the foggy can’t be high. .

12. Hold Ctrl+I to inverse.

13. Select Brush tool to brush. Hardness setup to 0%, Small size with white color. Opacity and Flow around 50%.

14. Repeat 12 with large brush size and low Capacity and Flow one or two times.one more time

How to merge two images in Photoshop

  1. With the two images open, move one image into another one

2. Unlock the original image and move the inserted image to the bottom of the original image so that the original image is foreground and inserted image is background.

3. Highlight Foreground image, and select the object you want. You may want to go to Select and Mask to refine the Edge. Make sure the Output To is Layer Mask.

4. Click OK to create a new Mask.

5. Note: to move foreground image, highlight the new Mask and use Move tool to move it. To move the background image, highlight the background and use the Move tool to move it.

6. Also you may want to use the Match Color to match the color by going to Image>Adjustment>Match Color.

Please review the step by step video: