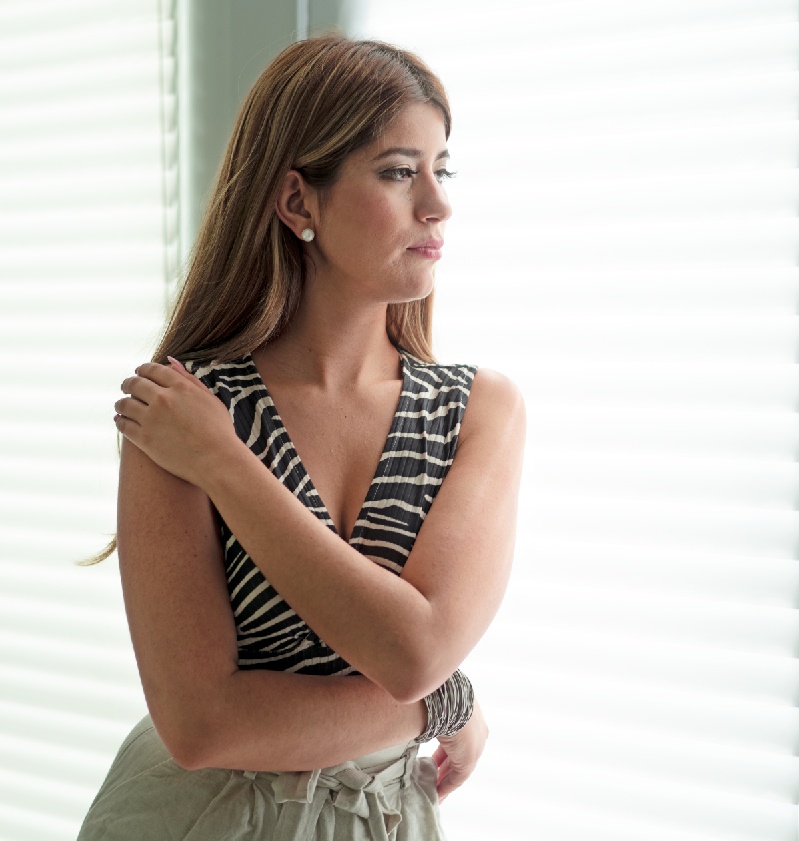
Before

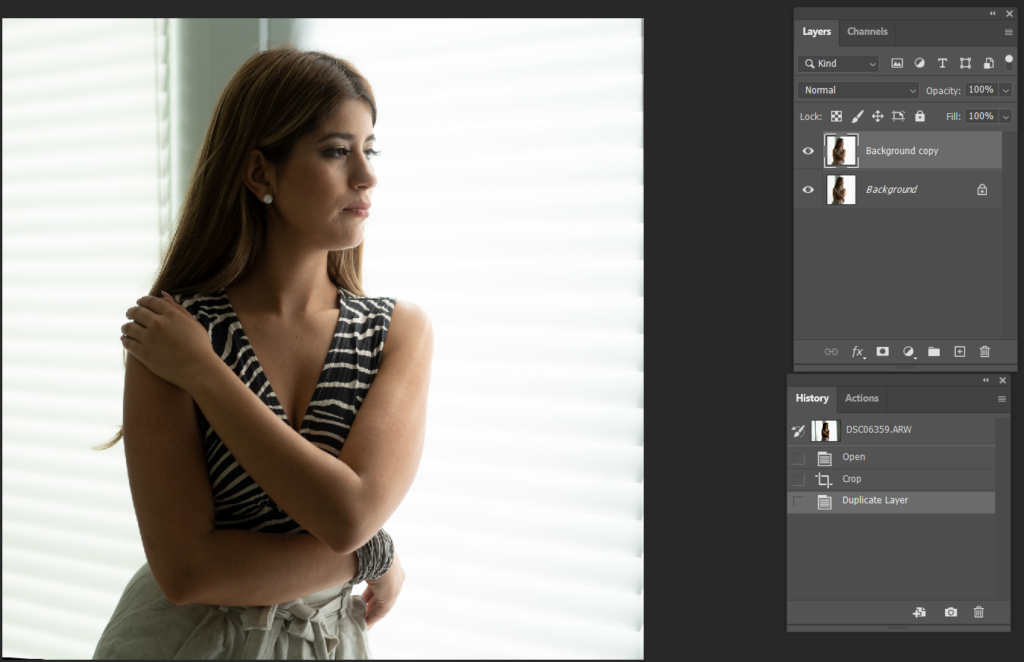
After
- With the portrait open, duplicate the image.
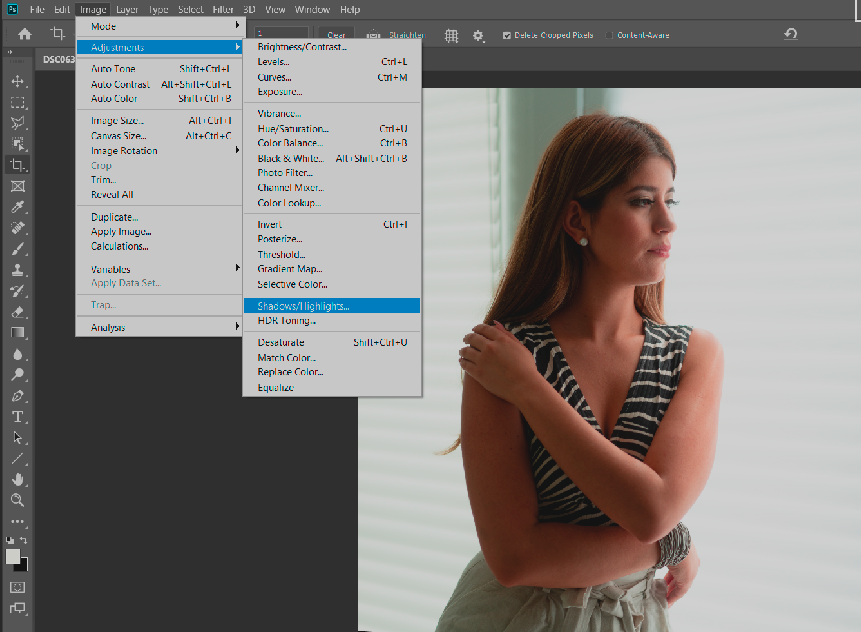
2. Lighten Shadow: Open Shadow/Highlights by going to Images>Adjustments.
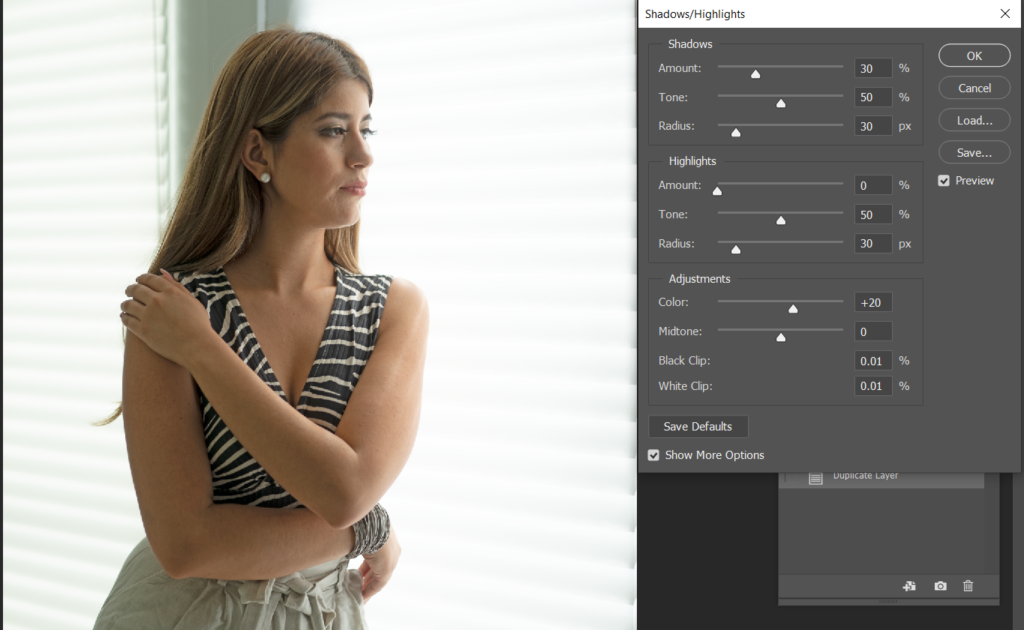
3. Adjust Shadows, for example increase Amount to 30%, Tone 50%, Radius 30%, and perhaps color to 20%. Note: Highlights doesn’t make many difference. You can click Preview to compare before and after.
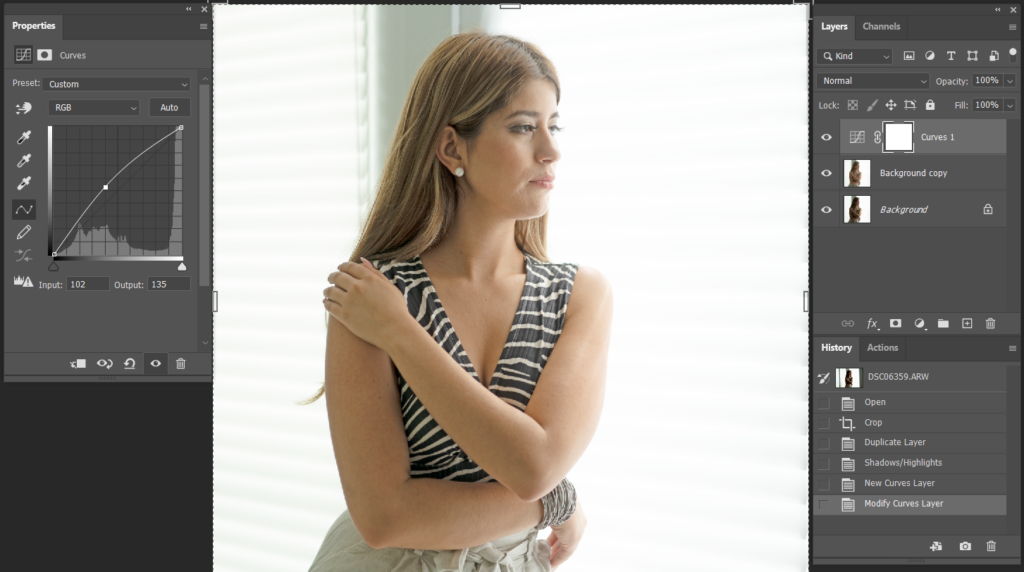
4. Use Curve to adjusting tones to brighten, darken, add contrast and shift colors by going to Layer>New Adjustment Layer.
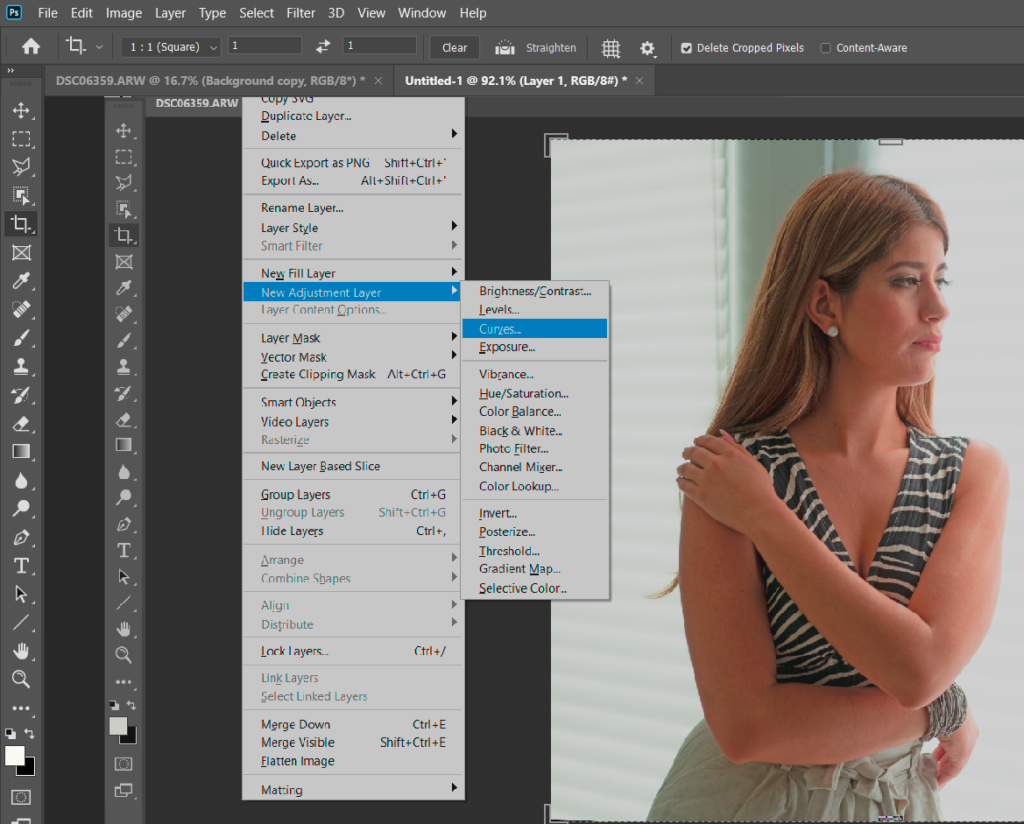
5. Move the curve top to bright the object.
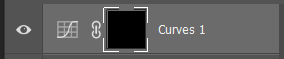
6. Press Ctrl+I to inverse and the Curves 1 switches from white to black.
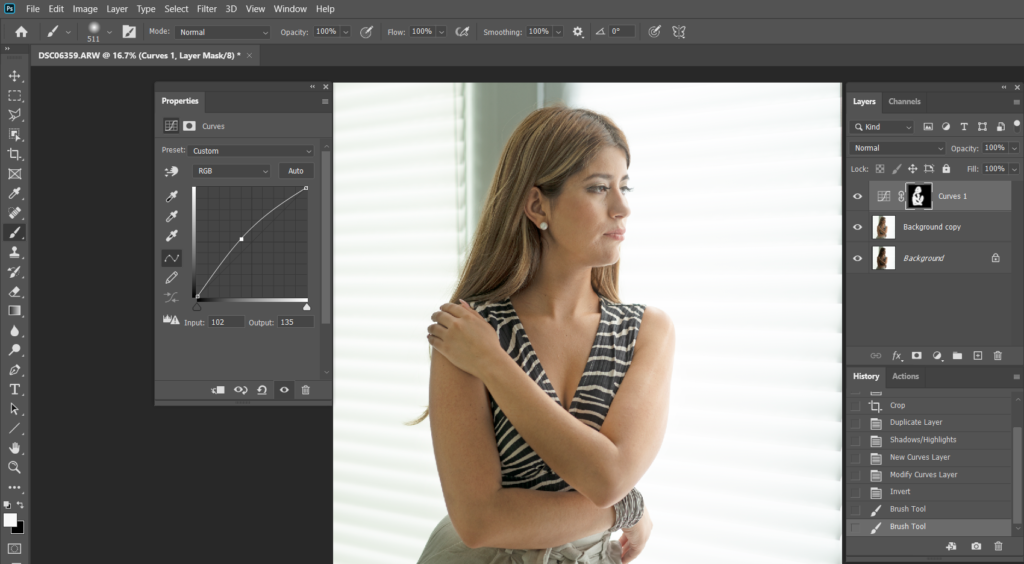
7. Use Brush with White color sleeted to brush the object.
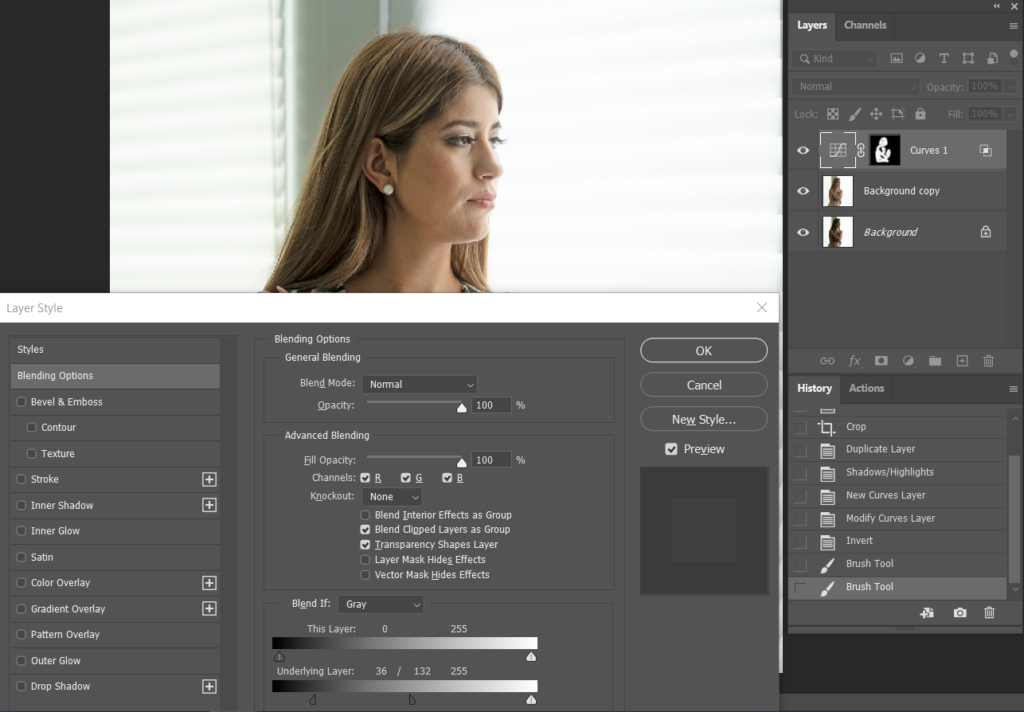
8. Double click on Curves 1 to open Layer Style.
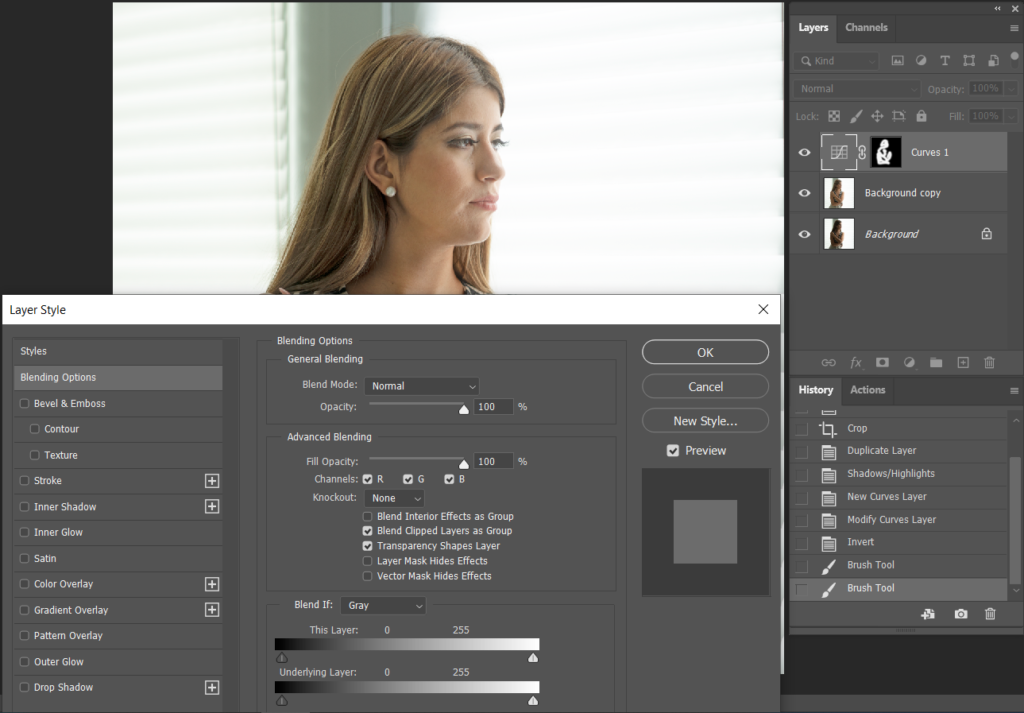
9. in Underlying Layer, adjust shadow curse to the right. You can hold Alt key and move half curse. That will make contract on the object. Click Preview to compare.
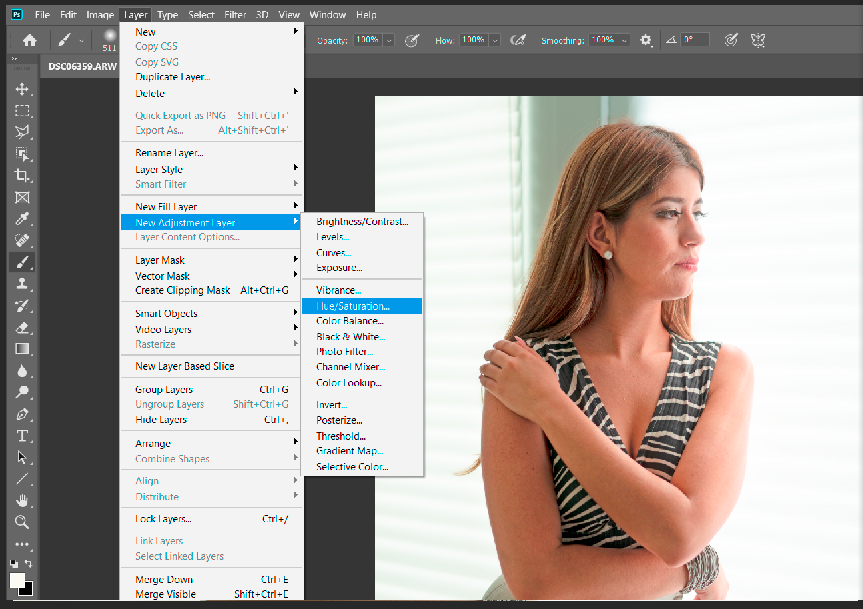
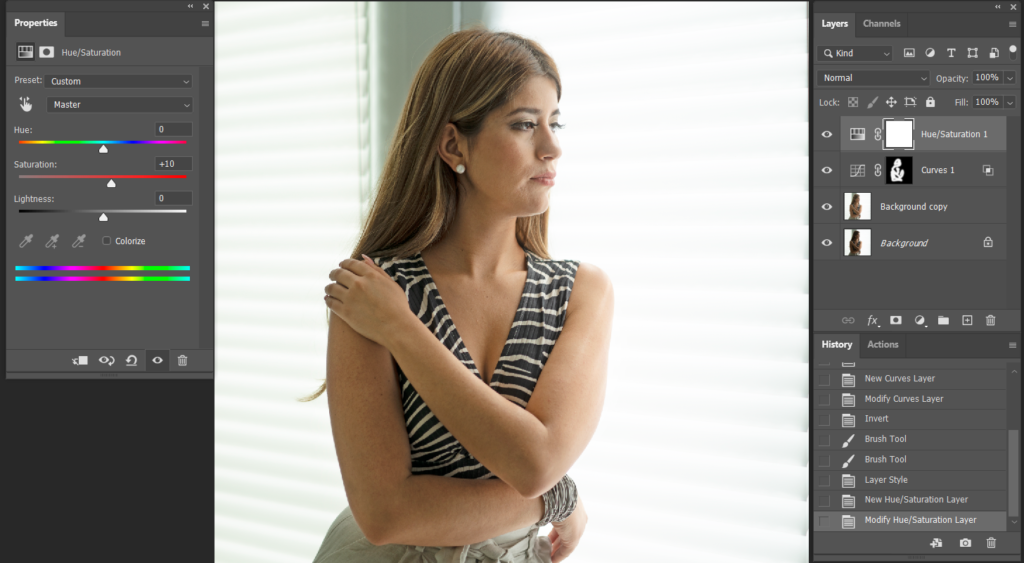
10. Open Hue/Saturation by going to Layer>New Adjustment Layer.
11. Adjust Saturation to color the skin, say +10.
12. Add more skin color by go to Layer>New Adjustment>Selective Color.
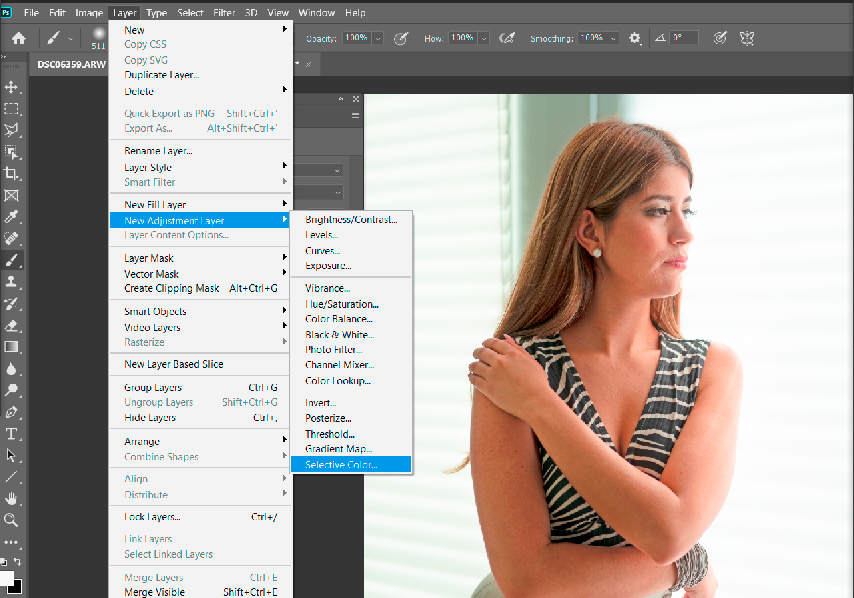
13. Make sure the Color is Red, adjust Cyan (+10 in our example), Megeta (+20), Yellow (-15), and Black (-10).

Please view the step by step video: