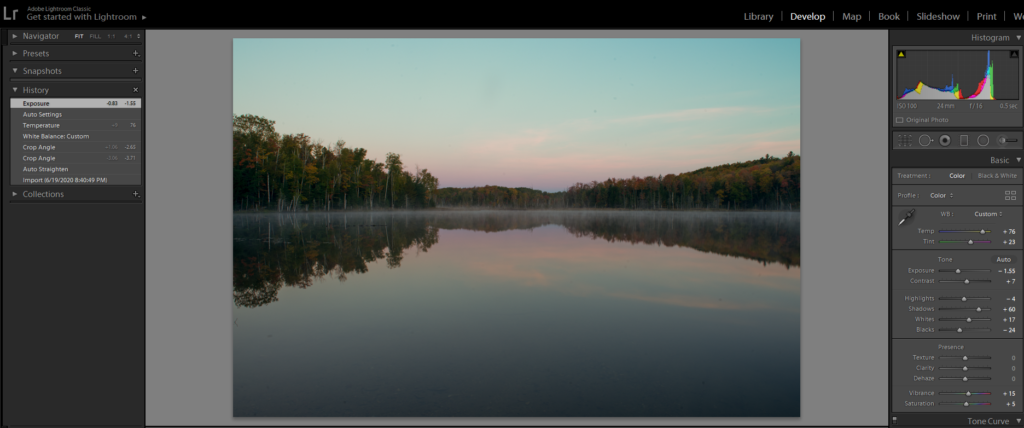
- After importing an image, click on Develop.
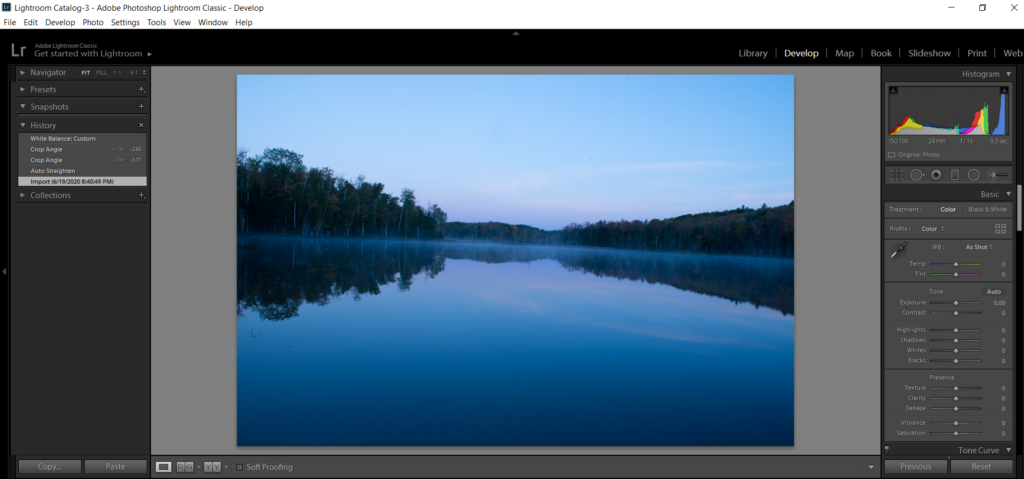
Step 1: Crop and straight the image in Basic.
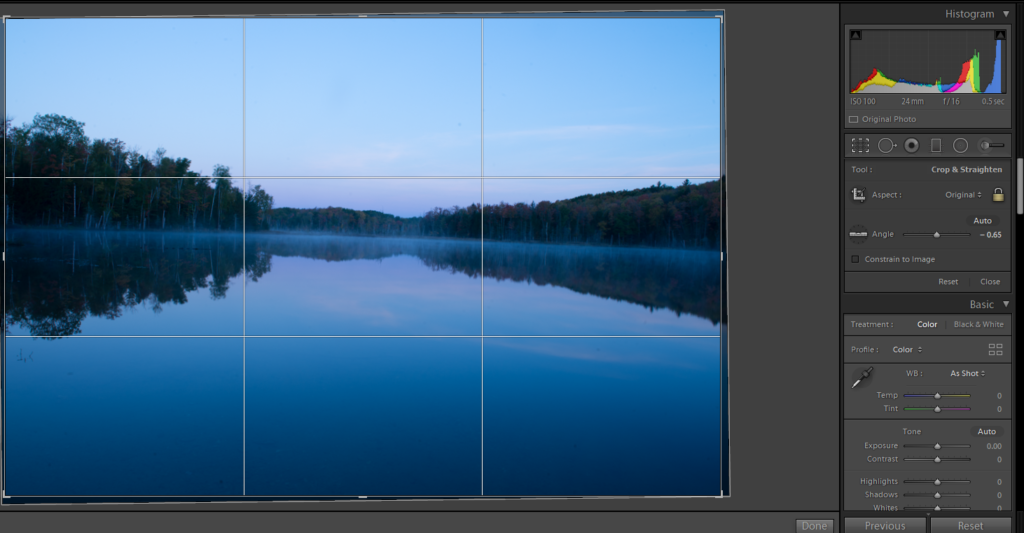
Open Crop Overlay (R)

You can use Auto Straighten or adjust Angle manually. Also you can resize.
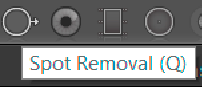
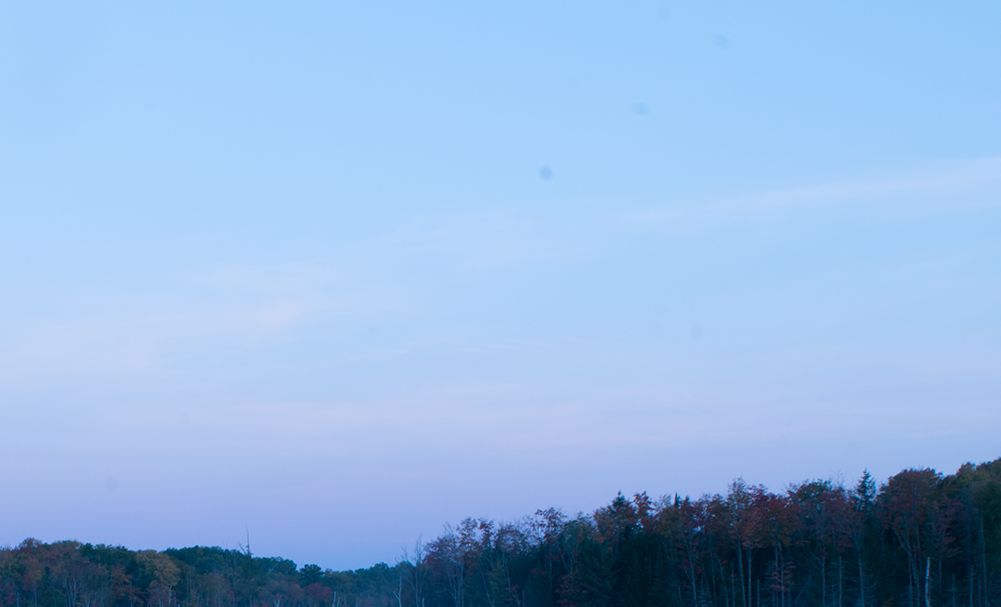
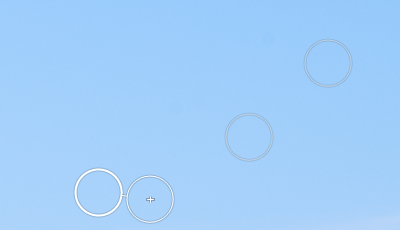
Step 2: Spot Removal (Q) in Basic – Open Spot Removal tool to remove
dust spots.
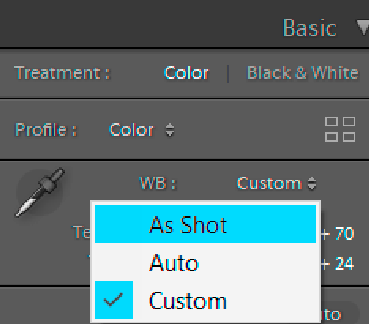
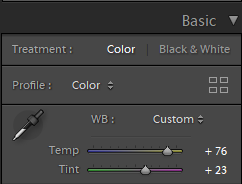
Step 3: White Balance in the Basic.
You may have 3 options: As Shot, Auto, Custom.
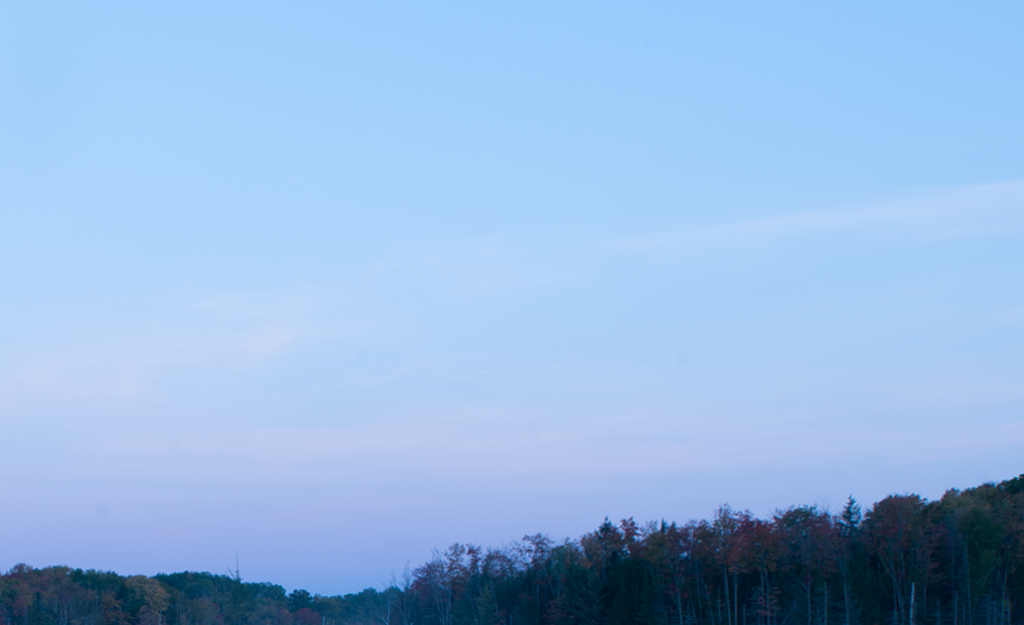
- As Shot

Use Shot pen points to the white area.
This is the result.
- Auto –
- Click Auto.
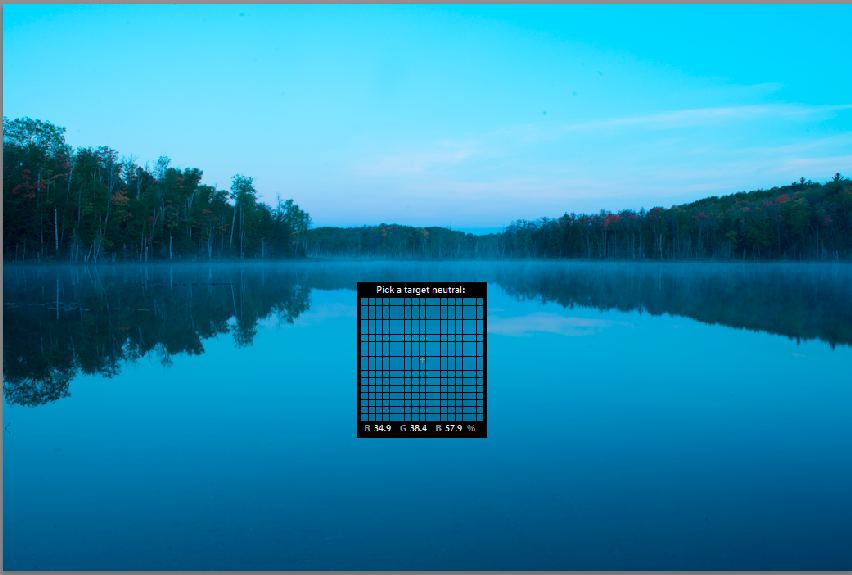
- Custom – adjust Temp and Tint.
Step 4: Tone
Use Auto first. If you don’t like it, adjust tone yourself. If the image tone looks good to me, I just hold Alt key and double click Whites and Blacks to adjust whites and blacks.
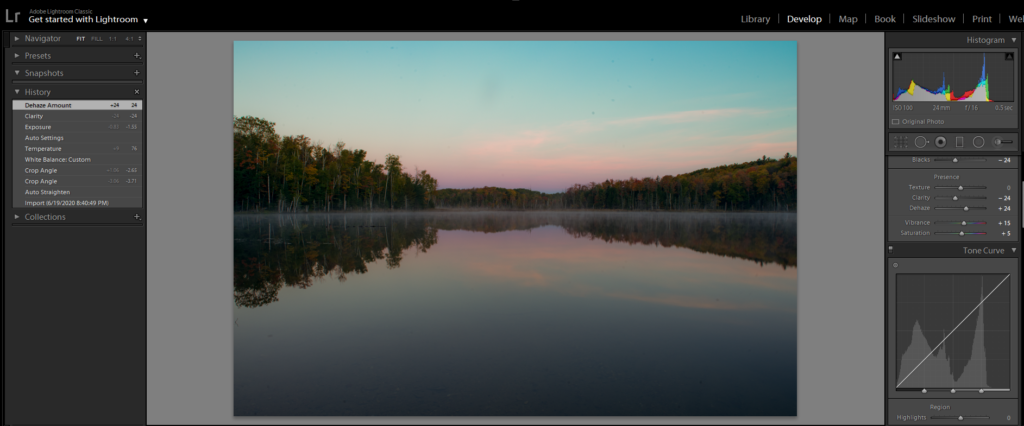
Step 5: Presence.
Normally, I will adjust Texture, Clarity and Dehaze right now. Left Vibrance and Saturation for later.
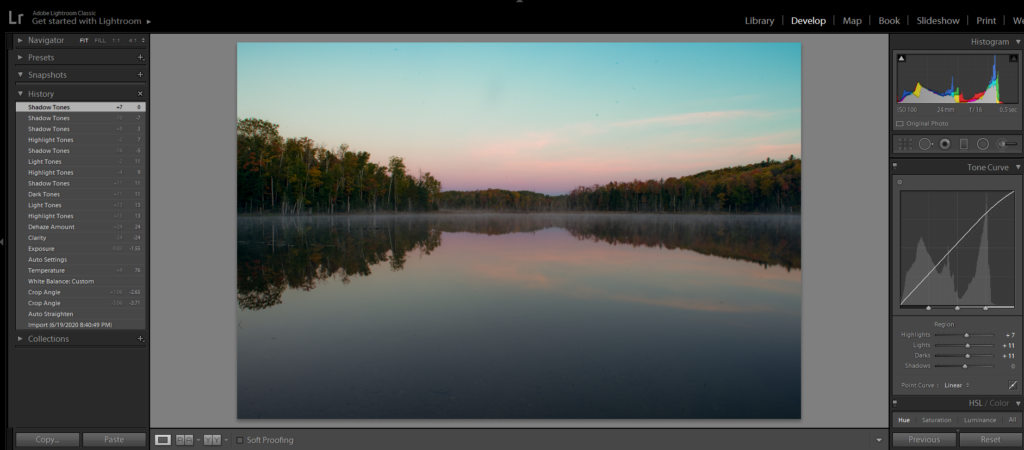
Step 6: Tone Curve – you have 4 options: Highlights, Lights, Darks and Shadows. You can also try Point Curve.
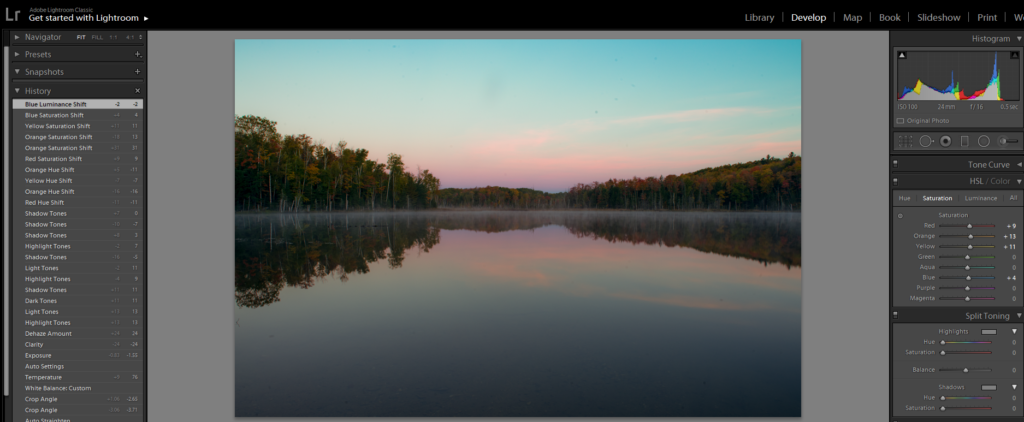
Step 7: HSL/Color – in or example, I would like to make sky more blue and leave more orange.
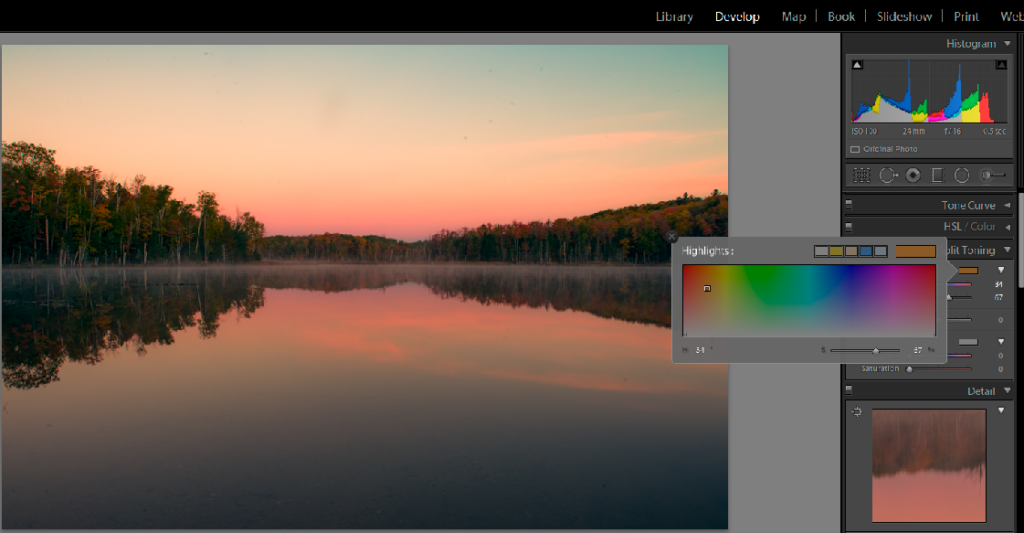
Step 8: Split Toning – in our example I would add more orange and red color in Highlights/Blacks for sunrise.
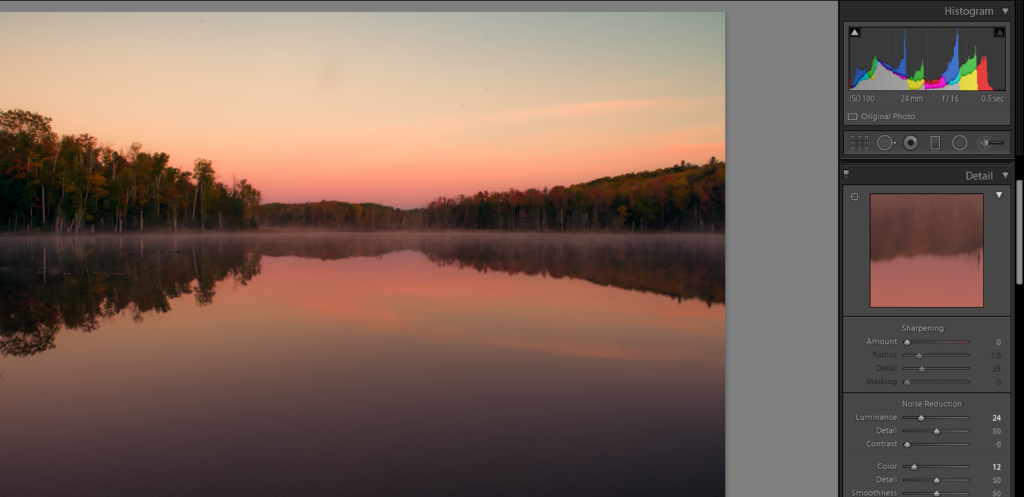
Step 9: Details – Here we can adjust Sharping and Noise Reduction.
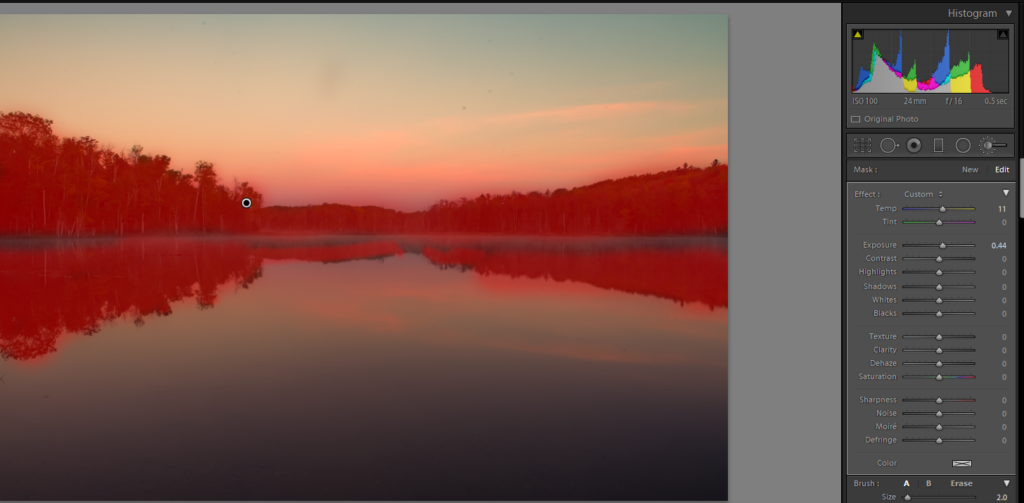
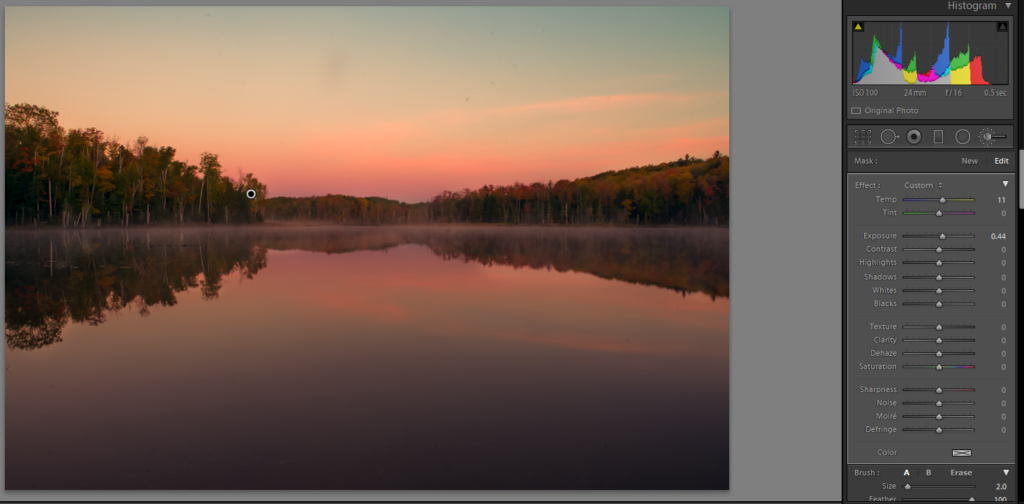
Step 10: Final adjustment – in our example, use Adjustment Brush (K) tool to highlight tree and give more yellow color.

Now, back to Basic and adjust Vibrance and Saturation.
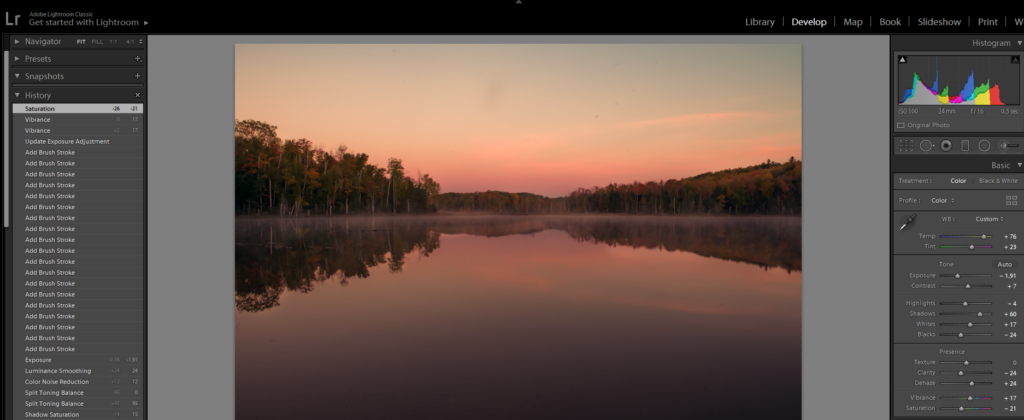
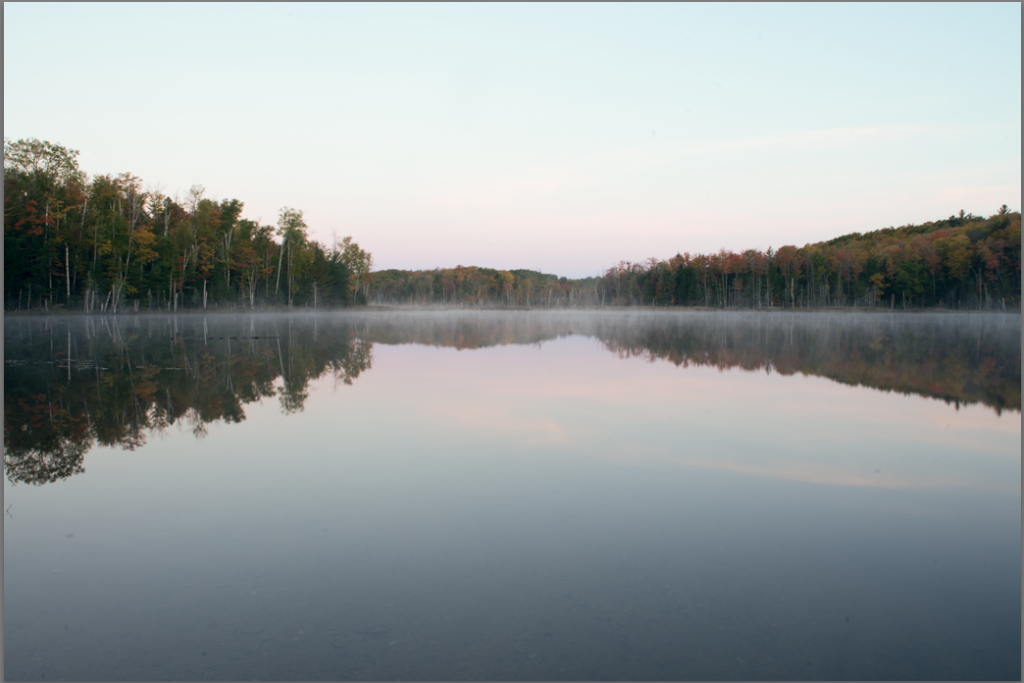
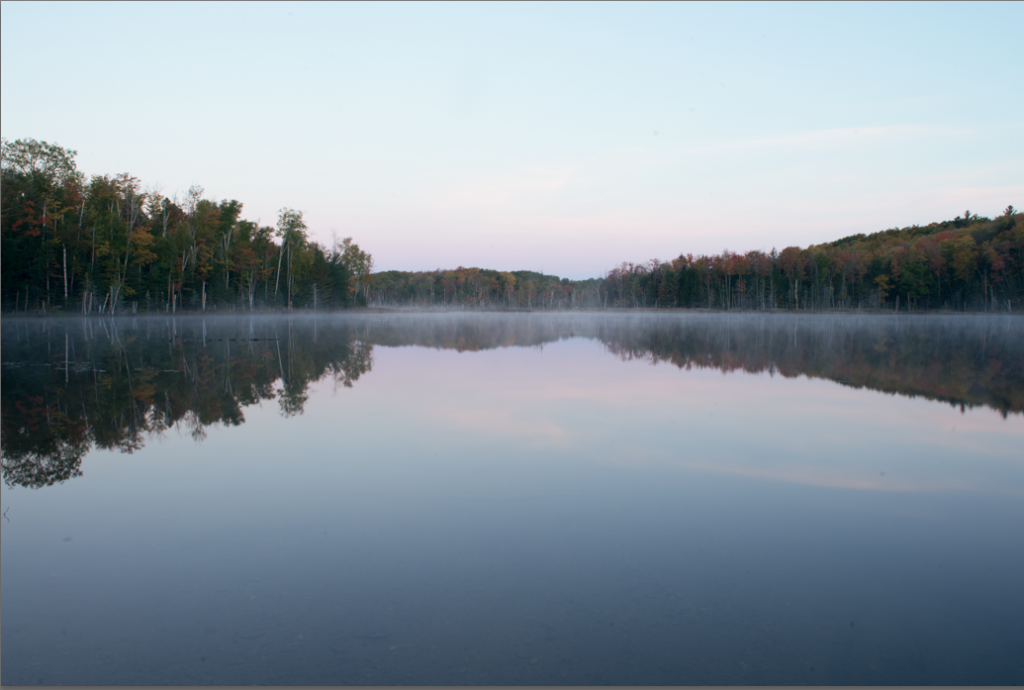
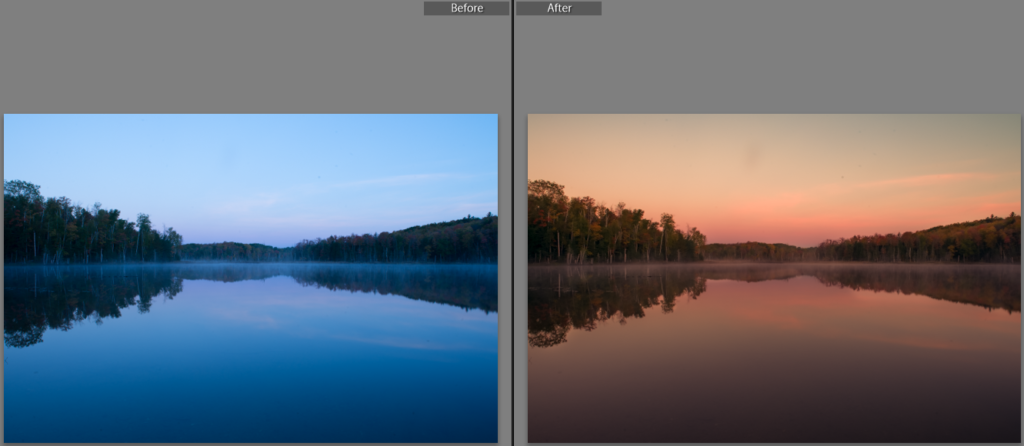
Press Y to compare before and after.
Please view the step by step video: