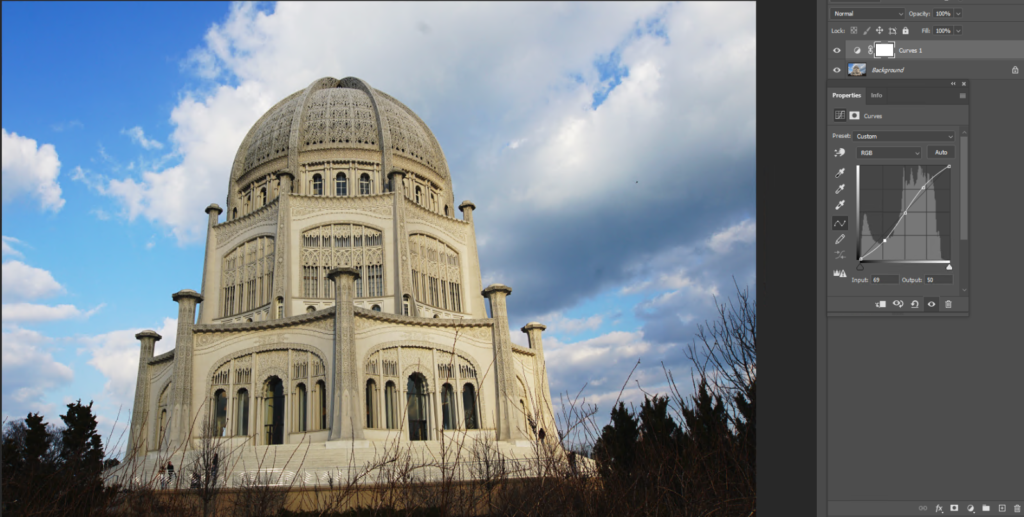
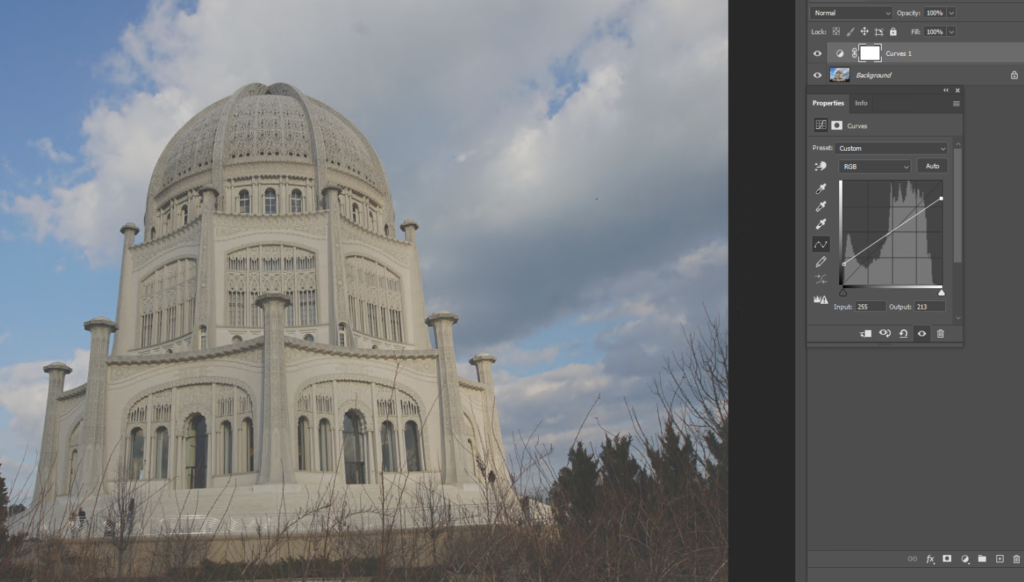
Curves is a popular tool to adjust contrast in Photoshop. When you open Curves, the graph will default to a straight diagonal line indicating 0 (black) to 255 (white). The horizontal axis of the graph represents the input values, while the vertical axis represents the output or adjusted values. Note: to open Cures, click on Create new file or adjustment layer.
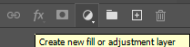
Select Curves.
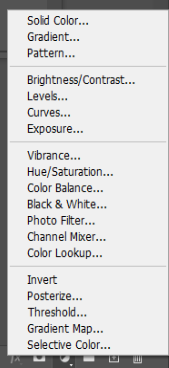
Now, you should have
Curves control contrast by adjust the curve. For example, to reducing contrast, select and drag the darkest point upwards while select the lightest point along the graph and drag it downwards as shown below.
To increase the contract, you may select three points and make an ‘S’ curve as shown below.