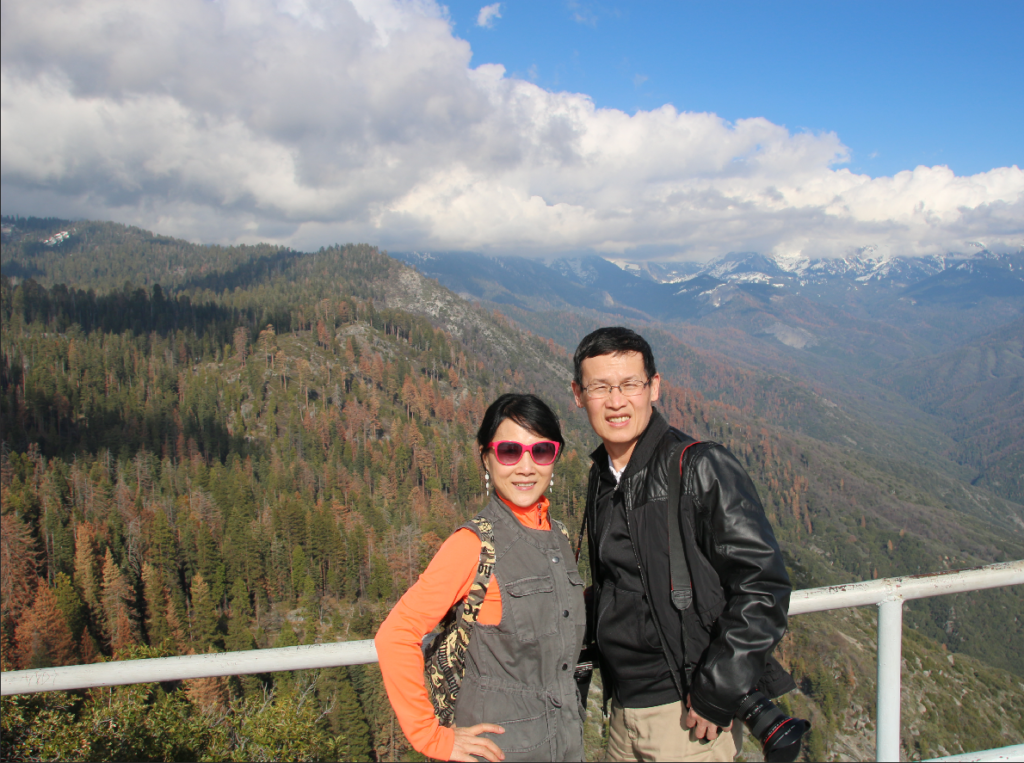
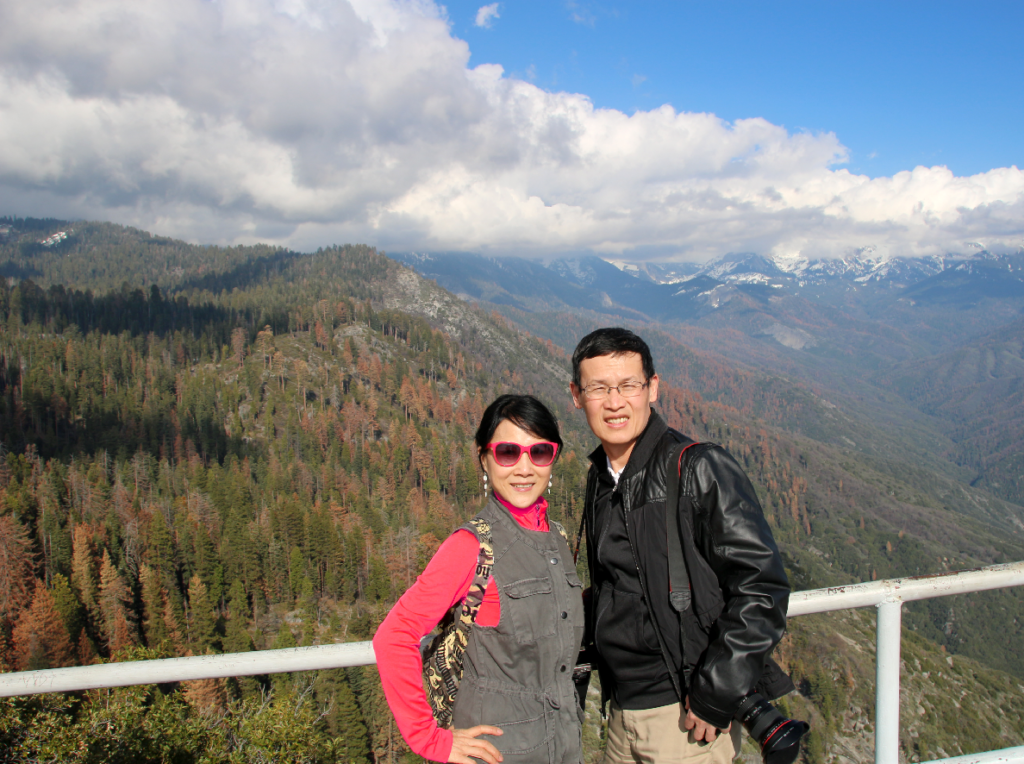
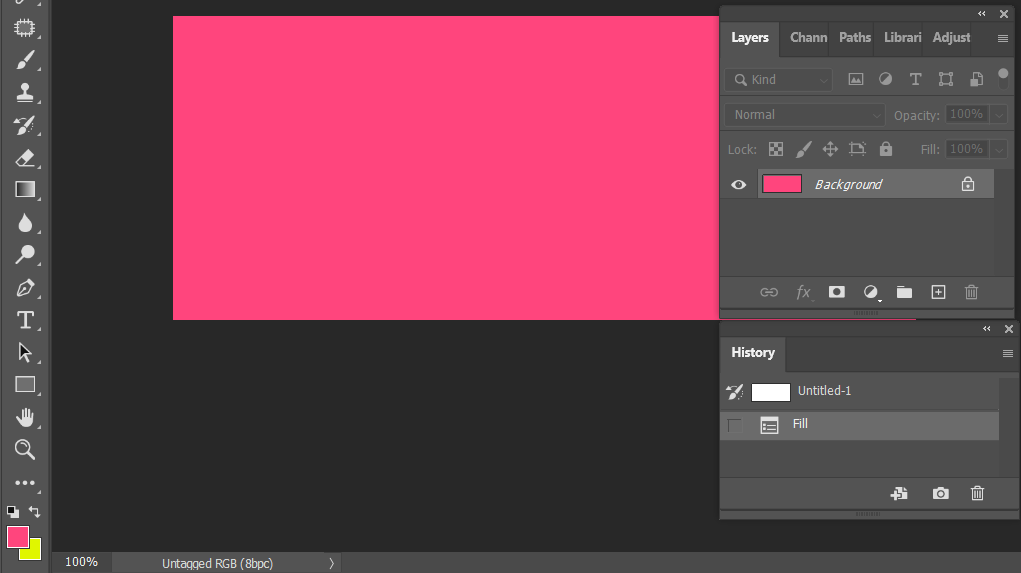
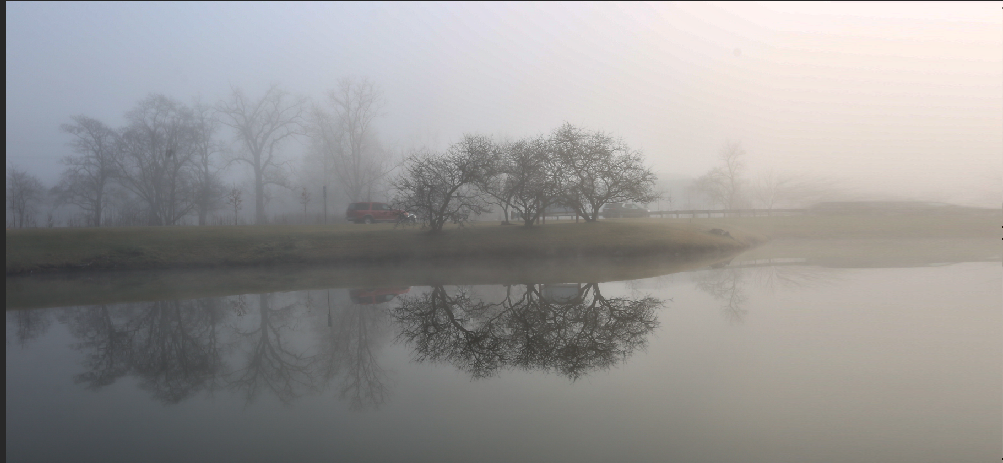
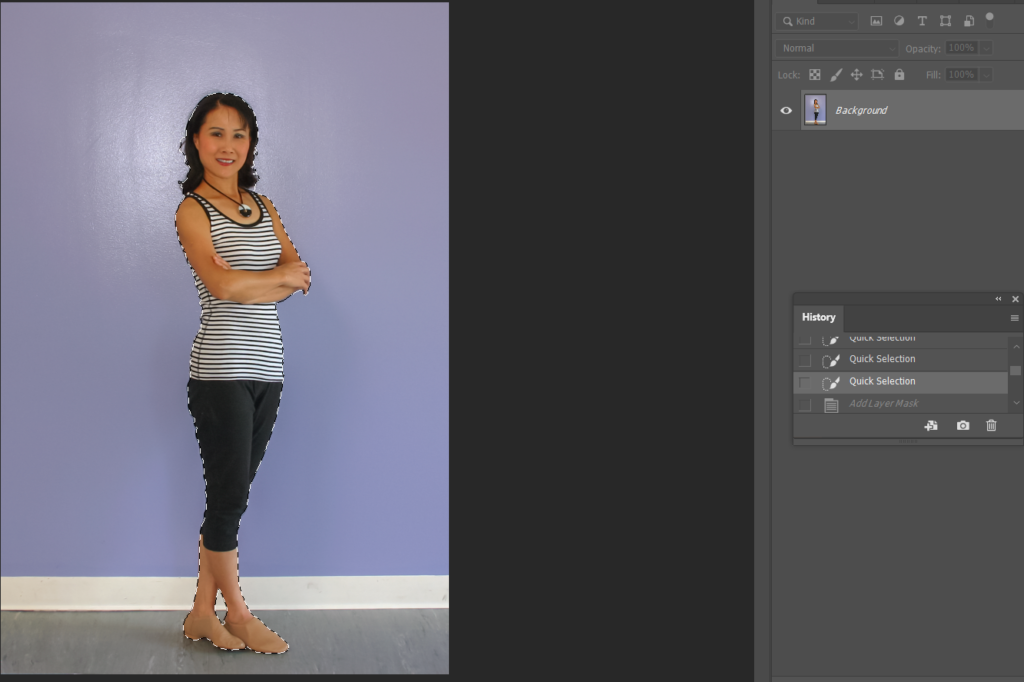
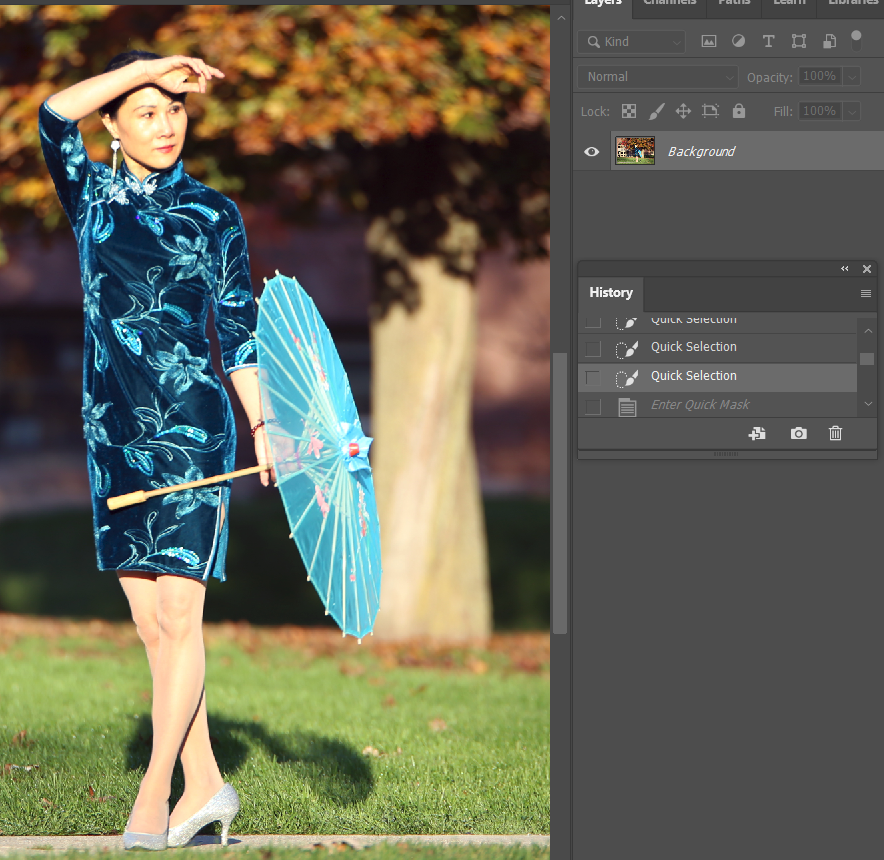
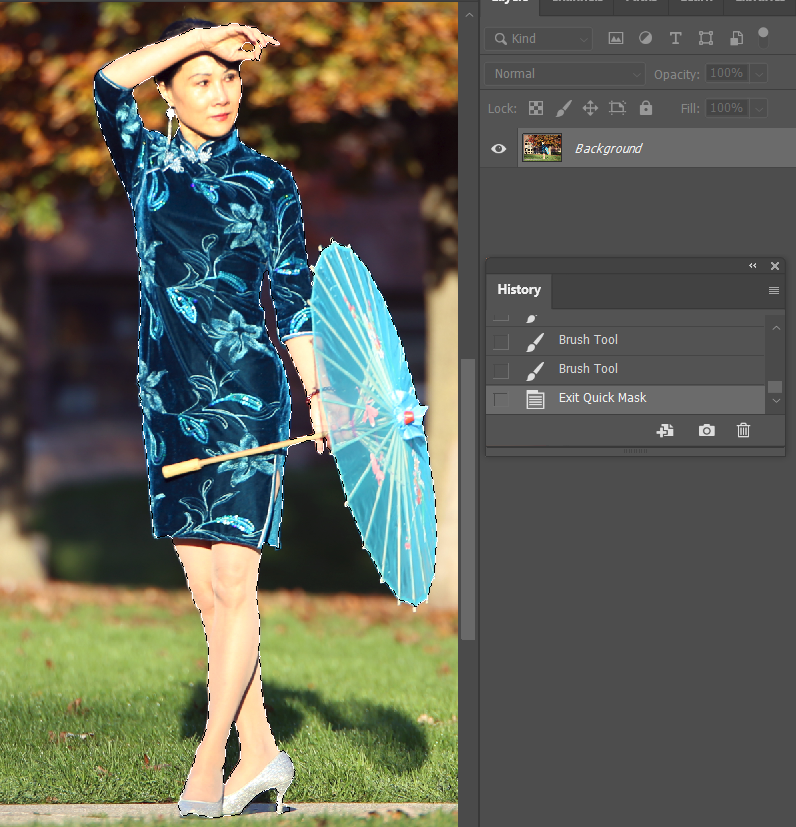
How to use Quick Action in Photoshop to Remove Background or Select Object

  1. Open the image.
Blonde girl with long and shiny wavy hair . Beautiful model with curly hairstyle .

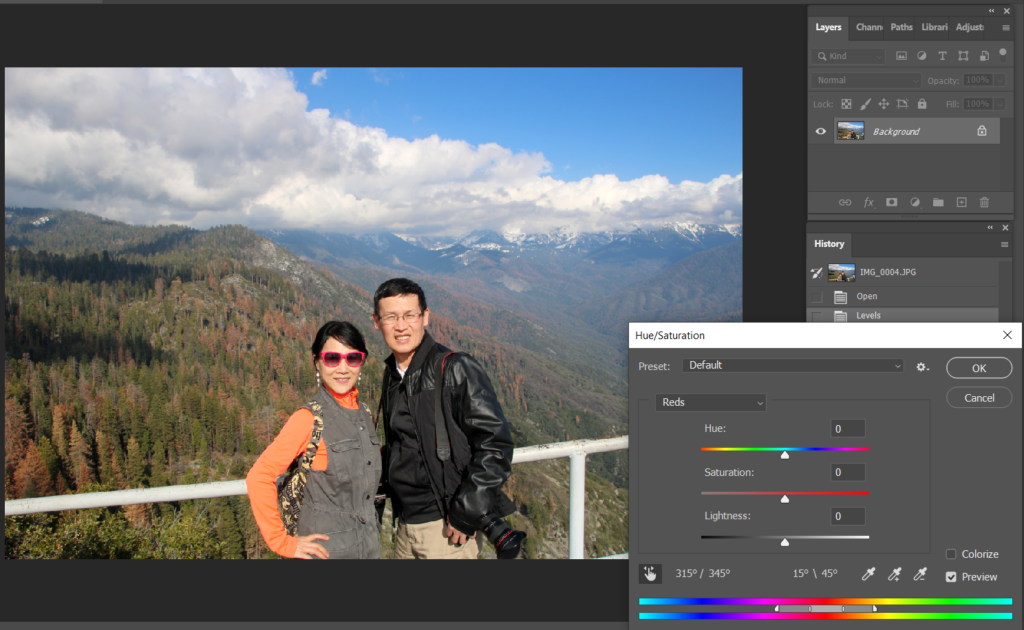
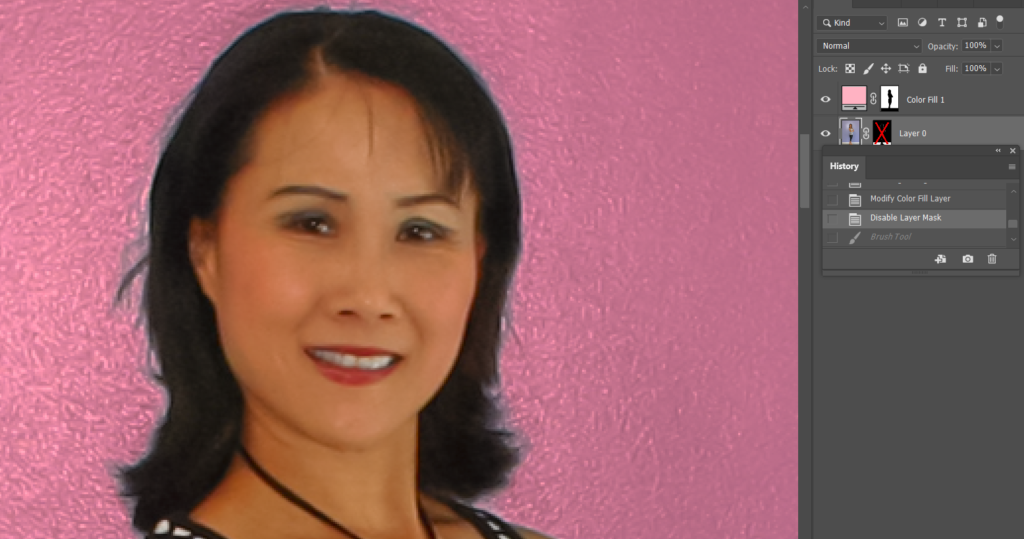
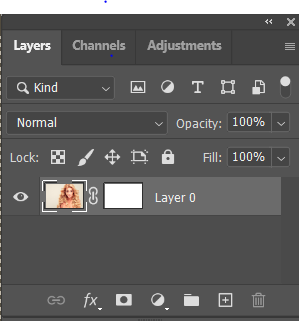
2. Add a Mask. Make sure original image selected.

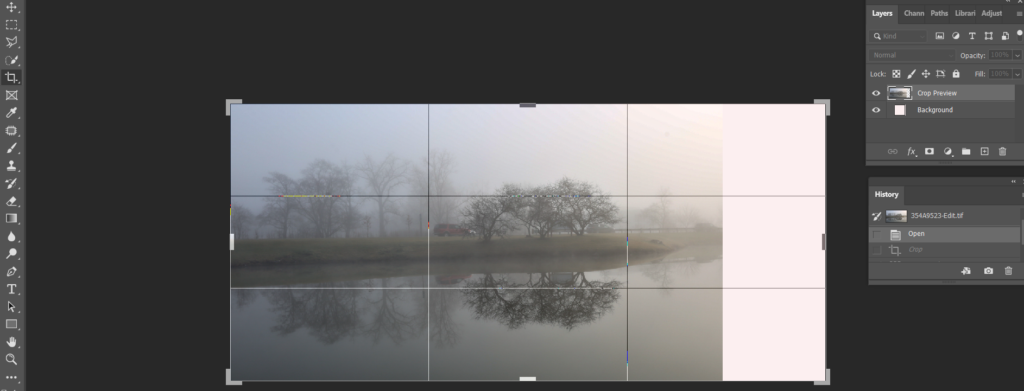
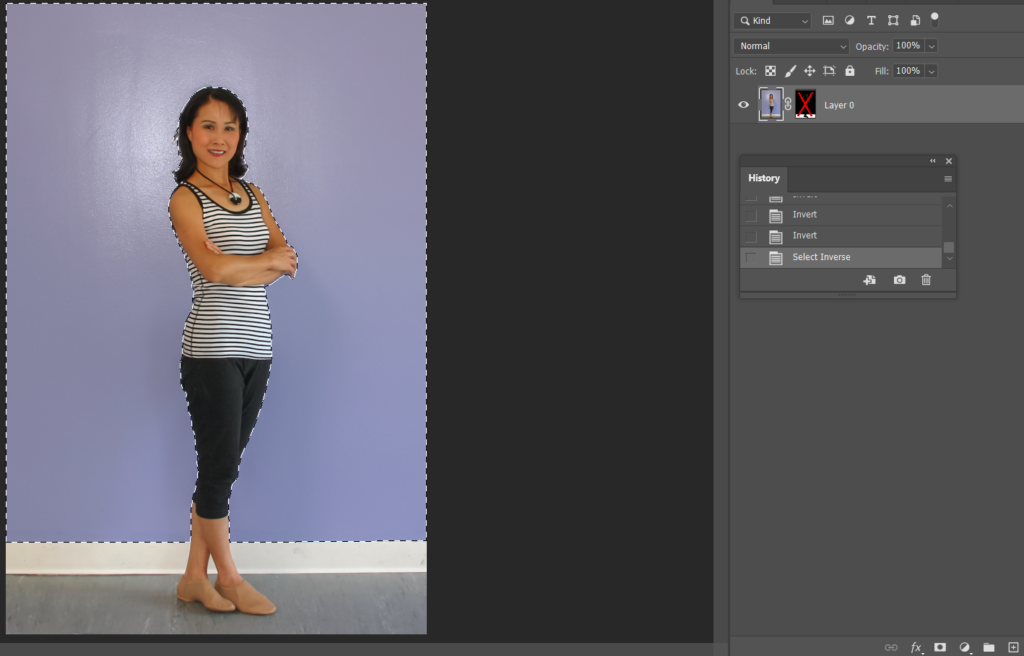
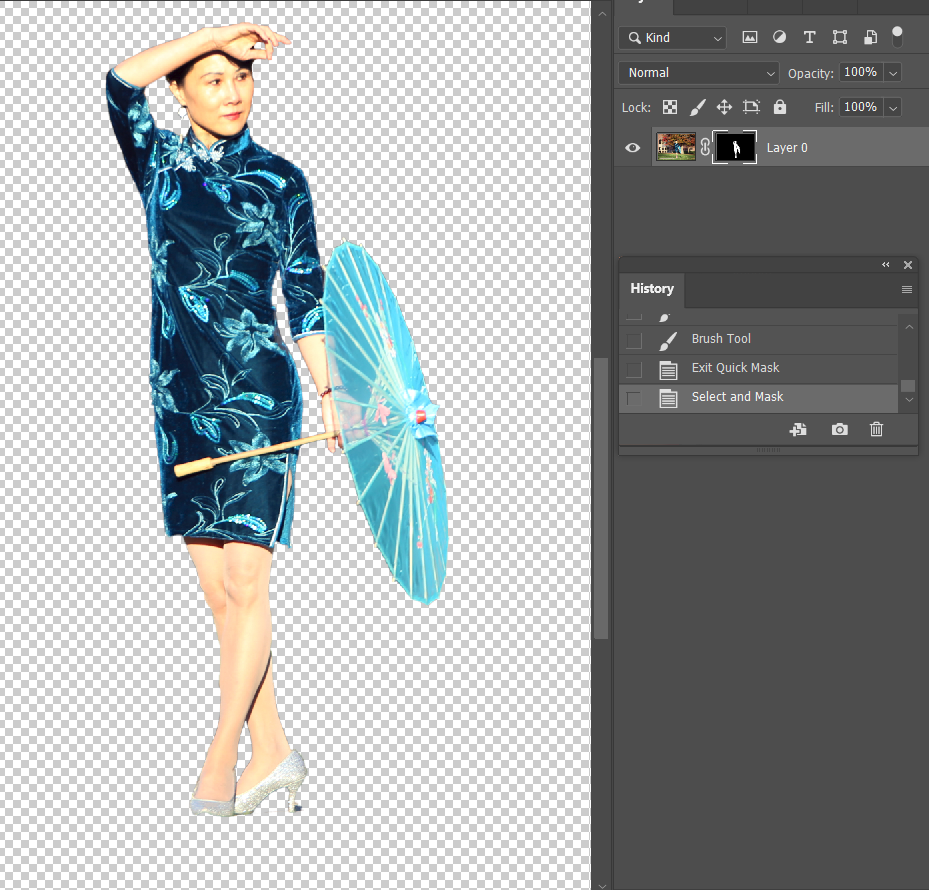
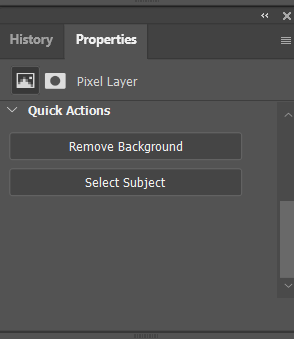
3. Click Properties and then Quick Action. Click on Remove Background. If you don’e see the Properties, go to Windows menu to check it.

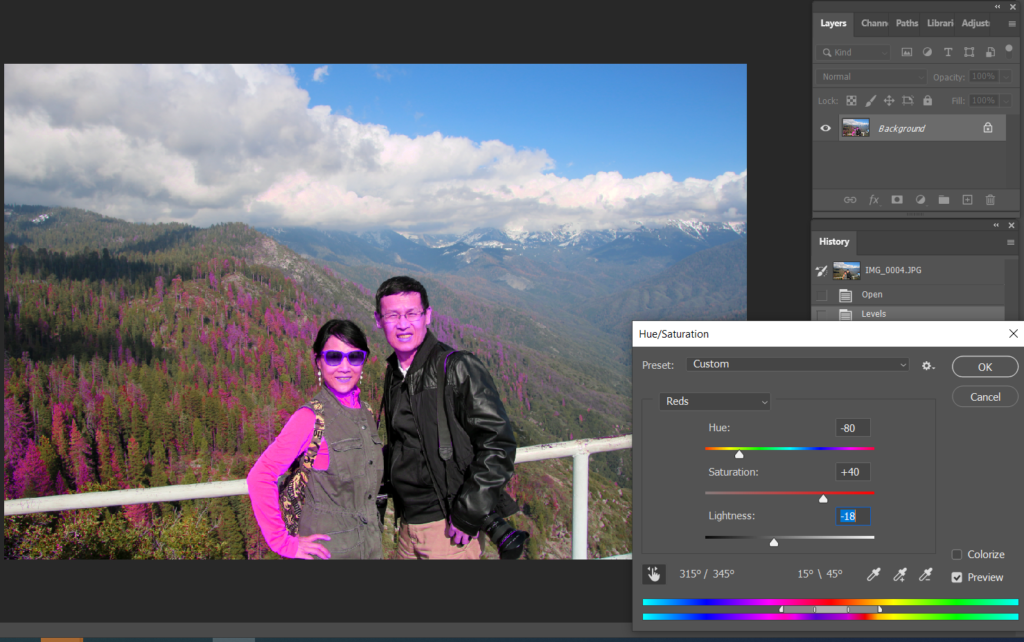
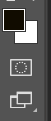
4. It may take a few minutes to remove the Background.

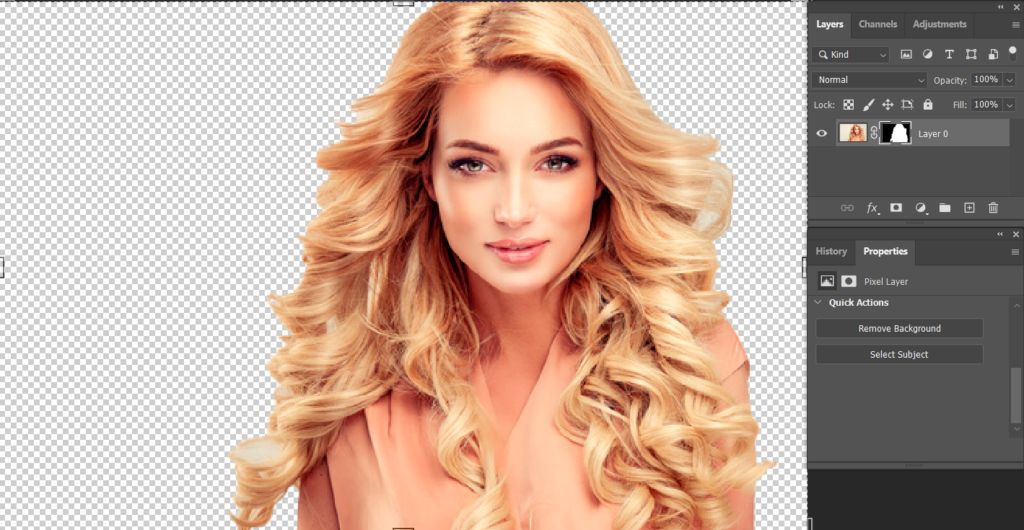
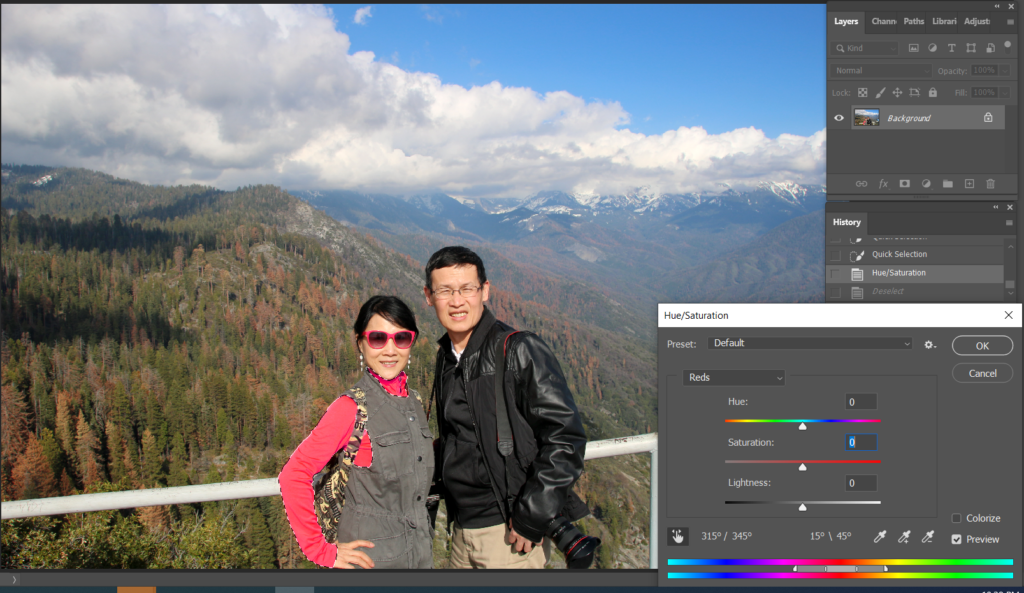
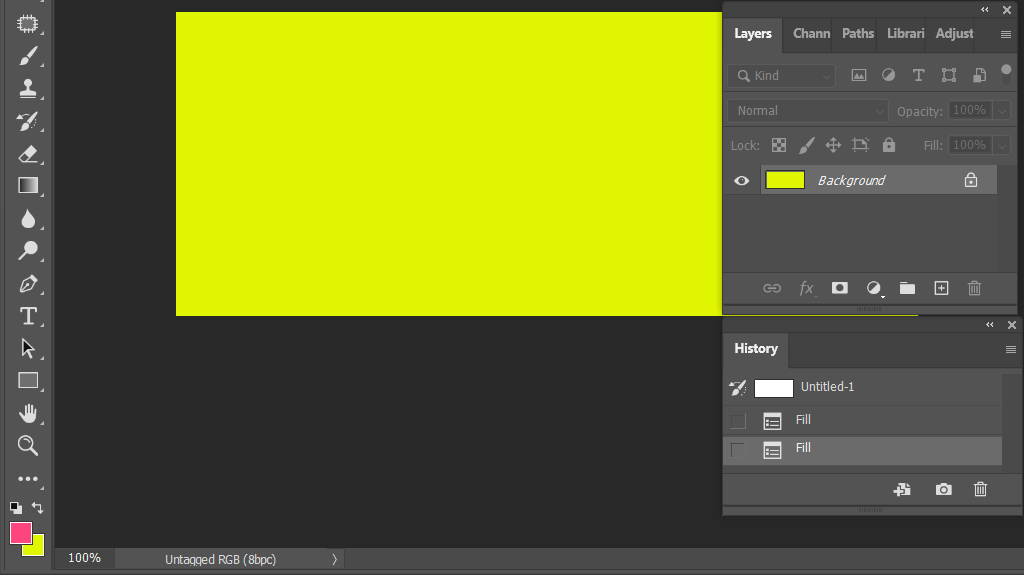
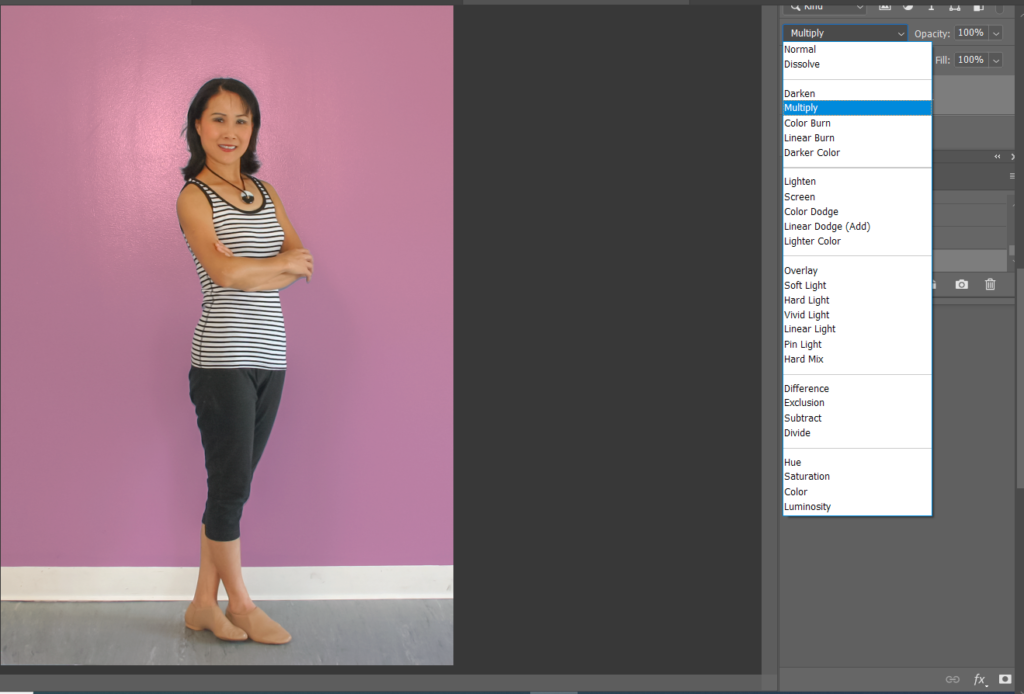
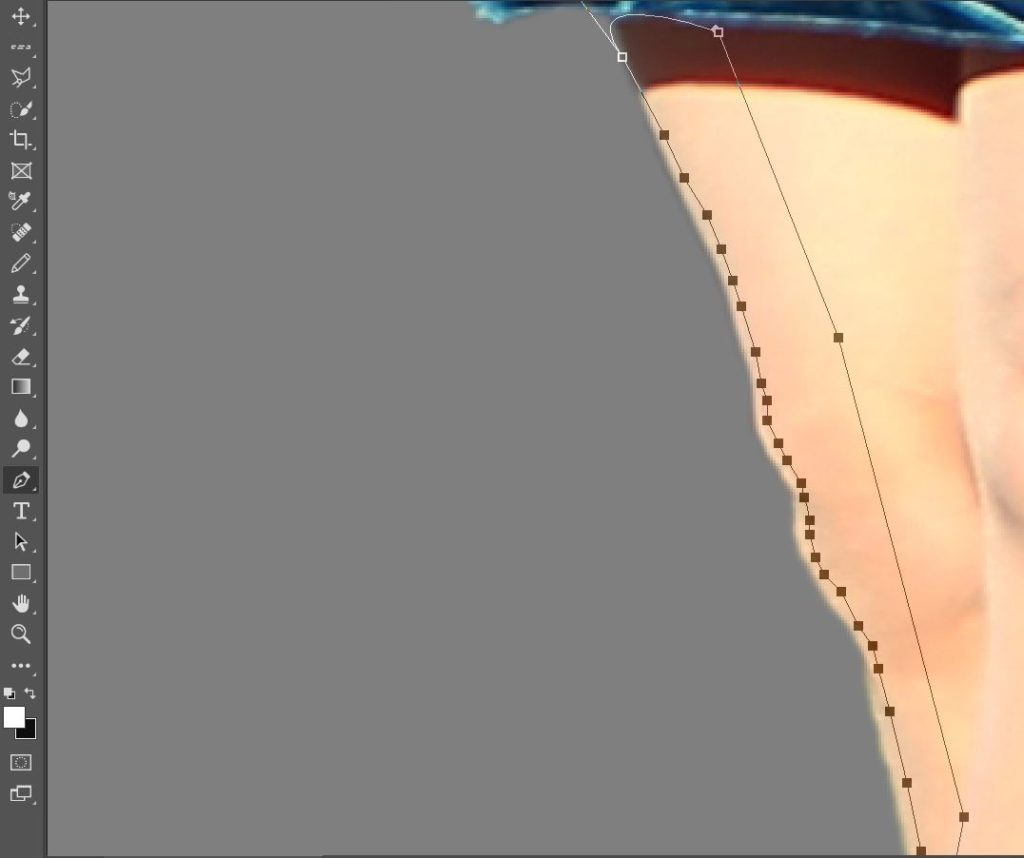
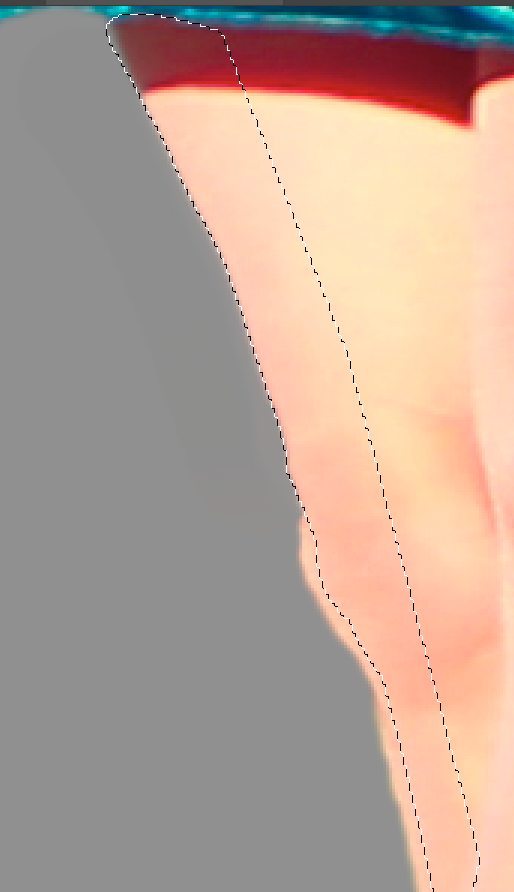
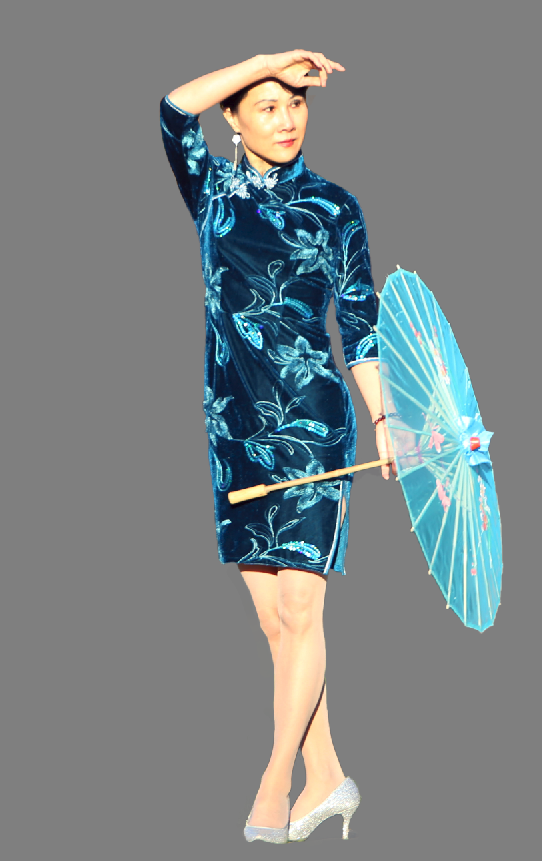
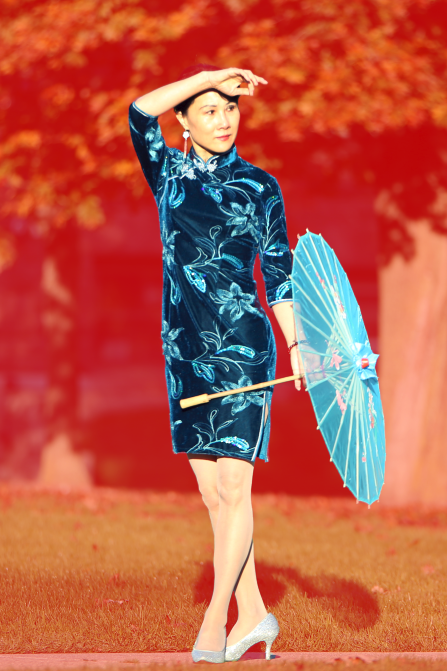
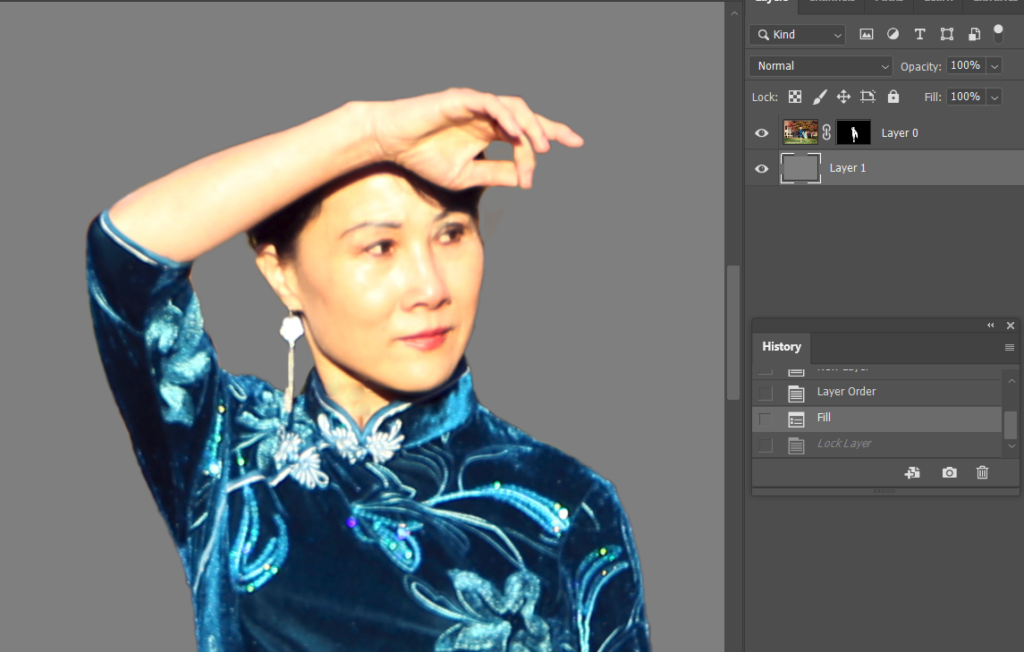
5. Use Select and Marks to refine the edge. Move into yellow background to check the result.

How to use Match Color in Photoshop

This is the image before matching.

This is the source image will be matched from

To do that, open these two images in Photoshop. On the image you would like to match, go to Image>Adjustment>Match Color.

From Source, select the source image.

You can adjust Luminance, Color Intensity, and Fade. Clock OK to save.

Please view the step by step video:

How to adjust tonal range using Photoshop Levels

With the Photoshop Levels, I can adjust, correct the tonal range of an image. You will do it on the Levels histogram by adjusting intensity levels of image shadows, midtones, and highlights. There are 3 ways to do it.

  1. Adjust Input levels. Open Levels from Image>Adjustment>Levels.

Our example, from 0 (black) to 50 and 255 (white) to 220 are empty. Move the left slider from 0 to 50 and right slider from right to 220. That will increases the tonal range and also overall contrast of the image.

2. Use the point. Select White Point and then click on the white area.

Select Black Point and then click on the dark area.

3. Auto. Click on Auto.

How to extend or fill an image in Photoshop

Extend

Before.

After

  1. Use Crop Tool to extend image with white background.

2. Use Rectangular Marquee Tool to select the area you want to extend.

3. Ctrl+T to highlight the selected area.

4. Now, hold Shift key, use mouse to move the right point to right.

5. Press Enter to complete.

Fill

  1. Use Crop Tool to extend image with white background.
  2. Use Rectangular Marquee Tool to select the area you want to extend and the area you want to be filled.

3. Go to Edit>Fill. Make sure Contents is Content-Aware and model is Normal. Click OK.

  1. It may take a while to complete .

How to change background color in Photoshop

  1. Use Selection Tool to select the object.

2. Hold Ctrl +Q to open Quick Mask to fix missing the part of object.

3. Since we want to change the background color, inverse the section (shift+Ctrl+I).

4. Click on Create a new fill or adjustment layer icon and select Solid Color.

5. Select the color you want to change.

6. To match the background light and shadow, select Multiply in

7. More one again, you can fix the selection by using Brush tool. For example the hair.

8. Highlight the selected mask. Select Brush tool with Black for background and white for foreground. This is after.

9. To change to different color, double click on the color pane.

Please view this step by step video:

How to use Pen Tool to select an object in Photoshop

In Photoshop, Pen Tool is most accurate selection tool. Here is how to use it.

  1. Choose Pen Tool and create a path.

2. After completing the circle path, right click and choose Mask Selection.

3. If you want top brush outside edge, inverse the selection first. Select he Brush Tool with Black background. Start to brush the outside edge.

4. Complete it.

How to use Edit in Quick Mask Mode in Photoshop to select objects

  1. Use Select Tool to select a object.

2. Click Edit in Quick Mask Mode icon or press Q

3. The background becomes red.

4. Select Brush Tool (Shift+B). I can brush the object with the white Foreground or erase the background with Black Background.

5. Leave the Quick Mask Mode by pressing or by clicking on the same icon which we used to activate Quick Mask Mode.

6. Go to Select>Select and Mask to refine edge. Save as Layer Mask.

7. This is the result.

8. To check the result, add a new layer by click on Create a New Layer icon. Move the new layer below.

9. Go to Edit>Fill. Select 50% Gray.

10. With 50 Gray background, you can see more details of selection.

11. Now, you can use Select and Mask to refine the edge.