How to install Preset in Photoshop 2020 step by step

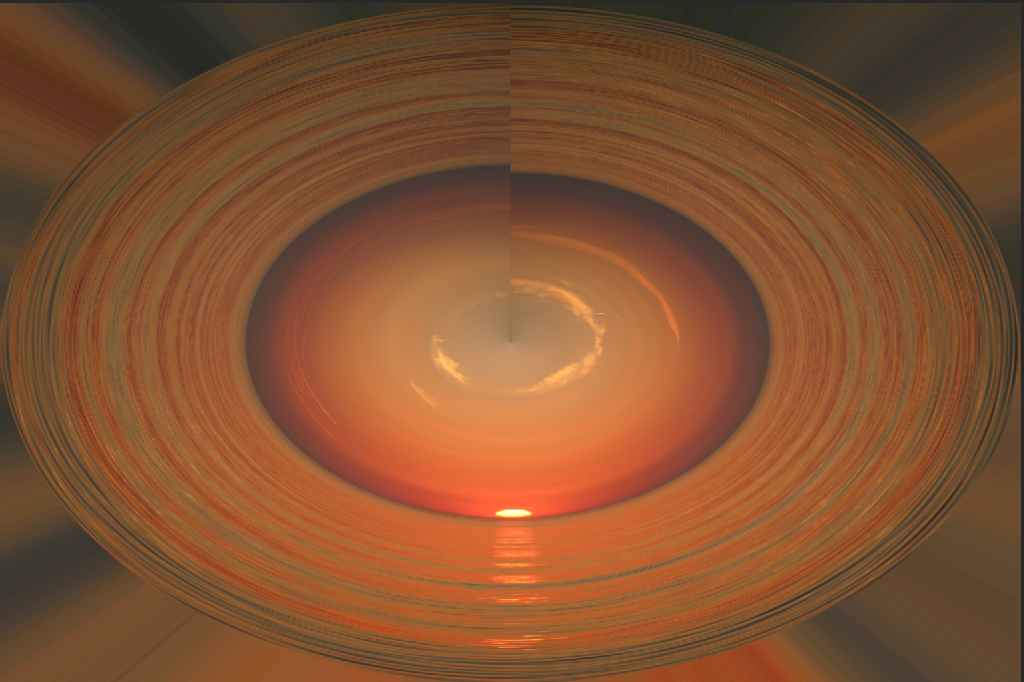
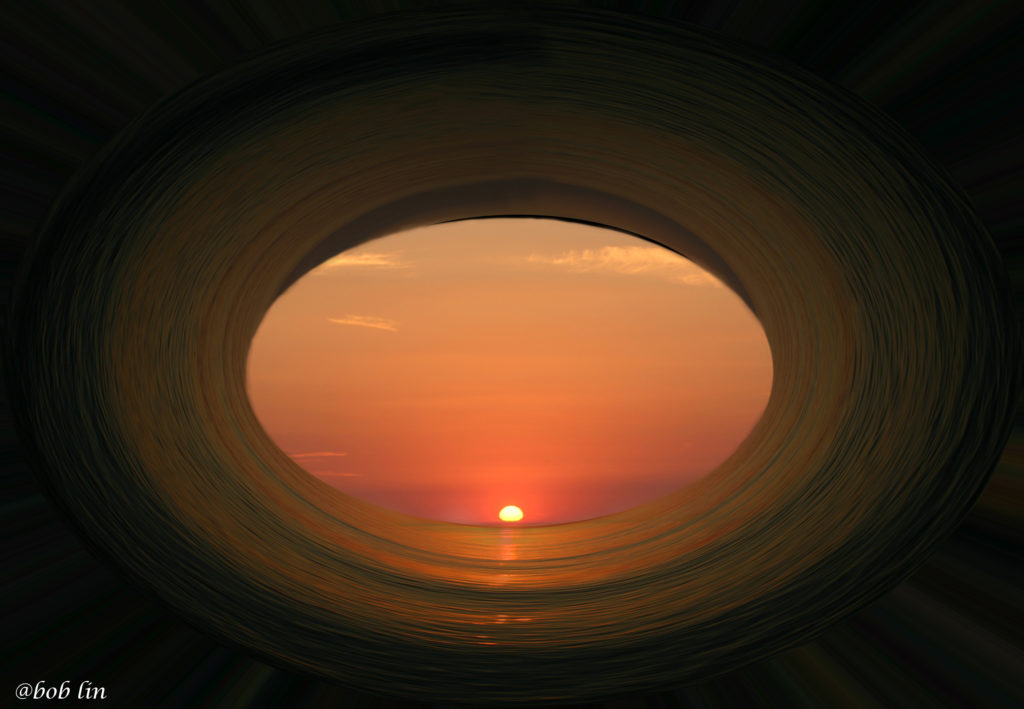
  1. Download and save the preset file, in our example it is 105 -Free-Gradients.zip saved in download folder.
  2. Double click on the Preset file, in our example the preset file, 105 Free Gradients.grd, which will add 105 Free Gradients.grd into Gradient Preset.
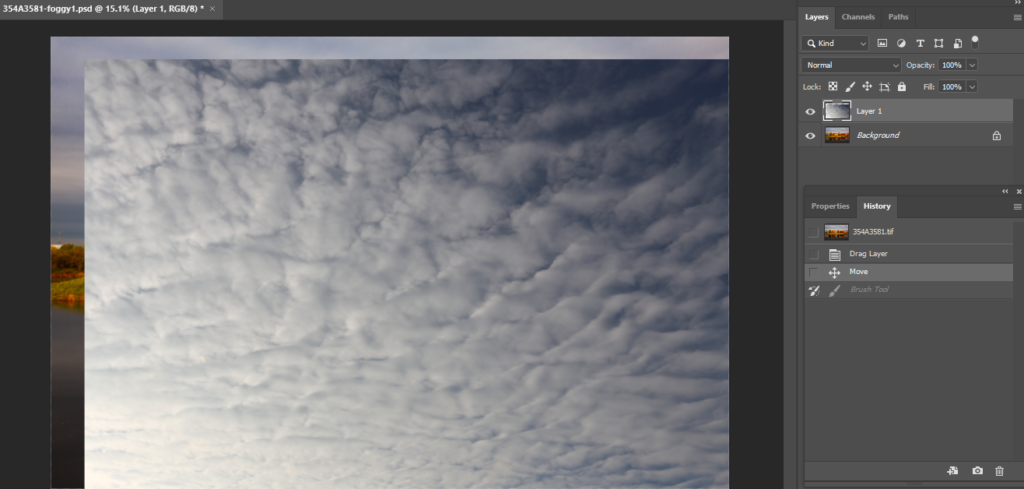
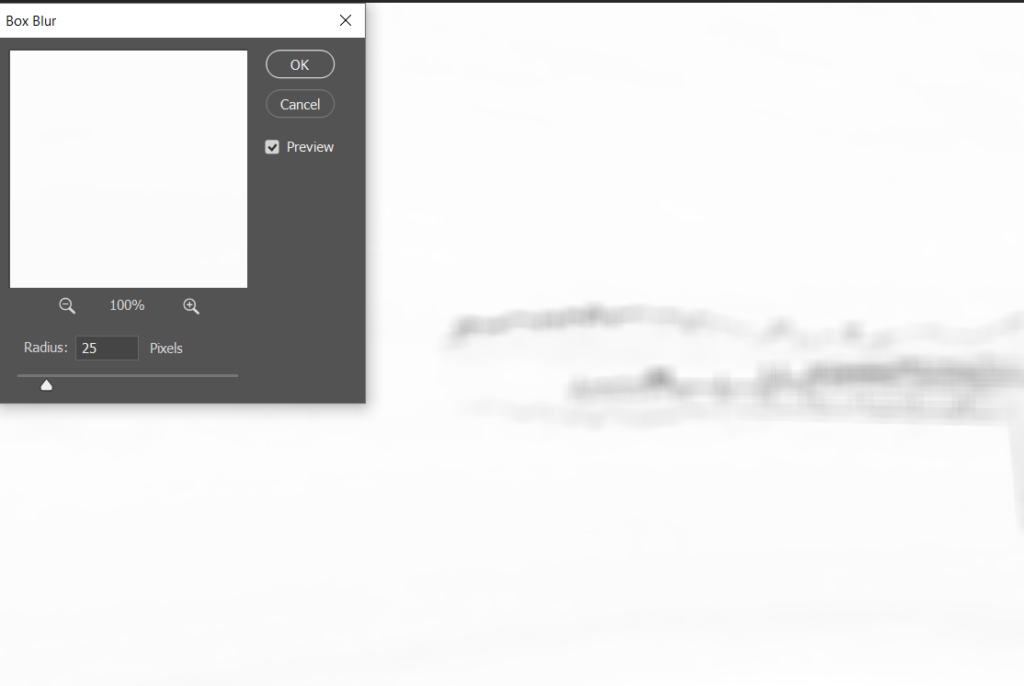
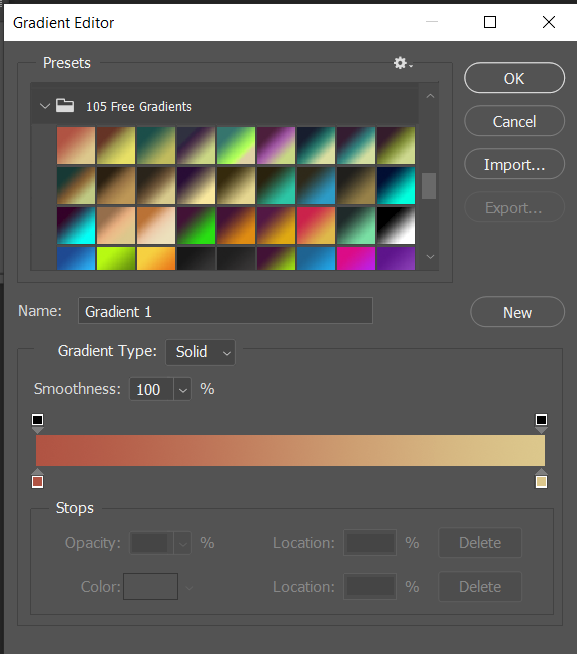
  3. to check the installation status, go to Gradient Editor.

Alternatively, you can copy the Preset file into C:\Program Files\Adobe\Adobe Photoshop 2020\Presets folder.

Please view the step by step video:

How to install Gradient preset in Photoshop 2020

Merge images using Blending mode and Brush Tool in Photoshop 2020

There are many ways to blend images in Photoshop. One easy way is using Blending mode plus Brush Tool. Here is how.

  1. Open all images. Match the Color of the Foreground image with Background image by going to Image>Adjustments>Match Color

2. Duplicate Foreground image.

3. Move the background image into the Foreground image and adjust the size.

4. Select the Blending mode, Dark Color in our case.

5. Add a new Layer Mask.

6. Use the brush to paint Foreground image you want to show up.

please view the step by step video:

Blend images using Select Tool in Photoshop 2020

There are many ways to blend images in Photoshop. One easy way is using Select Tool. Here is how.

  1. Match the Foreground image color with Background image color.

2. Move the Foreground image into the Background image.

3. Use the Select Tool to select the Object. You may also want to use Select and Mask to adjust the selection.

4. Add the new Layer Mask.

5. Do the final adjustments such as color, light and may use Brush Tool to paint Foreground or Background.

please view the step by step video:

How to convert a photo into pencil drawing

  1. With the photo open, duplicate the layer.
  2. Go to Hue/Saturation to create a new layer.

3. Adjust the Saturation to -100.

4. Highlight the original image, change the Blending mode to Color Dodge.

5. Hold Ctrl+I to inverse.

5. Go to Blur>Gaussian Blur and set Radius around 40.

6. Create another Levels layer to adjust the white and black balance.

7. Now, add another layer and use the Brush tool to remove or add more black and white.

How to add foggy using a cloud image in Photoshop

These are two images.

This is the result.

  1. With both images open, move the foggy image into original image.

2. Blur foggy image using Gaussian Blur, Radius 45 in our example.

3. Hold Ctrl+T to select foggy image and adjust the size.

3. Add a Mask.

4. Use Gradient Tool>Linear Gradient to gradient the foggy.

5. Use the Brush to add or remove the foggy. Note: highlight the Mask, use black for removing the foggy and use white to add more foggy. Start with 15% both Opacity and flow. Then add more.

6. Add another foggy image layer. This time make it line.

7. Add a Mask. Then use Reflected Gradient.

8. Use the Brush to add or remove the foggy. Note: highlight the Mask, use black for removing the foggy and use white to add more foggy. Start with 15% both Opacity and flow. Then add more.

please review the step by step video:

How to add foggy to an image using Photoshop Filter Cloud

  1. With the image open, create a Layer.

2. Hold Alt+Delete to convert it to black background.

3. Go to Filter>Render>Cloud.

4. Go to Filter>Convert to Smart Filter.

5. Go to Filter Blur>Gaussian Blur.

6. Setup Radius to 8.

7. Go to Blur>Motion Blur and set Distance 20.

8. Change Blending Mode to Screen.

9. Hold Ctrl+T select the foggy image.

10. Right click and select Perspective.

11. Make the bottom width and move top lower because the foggy can’t be high. .

12. Hold Ctrl+I to inverse.

13. Select Brush tool to brush. Hardness setup to 0%, Small size with white color. Opacity and Flow around 50%.

14. Repeat 12 with large brush size and low Capacity and Flow one or two times.one more time

How to merge two images in Photoshop

  1. With the two images open, move one image into another one

2. Unlock the original image and move the inserted image to the bottom of the original image so that the original image is foreground and inserted image is background.

3. Highlight Foreground image, and select the object you want. You may want to go to Select and Mask to refine the Edge. Make sure the Output To is Layer Mask.

4. Click OK to create a new Mask.

5. Note: to move foreground image, highlight the new Mask and use Move tool to move it. To move the background image, highlight the background and use the Move tool to move it.

6. Also you may want to use the Match Color to match the color by going to Image>Adjustment>Match Color.

Please review the step by step video:

How to convert a landscape image to Chinese painting

  1. Adjust the image more contract using Levels.

2. Desaturate by going to Image>Adjustments>Desaturate.

3. Duplicate the layer. Go to Filter>Stylize>Find edge.

4. Go to Image>Adjustments>Curve to make more contract make the edge more clear.

5. Go to Filter>Stylize>Diffuse.

6. Go to Blur>Box Blur, Radius set 25 in our example.

7. Change the Blending mode, Soft Light in our example. You can also adjust Opacity.