Bob Lin, MS-MVP, MCSE & CNE
Data recovery, Windows OS Recovery, Networking, and Computer Troubleshooting on
http://www.ChicagoTech.net
How to Install and Configure Windows, VMware, Virtualization and Cisco on
http://www.HowToNetworking.com
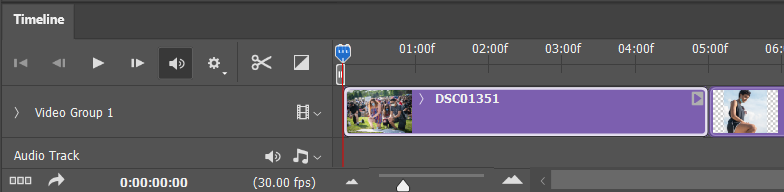
5. You can organize the images order by highlight the image and move it to the location you want..
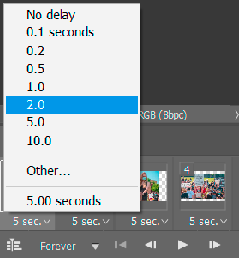
6. You can change the display time by clicking on 5 sec which is default time. To change multiple image time, select the first one and hold Shift key and click on the last one.
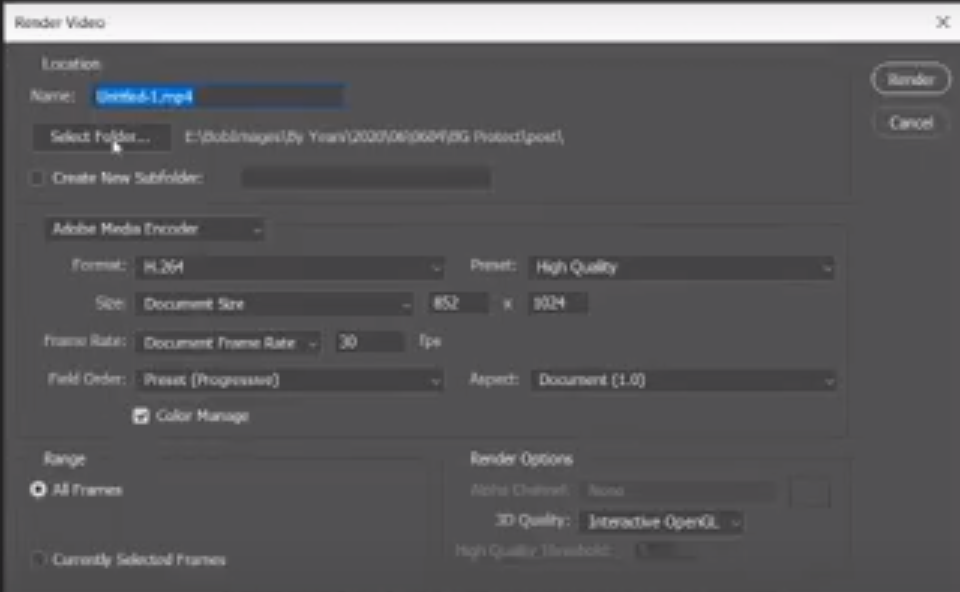
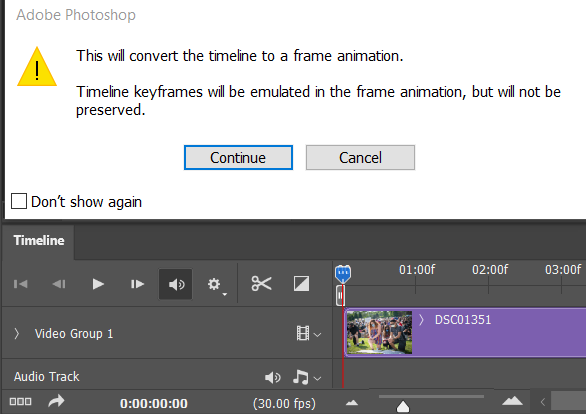
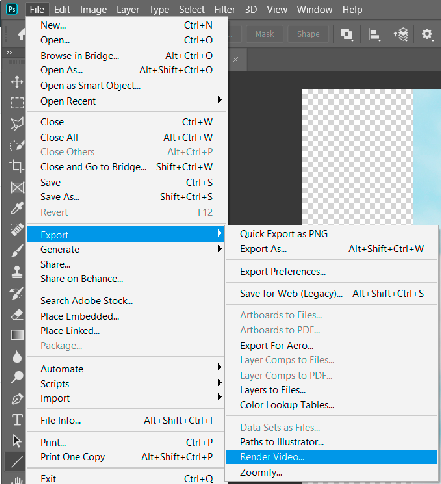
7. You can save animation using Save as GIF or save as video file using Export>Render Video.
5. You can organize the images order by highlight the image and move it to the location you want..
6. You can change the display time by clicking on 5 sec which is default time. To change multiple image time, select the first one and hold Shift key and click on the last one.
7. You can save animation using Save as GIF or save as video file using Export>Render Video.
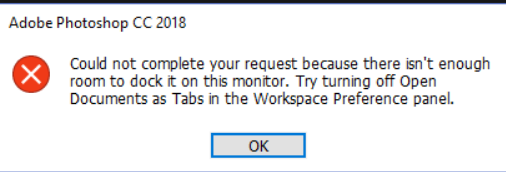
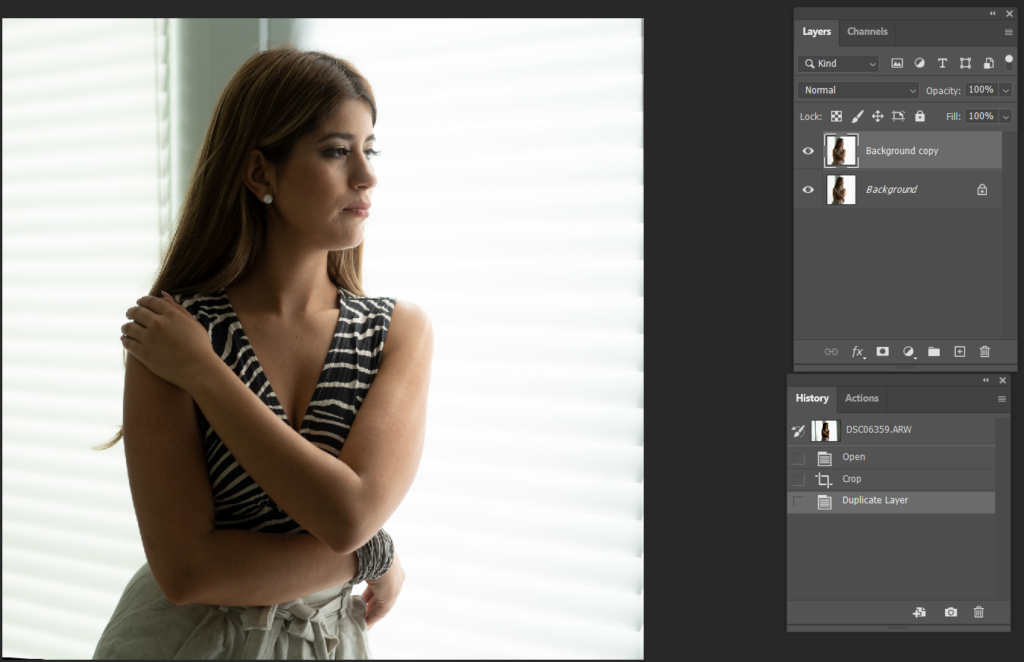
Situation: When opening Photoshop fro Lightroom, you may receive this message: could not open because there isn’t enough room to dock it on this monitor.
Resolution: Go to Photoshop preferences>General, Reset Preferences On Quit. Then restart the Photoshop.
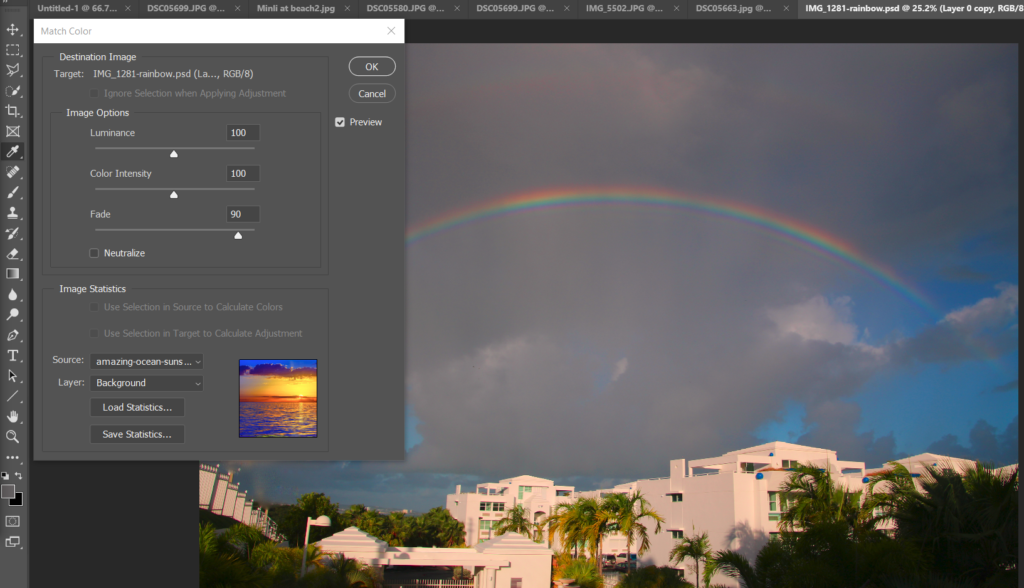
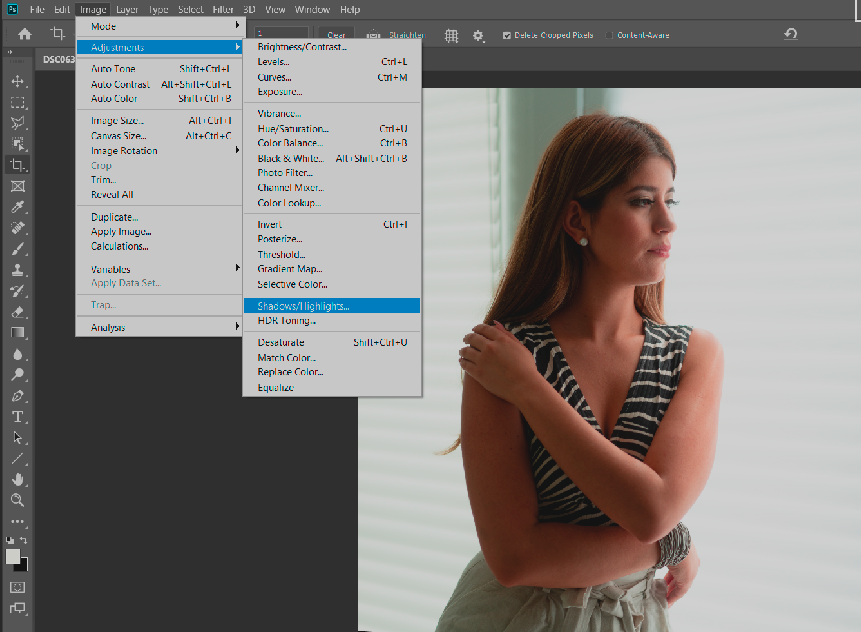
2. Lighten Shadow: Open Shadow/Highlights by going to Images>Adjustments.
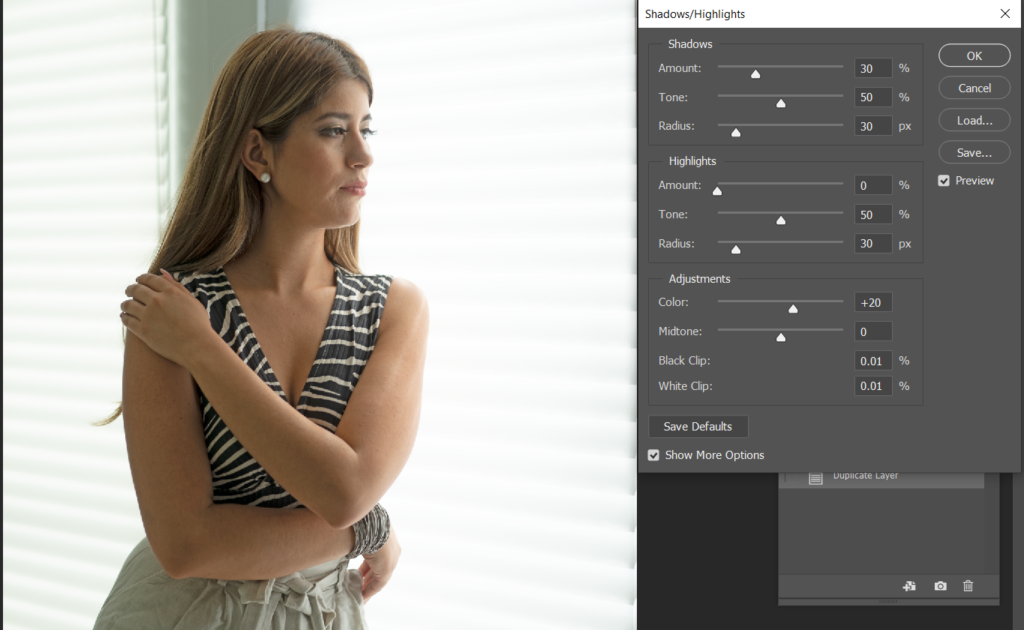
3. Adjust Shadows, for example increase Amount to 30%, Tone 50%, Radius 30%, and perhaps color to 20%. Note: Highlights doesn’t make many difference. You can click Preview to compare before and after.
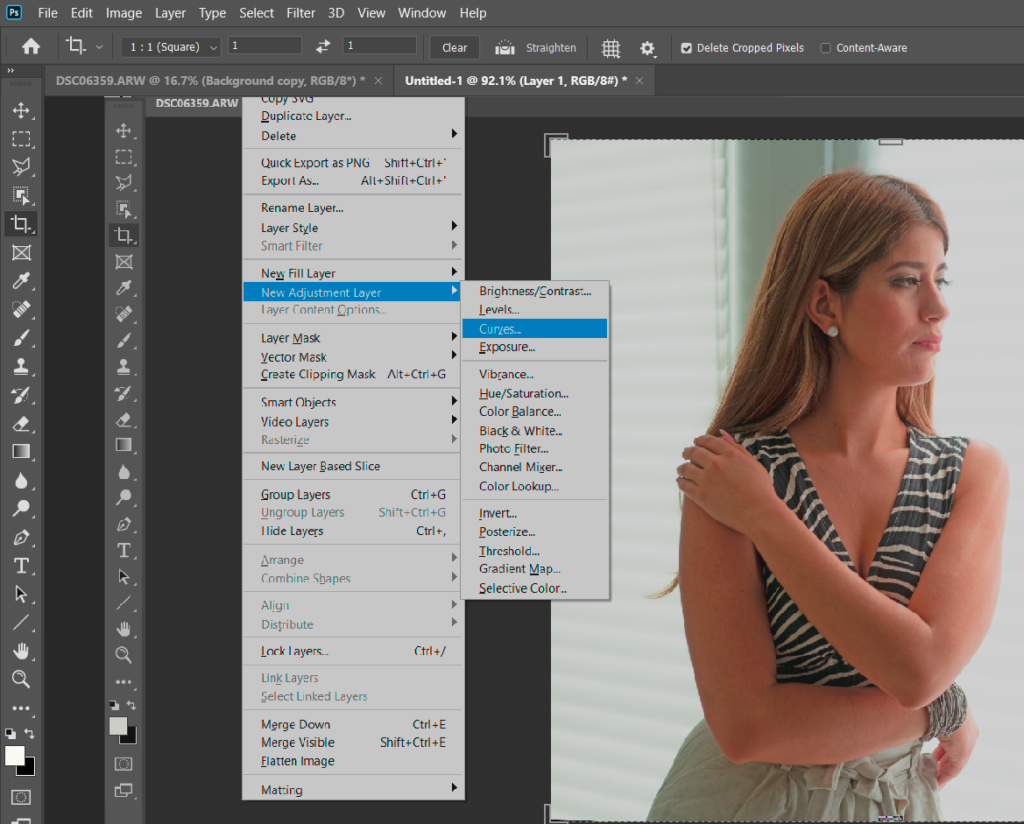
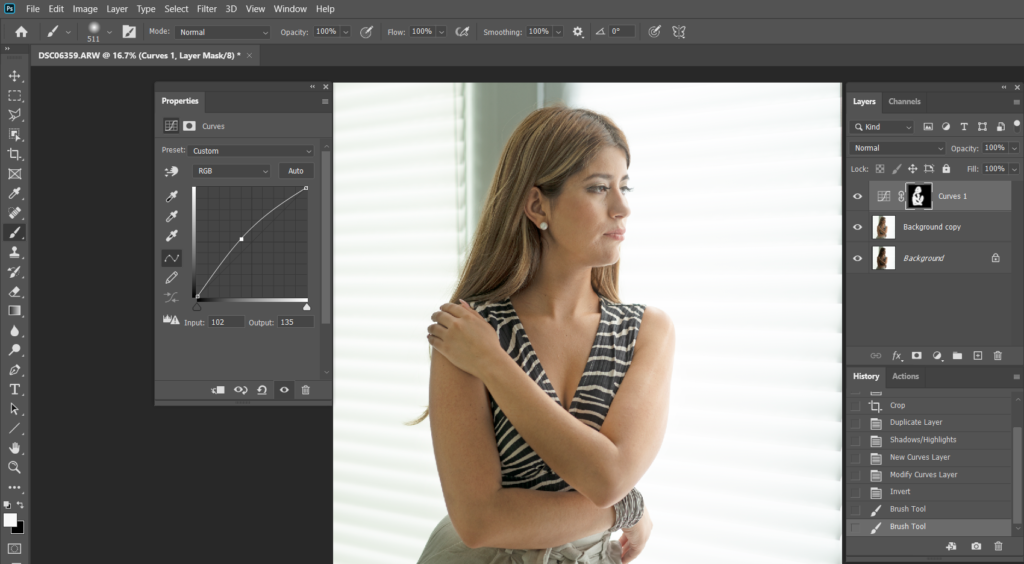
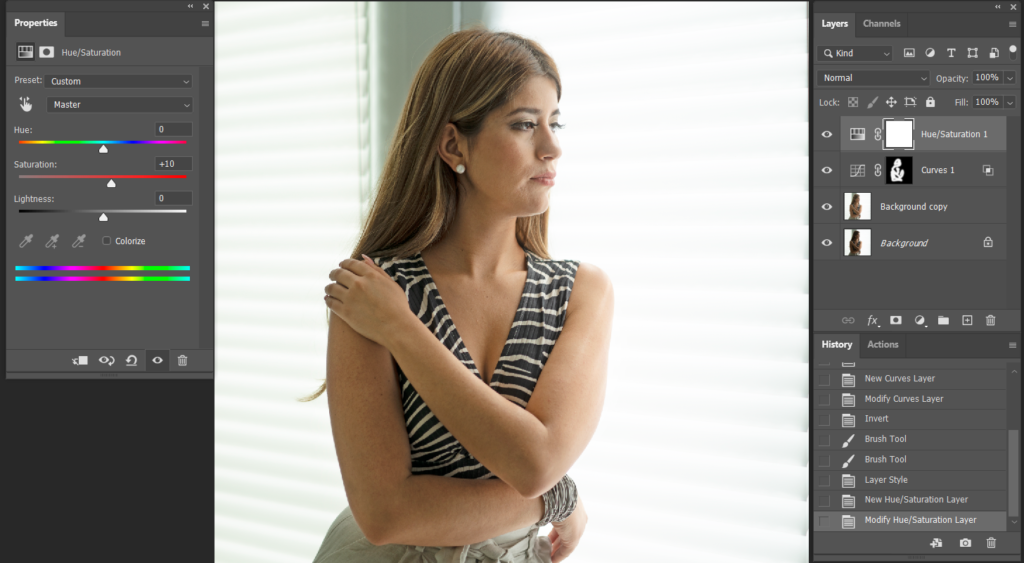
4. Use Curve to adjusting tones to brighten, darken, add contrast and shift colors by going to Layer>New Adjustment Layer.
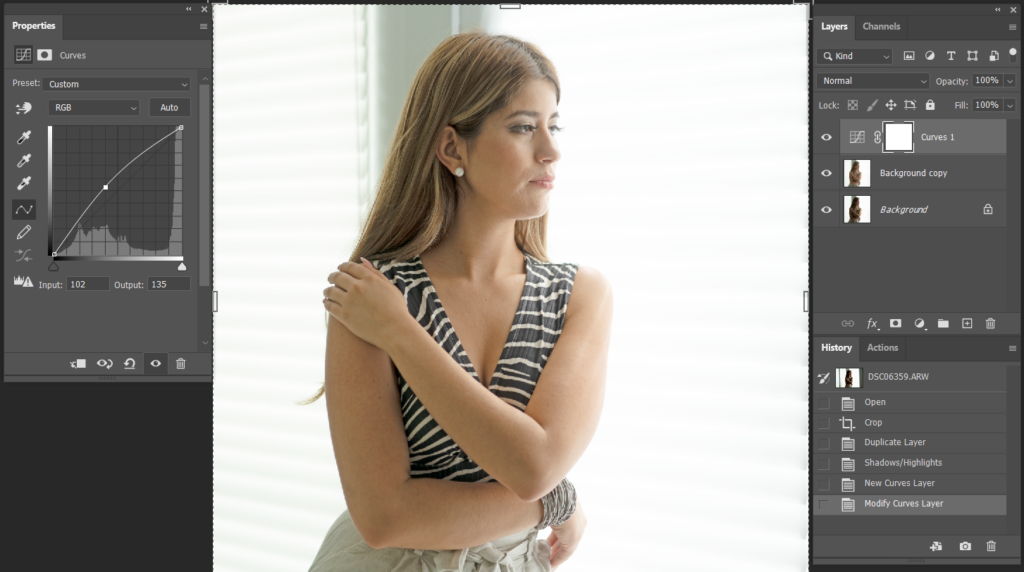
5. Move the curve top to bright the object.
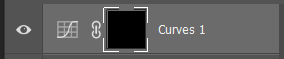
6. Press Ctrl+I to inverse and the Curves 1 switches from white to black.
7. Use Brush with White color sleeted to brush the object.
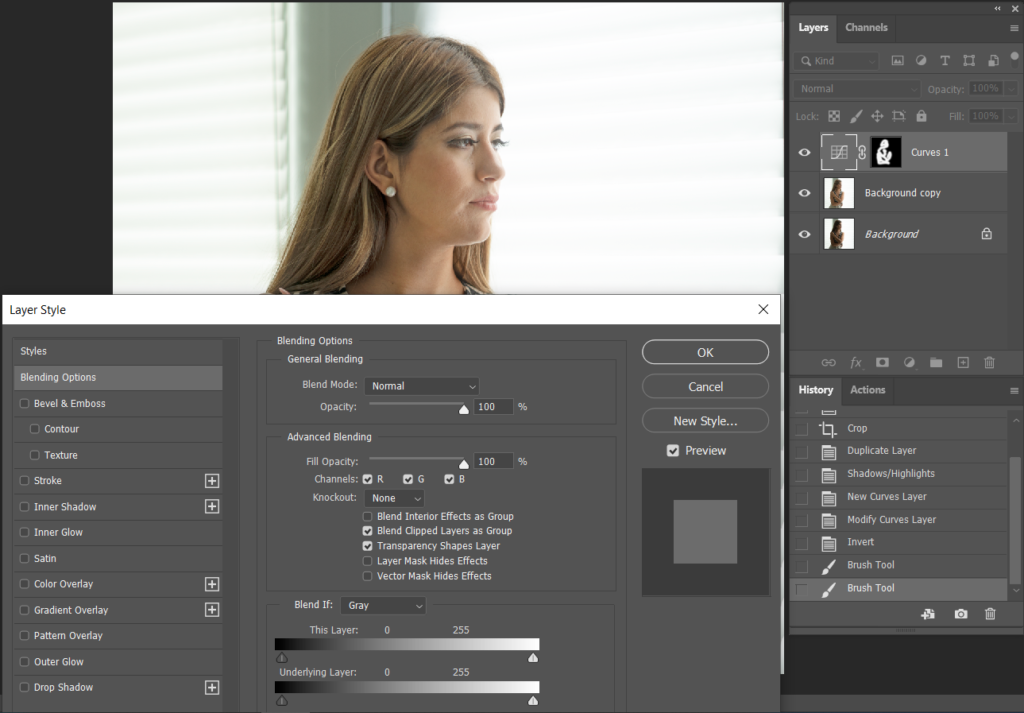
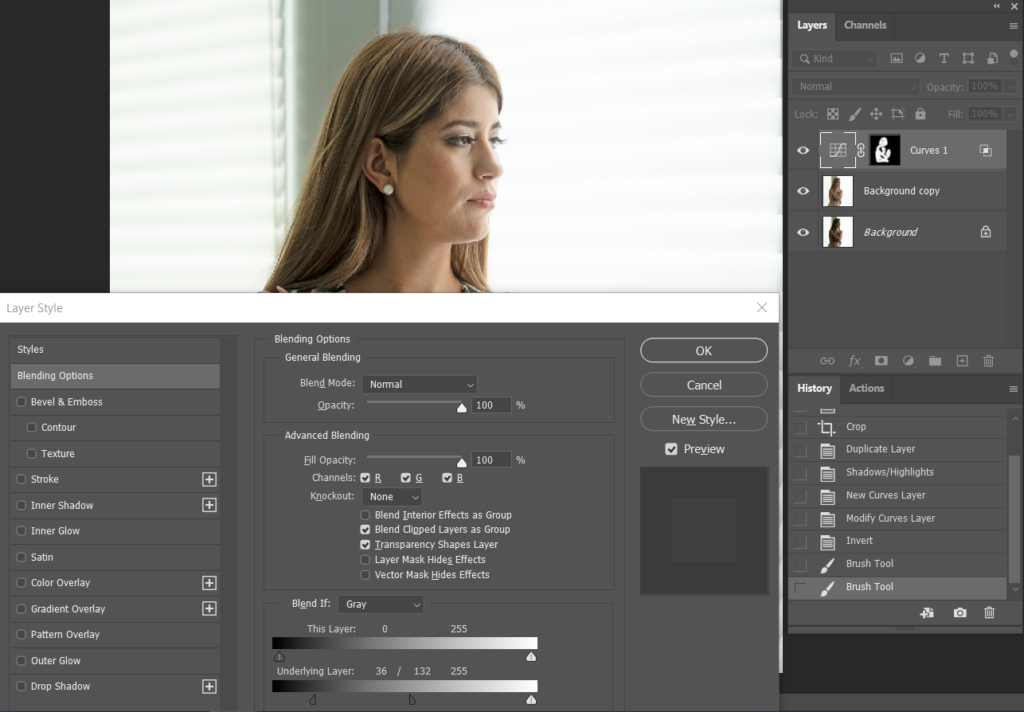
8. Double click on Curves 1 to open Layer Style.
9. in Underlying Layer, adjust shadow curse to the right. You can hold Alt key and move half curse. That will make contract on the object. Click Preview to compare.
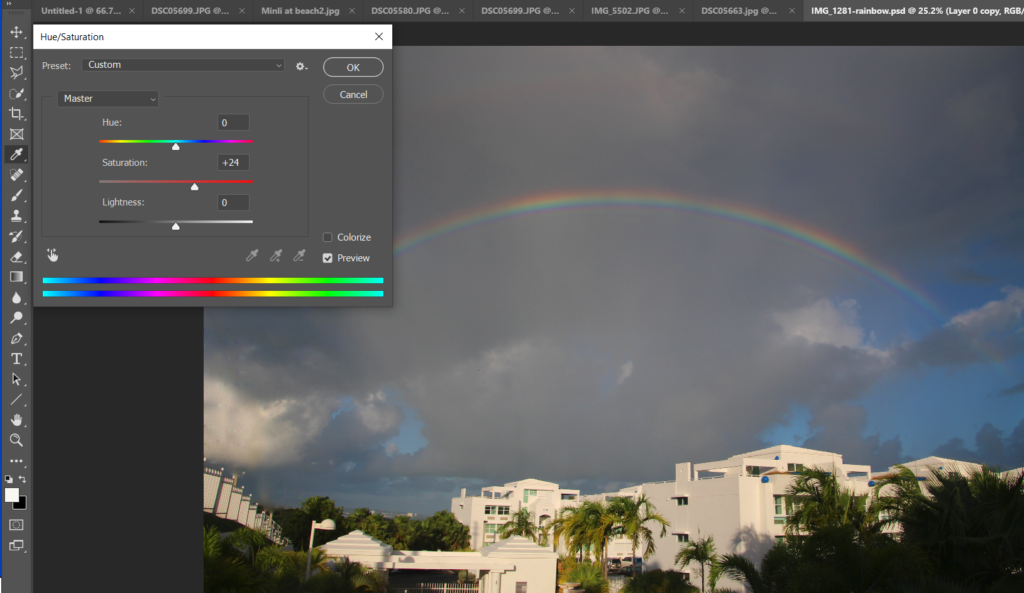
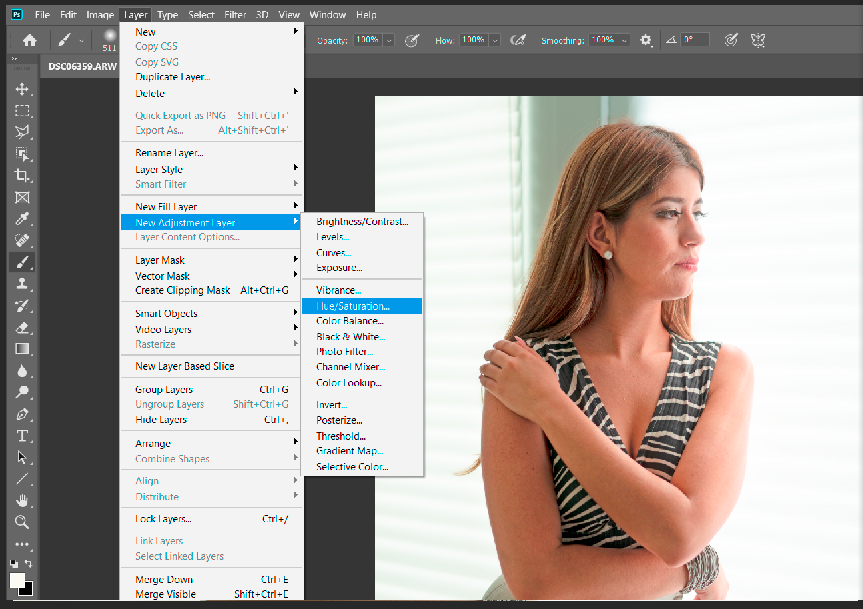
10. Open Hue/Saturation by going to Layer>New Adjustment Layer.
11. Adjust Saturation to color the skin, say +10.
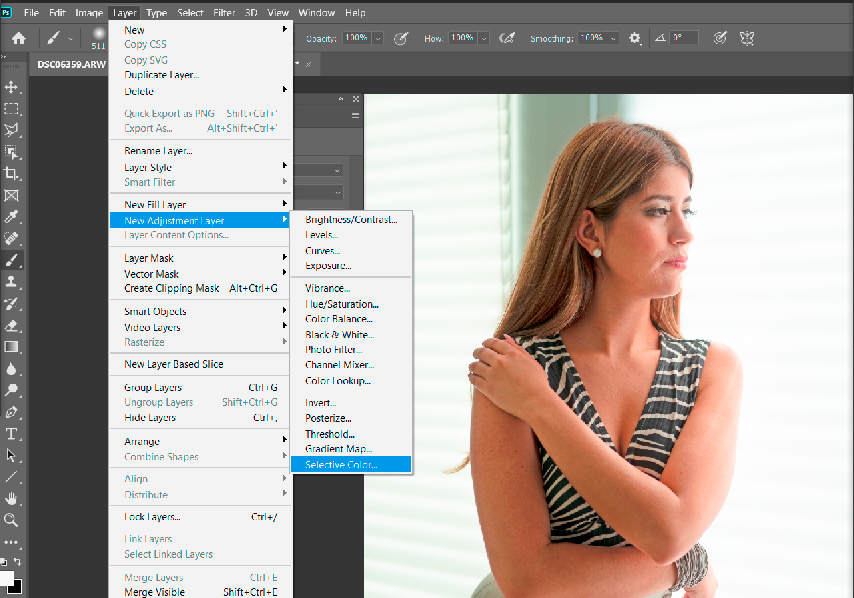
12. Add more skin color by go to Layer>New Adjustment>Selective Color.
13. Make sure the Color is Red, adjust Cyan (+10 in our example), Megeta (+20), Yellow (-15), and Black (-10).
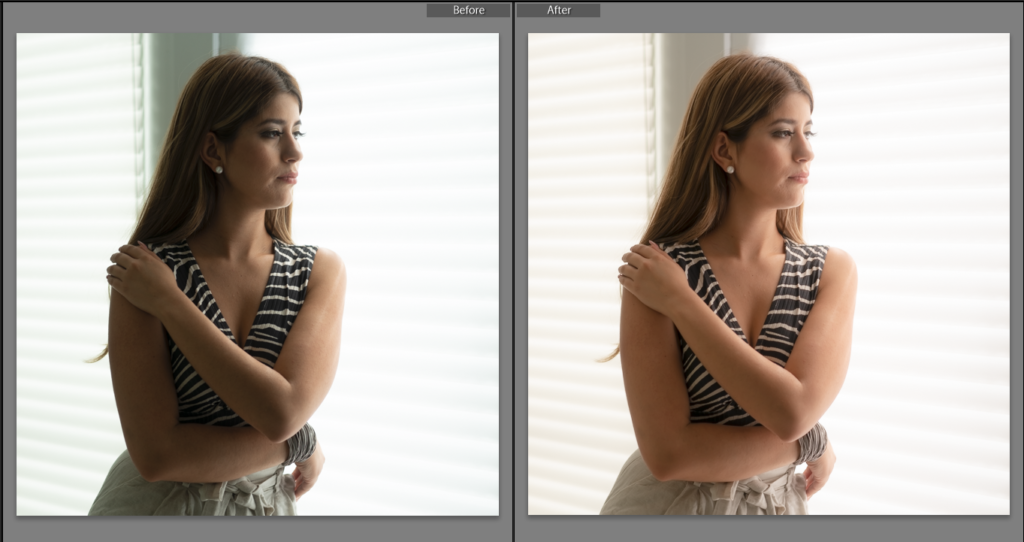
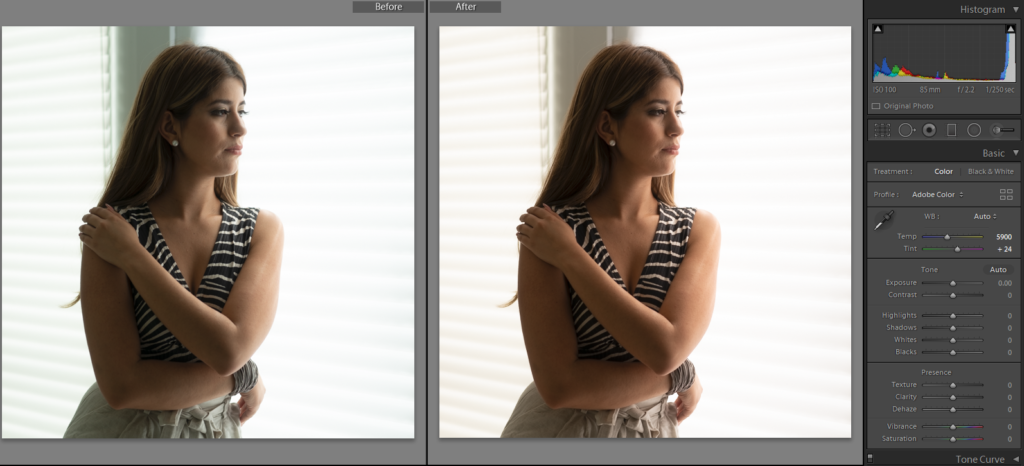
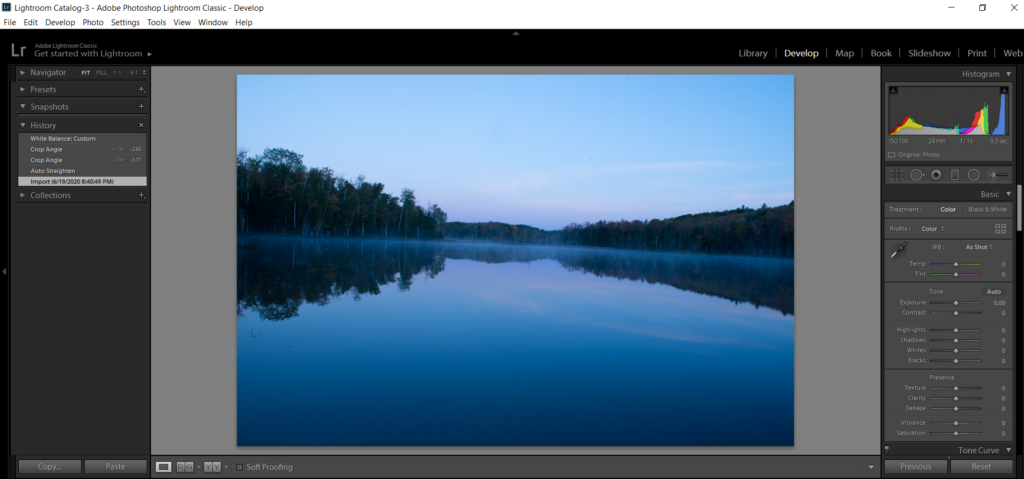
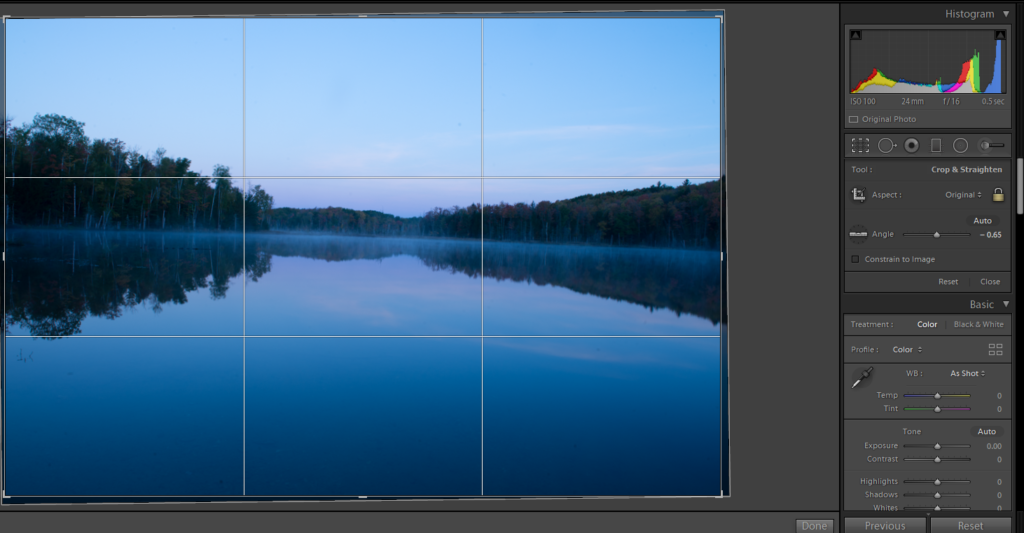
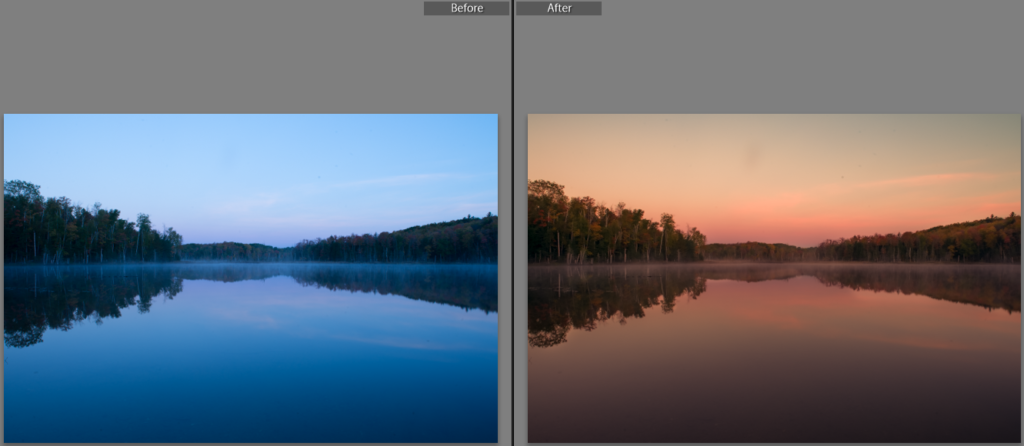
You can use Auto Straighten or adjust Angle manually. Also you can resize.
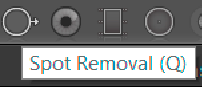
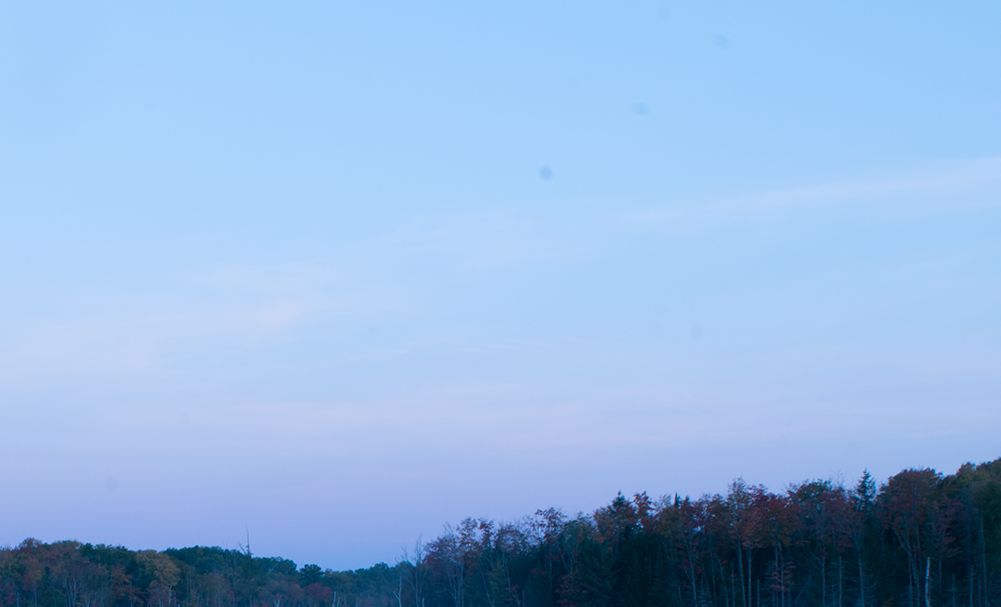
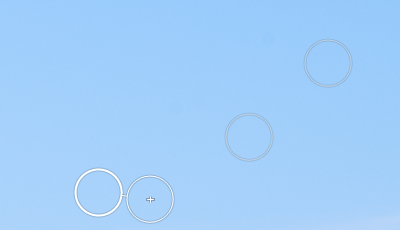
Step 2: Spot Removal (Q) in Basic – Open Spot Removal tool to remove dust spots.
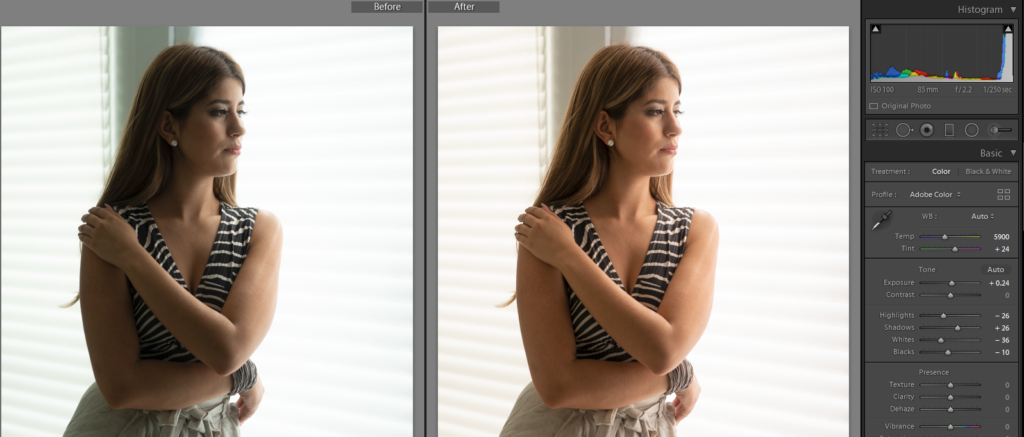
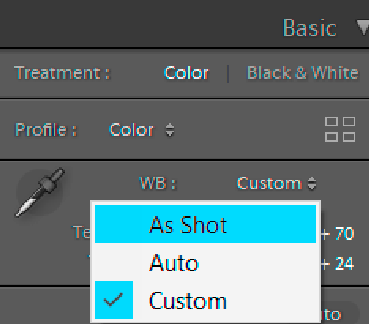
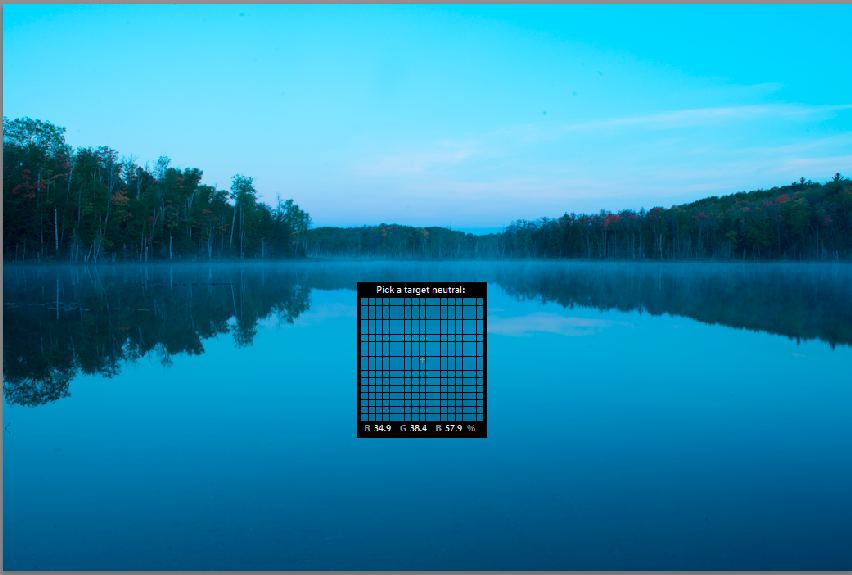
Step 3: White Balance in the Basic.
You may have 3 options: As Shot, Auto, Custom.
As Shot
Use Shot pen points to the white area.
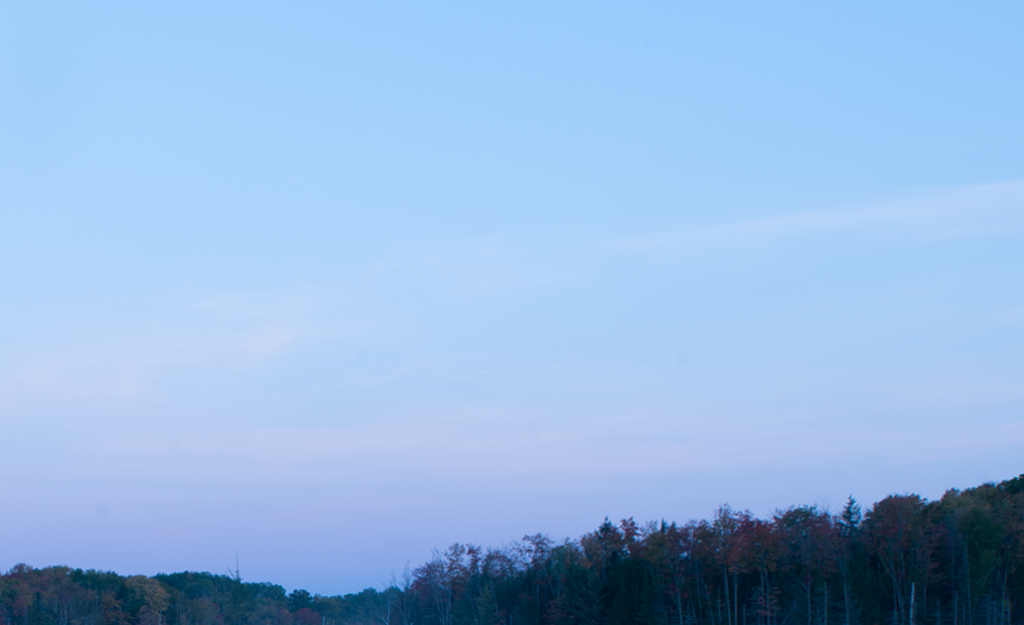
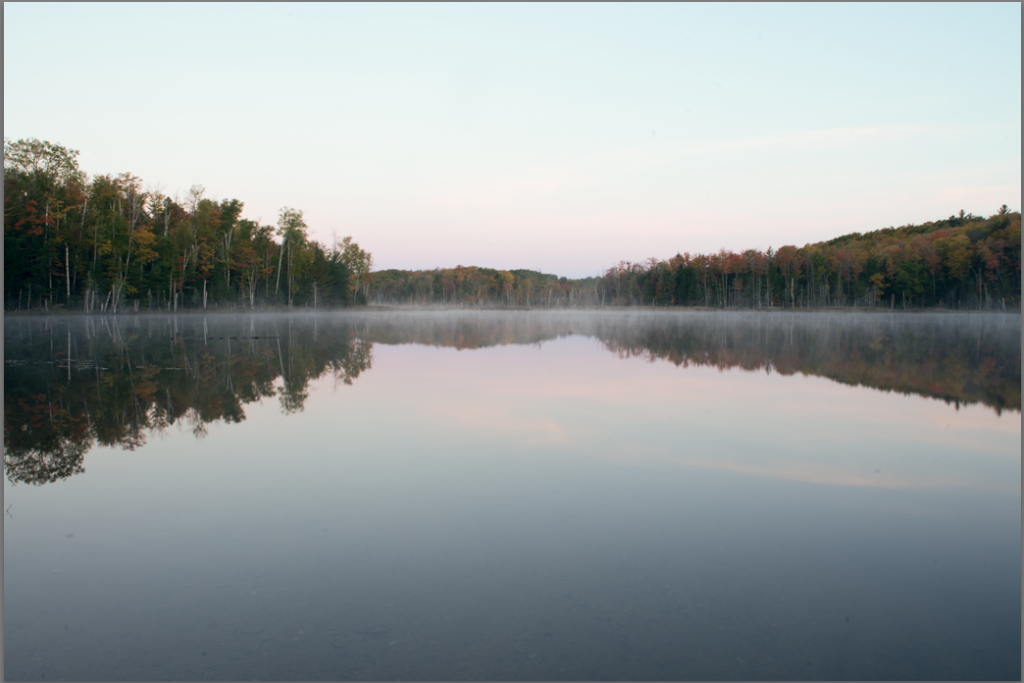
This is the result.
Auto –
Click Auto.
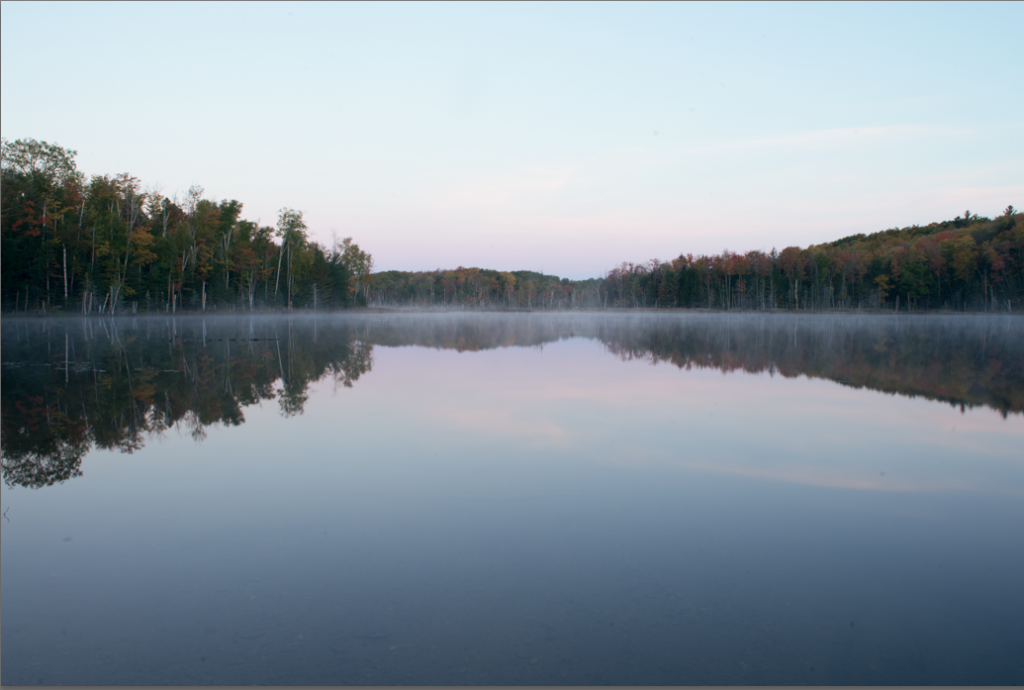
Custom – adjust Temp and Tint.
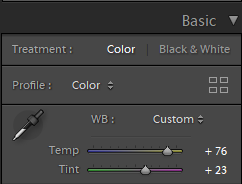
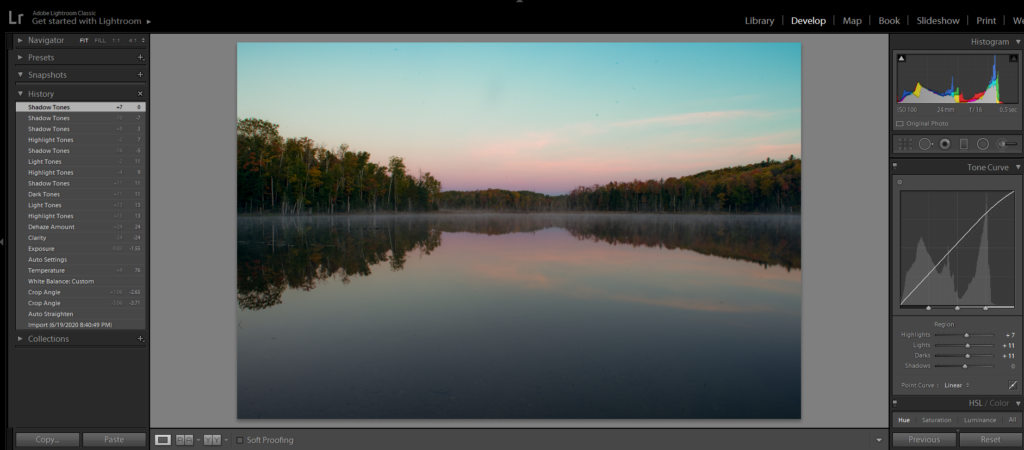
Step 4: Tone
Use Auto first. If you don’t like it, adjust tone yourself. If the image tone looks good to me, I just hold Alt key and double click Whites and Blacks to adjust whites and blacks.
Step 5: Presence.
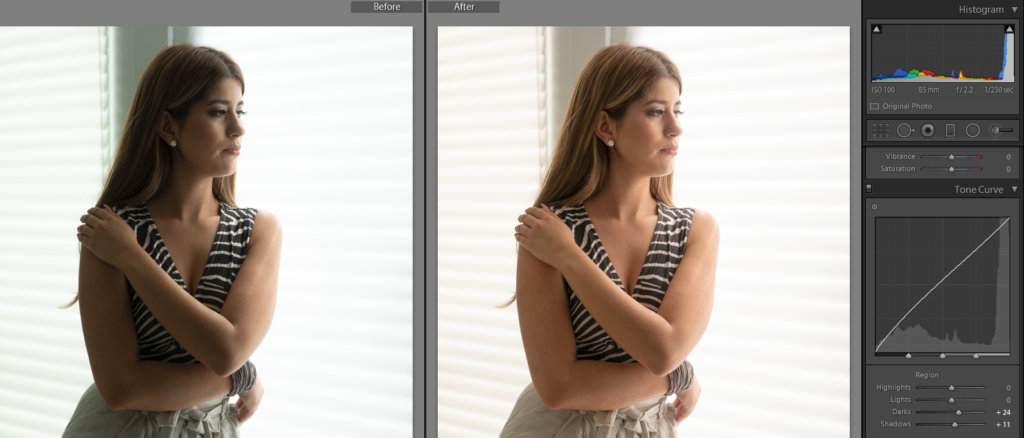
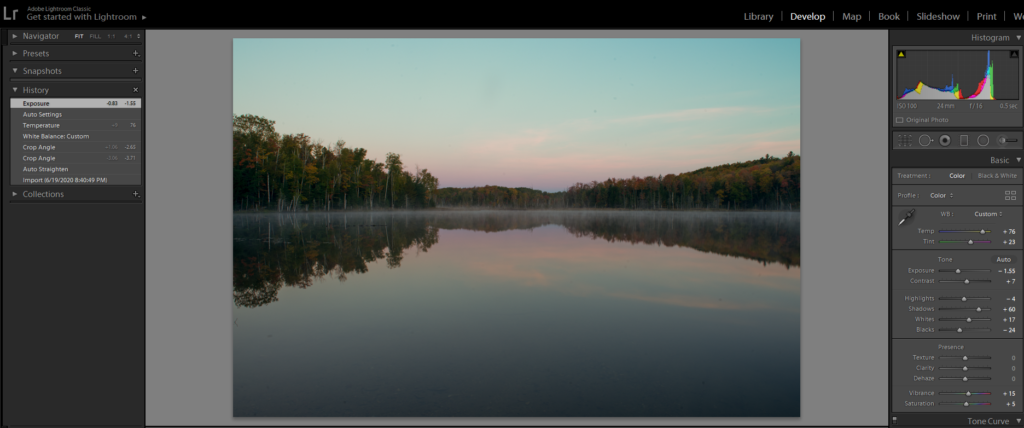
Normally, I will adjust Texture, Clarity and Dehaze right now. Left Vibrance and Saturation for later.
Step 6: Tone Curve – you have 4 options: Highlights, Lights, Darks and Shadows. You can also try Point Curve.
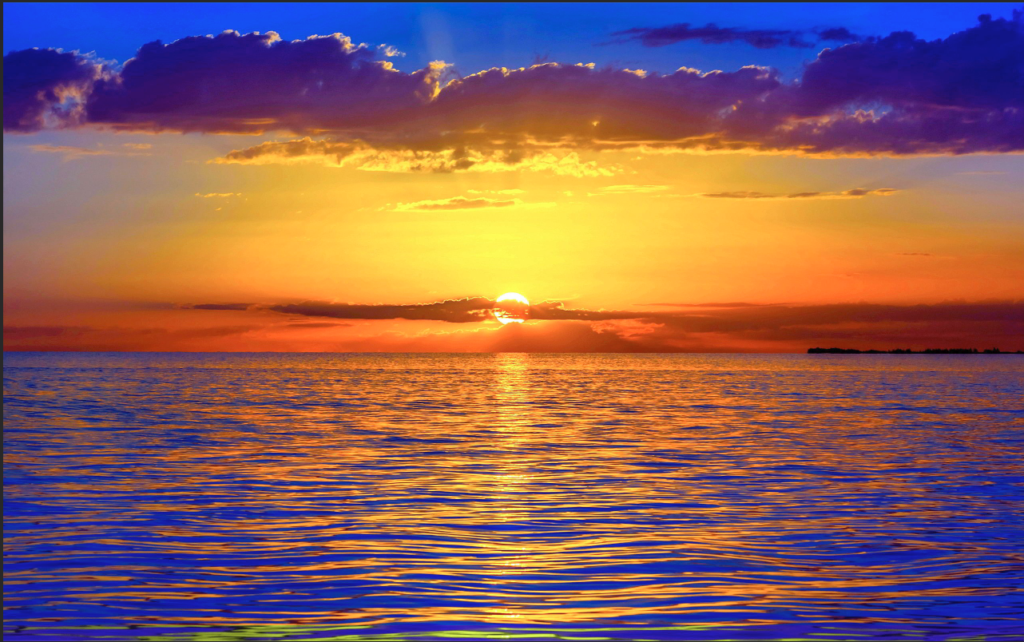
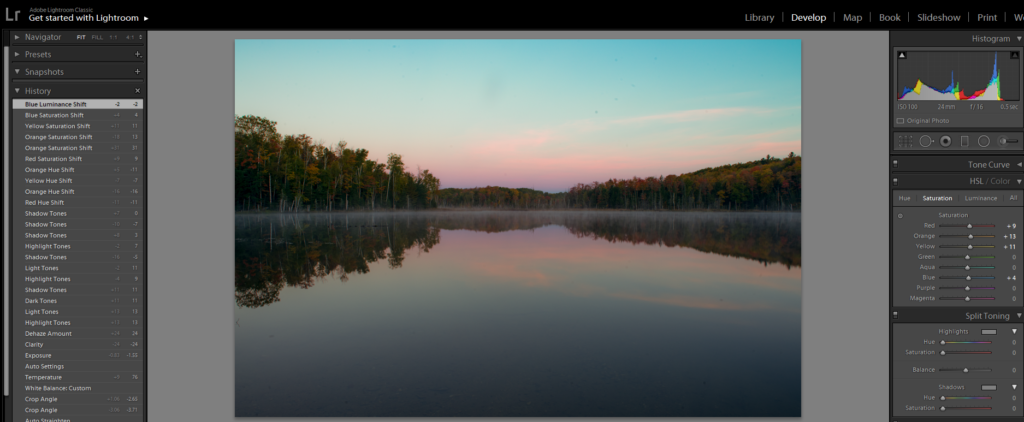
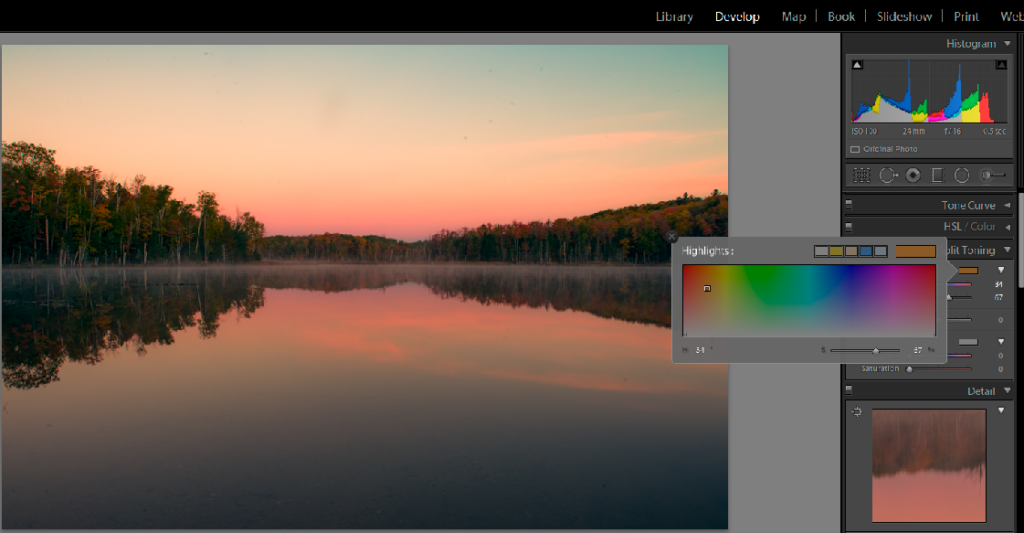
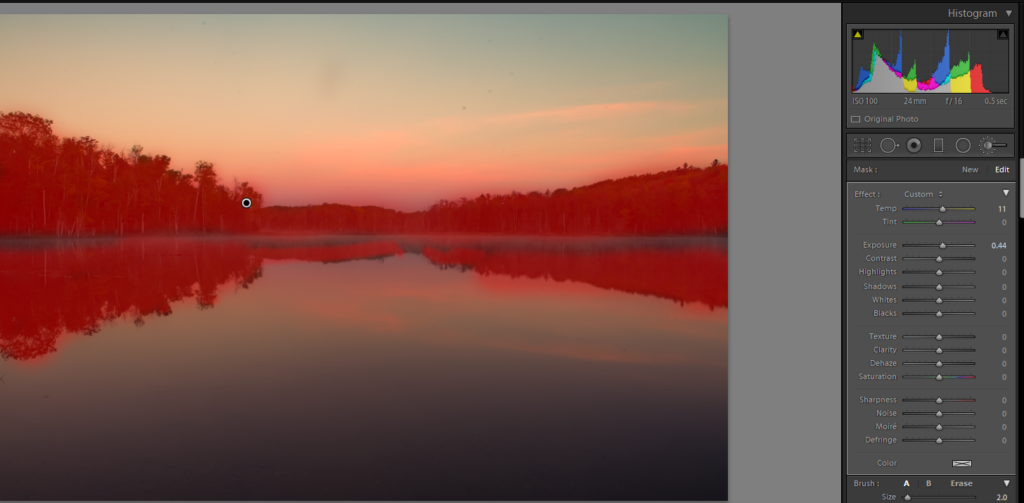
Step 7: HSL/Color – in or example, I would like to make sky more blue and leave more orange.
Step 8: Split Toning – in our example I would add more orange and red color in Highlights/Blacks for sunrise.
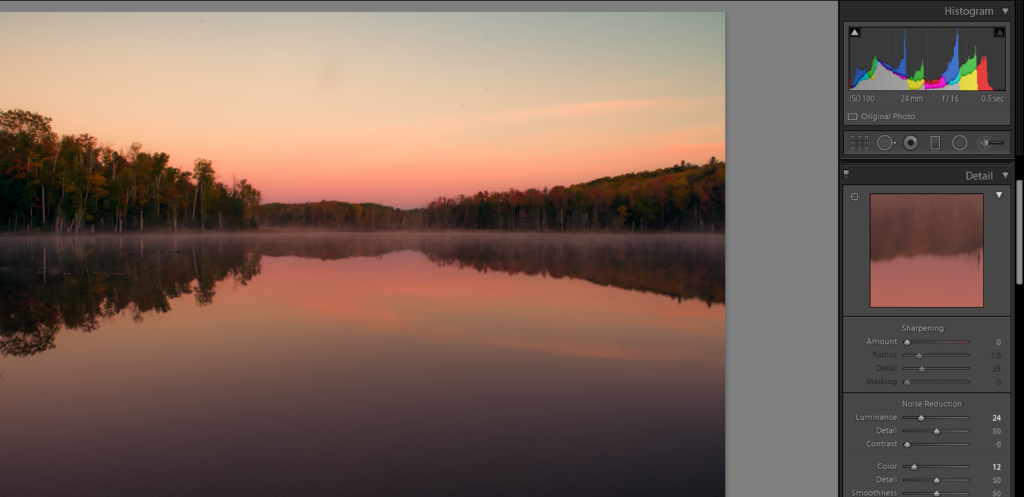
Step 9: Details – Here we can adjust Sharping and Noise Reduction.
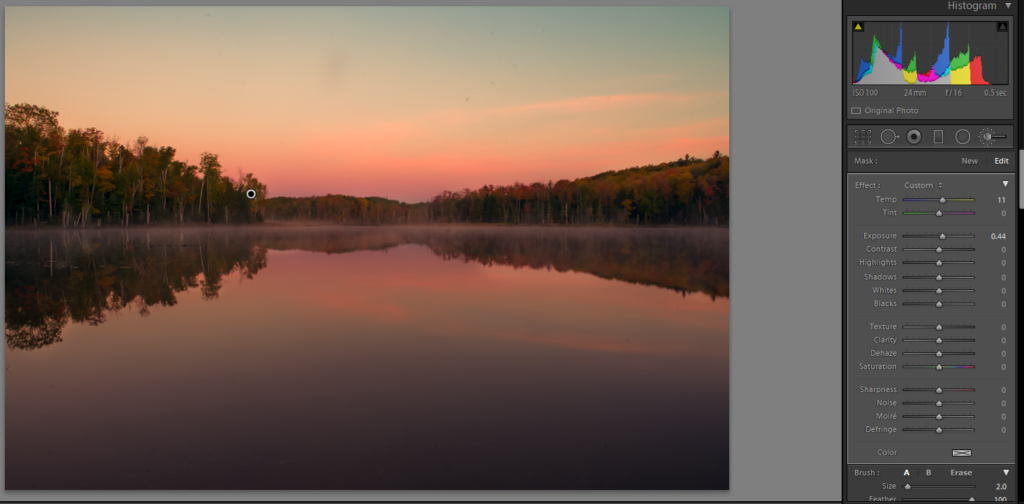
Step 10: Final adjustment – in our example, use Adjustment Brush (K) tool to highlight tree and give more yellow color.
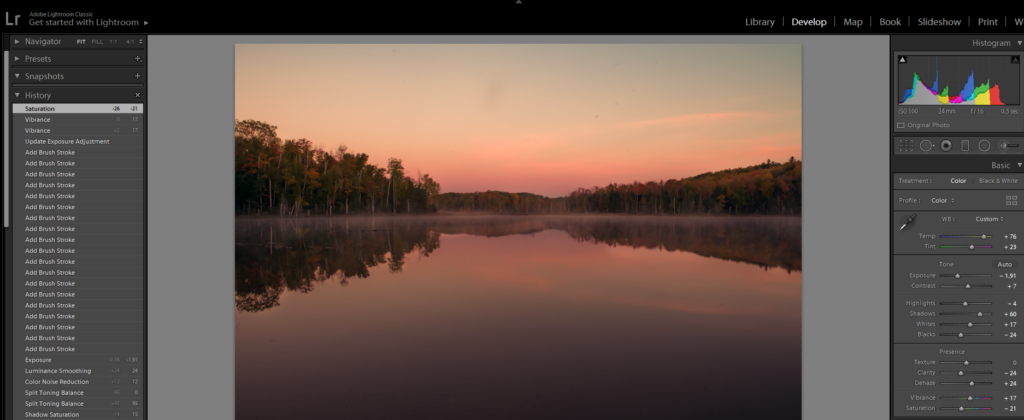
Now, back to Basic and adjust Vibrance and Saturation.