
Bob Lin Photography services
Real Estate Photography services
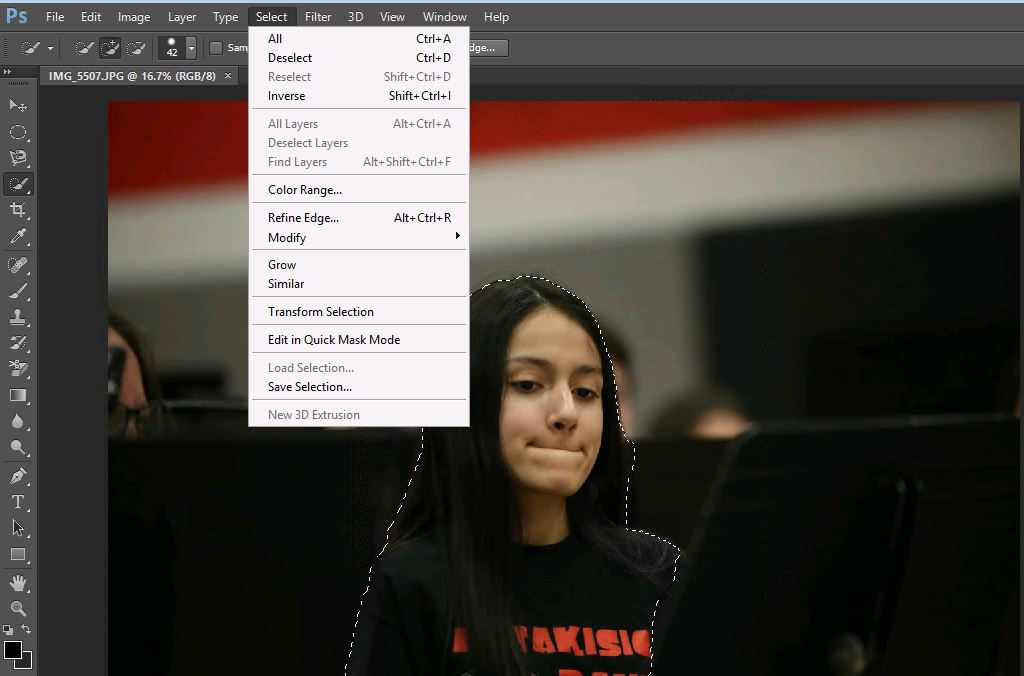
1. With Photoshop open, select a object.
2. Go to Selecte>Refine Edge
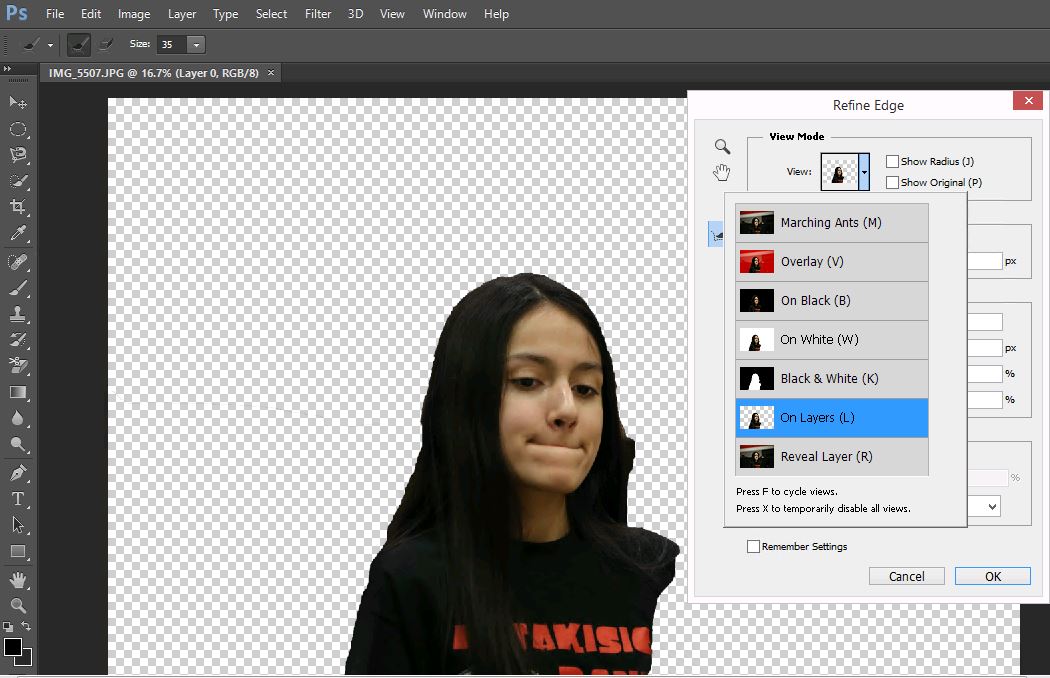
3. In Refine Edge, you can select View Mode.
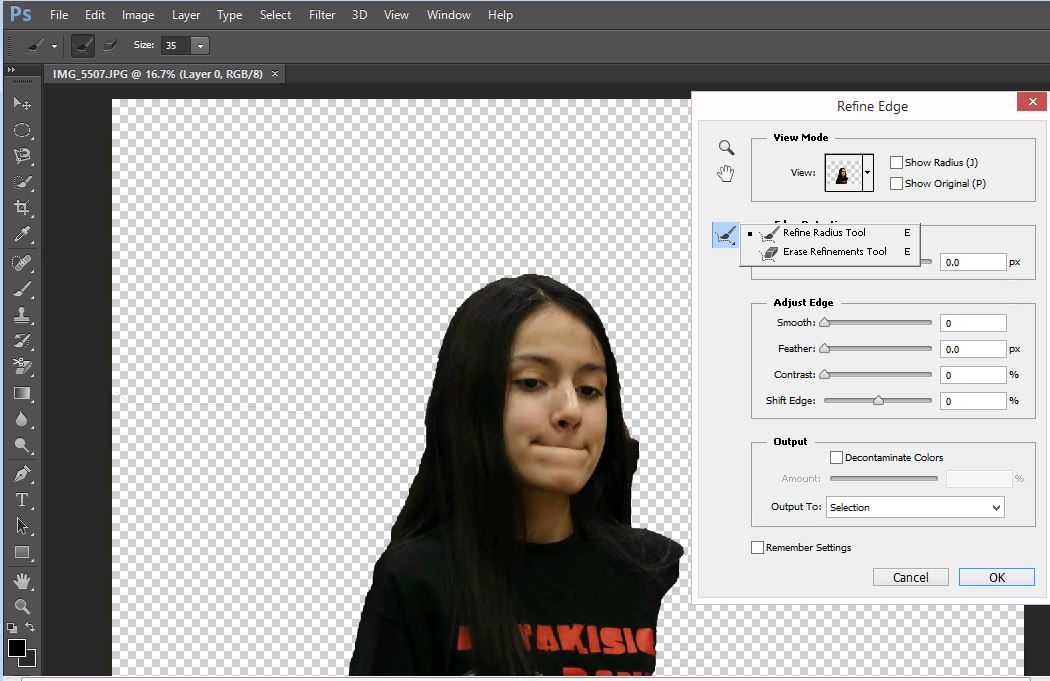
4. You have two tools: Refine Radius Tools (paint over the edges of your selection and make Photoshop fine-tune them even more in particular spots) and Erase Refinements Tools (If Photoshop gets a little overzealous and includes too much of the background in your selection as you drag with the Refine Radius tool, drag with this tool across the areas you don’t want to include in the selection).
5. You also have these options:
Smooth. Increasing this setting makes Photoshop smooth the selection’s edges so they’re less jagged, but increasing it too much can make you lose details (especially on selections of things like hair). To bring back some details without decreasing this setting, try increasing the Radius and Contrast settings.
◦Feather. This setting controls how much Photoshop softens the selection’s edges, which is useful when you’re combining images as discussed in the box on The Softer Side of Selections.
◦Contrast. This setting sharpens the selection’s edge, even if you softened it by increasing the Radius setting mentioned above. A higher number here creates a sharper edge (which can help Photoshop create a better selection) and can reduce the noisy or grainy look that a high Radius setting sometimes causes.
◦Shift Edge. To tighten your selection (make it smaller), drag this slider to the left—a good idea if you’re dealing with hair or fur. To expand the selection and grab pixels you missed when making the initial selection, drag this slider to the right instead.
◦Decontaminate Colors. This option helps reduce edge halos: leftover colored pixels around the edges of a selection that you see only after putting the object on a new background (see Fixing Edge Halos). Once you turn on this checkbox, Photoshop tries to replace the color of the selected pixels with the color of pixels nearby (whether they’re selected or not). Drag the Amount slider to the right to change the color of more edge pixels, or to the left to change fewer. To see the color changes for yourself, either choose Reveal Layer from the View menu near the top of the dialog box, or press R.
For consulting service, Contact Us
|
|
Bob Lin Photography services
Real Estate Photography services
