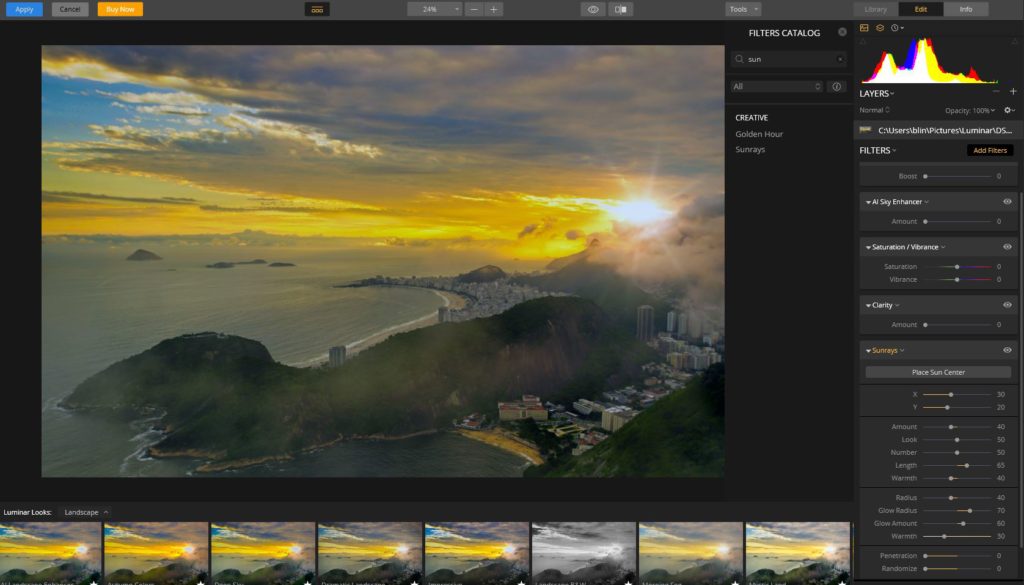
The Sunrays filter can enhance a sunrise landscape photograph. here is how.
- With Luminar 3 running, click Add Filter and type sun in search.
- Click Sunrays.
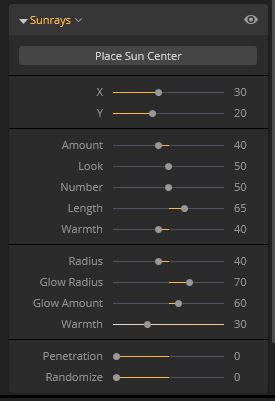
3. Here are options you can do:
•Place Sun Center: Click this button to interactively nudge the sun’s position by dragging
•X: Moves the sun’s origin point along the X-axis
•Y: Moves the sun’s origin point along the Y-axis
•Sunrays Amount: Controls the overall intensity of the sun rays
•Sunrays Look: Changes the overall brightness of the scene
•Sunrays Number: Use a higher number for more rays and a lower number for fewer
•Sunrays Length: This impact the distance the sun rays will travel
•Sunrays Warmth: Use this slider to adjust the color temperature of the rays
•Sun Radius: This affects the size of the sun rays origin point
•Sun Glow Radius: Changes the size of the glow around the sun
•Sun Glow Amount: Controls the intensity of the glow
•Sun Warmth: Can change the sun from bright white to a warm glow
•Overall Penetration: This slider impacts how much the sun passes through an area. This can be useful when trying to natural composite the rays into a photo.
•Overall Randomize: Get entirely new results that are a variation based on the current settings